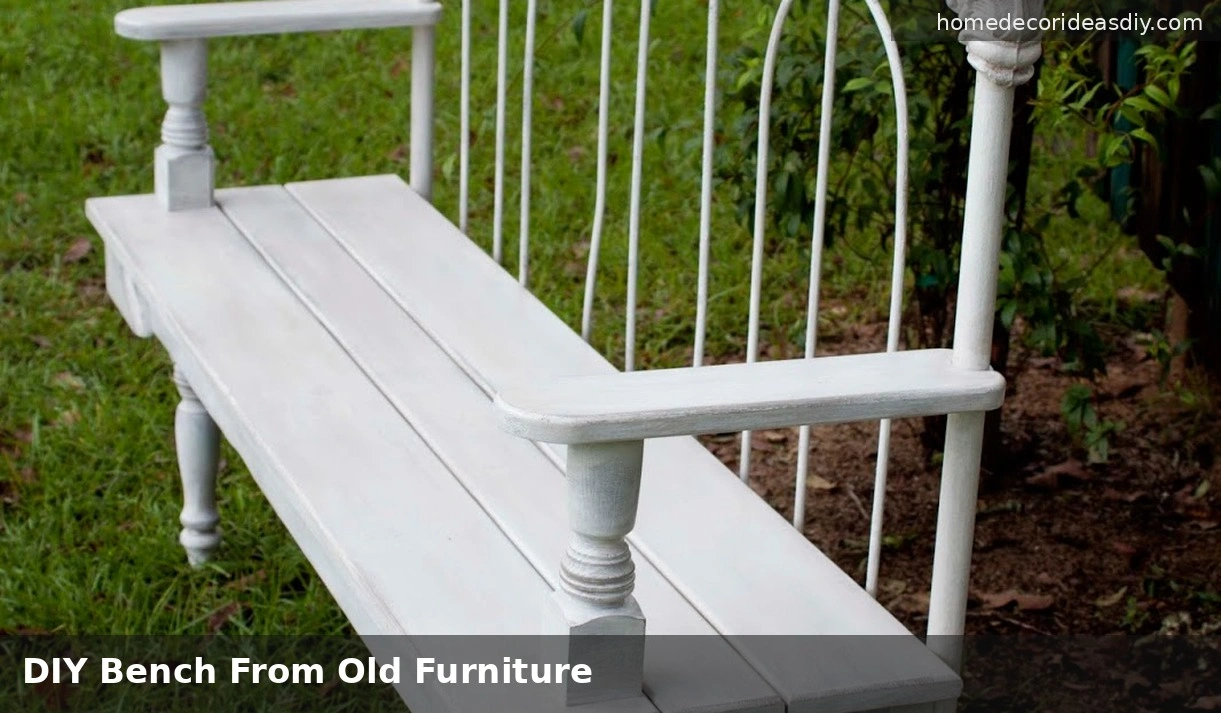
What kept coming up while I read headboard bench tutorials wasn’t the paint or the cushion; it was people admitting their first one wobbled, and one blogger said more than one of hers did before she got it right.
So if you want to make a DIY bench from old furniture, like a headboard or two dining chairs or that dresser sitting in the garage, whatever you start with sort of decides how much fixing you’ll be doing after. I’d start with a headboard. Chairs are harder than they look in the photos, and a dresser can go either way depending on what the back of it is made of, which you won’t know until you pull a drawer out and look inside.
Why a headboard is the easiest old piece to turn into a bench
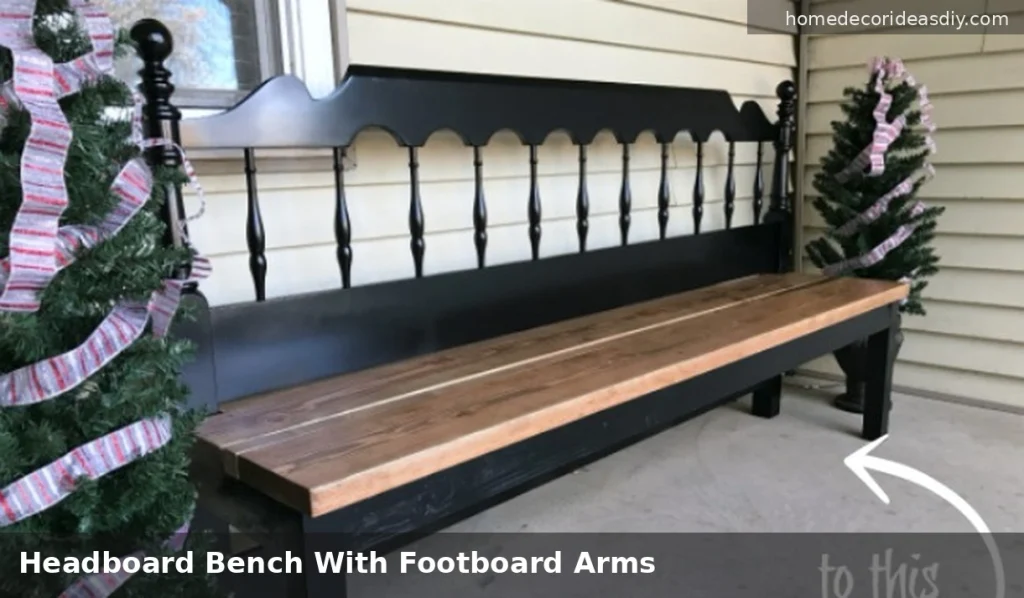
A headboard comes with the back, and the two back legs already joined, and that’s the hardest part of a bench to make sturdy, so you’re already ahead. You cut the footboard in half, and those two halves become the arms, and then you build a seat frame that sits between them.
Gail Wilson from My Repurposed Life has made loads of these, and on a twin size she measures 18 1/2 inches out from the bedpost before she cuts, because if you cut a bigger footboard right down the middle, the seat ends up way too deep to sit on properly. She puts it all together with a Kreg jig and wood glue. If you haven’t tried pocket-hole joinery before, it’s basically screws that go in at an angle through one board and into the next one, and the nice part is the screw heads end up on the inside where you can’t see them once you sit down.
On that twin bench, the old paint was a glossy green, and she sanded it down first because new paint doesn’t really stick to a shiny finish.
The wobble usually comes from the front rail.
Katie Olthoff wrote about the headboard benches she made, and she didn’t hide that the early ones wobbled; on one, the support running along the front under the seat wasn’t strong enough. What fixed it for her was long screws, a lot of them, and drilling pilot holes first so the wood didn’t split. Her sturdy one had a 2×4 frame under the seat, and she said she could do jumping jacks on it.
So if yours wobbles, look at that front board under the seat before you blame the headboard.
Turning two old chairs into one bench
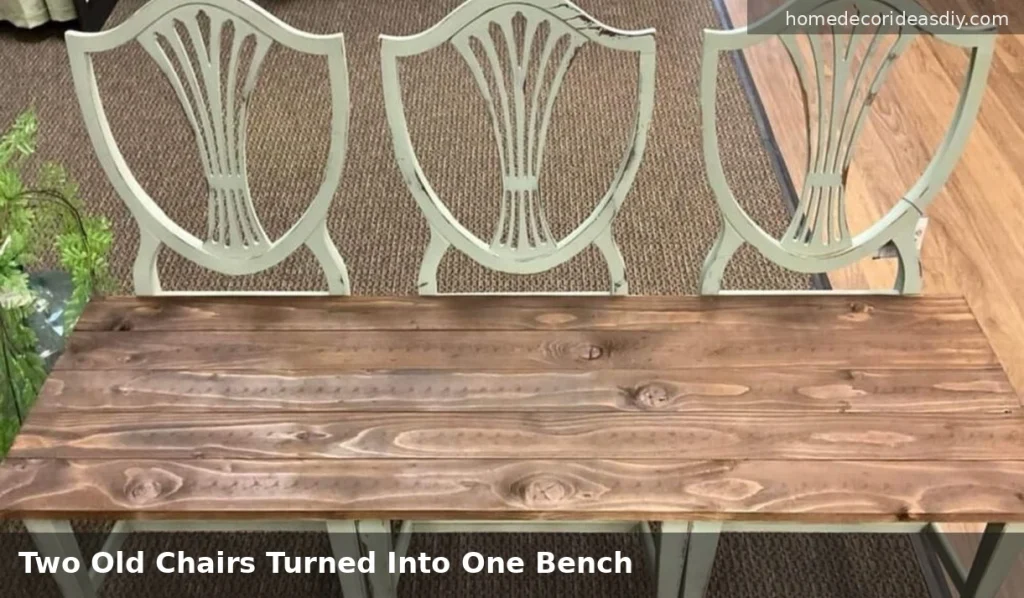
Chair benches look really good in pictures, and I get why people want one, but they take more work than they look like they will. Gail made one from two vintage chairs and called it a failure in her post because the bench came out too long and it needed a back. She had to cut the front rungs off flush and pull a bunch of old nails out of the chair backs, and later she went back and cut a curved back out of 1×4 boards, painted it turquoise with a watered-down black glaze over the top, and said it was extra work, but she liked it after that.
That turquoise and black glaze finish works well if the rest of your place leans rustic, the same kind of look as the budget farmhouse decor pieces a lot of people already have, and it covers the patched spots where the rungs used to be.
Do the chairs need to match? Not exactly, but the seats need to be the same height, or the board you lay across them will rock. Gail had this issue with a set of old-school chairs where she couldn’t find two identical ones, so she used two that were close enough.
If you already own two chairs you like, go for it. If you’d be buying two to join them, I’d pick up a headboard instead.
Making a bench out of an old dresser
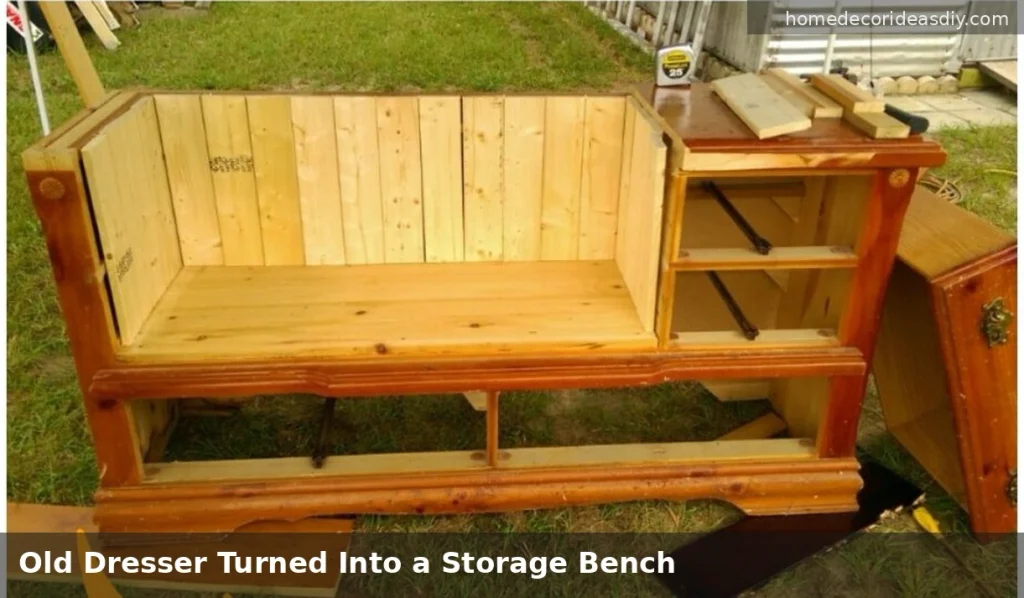
A dresser gives you storage under the seat, which is the big reason people go for it, but cheaper dressers tend to have a thin back. On one storage bench Gail made from a cheap dresser, the back panel was cardboard, fine to look at, but it can’t hold up the back of a bench, so she added scrap 1×2 boards behind it to take the weight.
She also cut the middle seat support while the dresser was lying on its back, and it came out too tall, so the seat bowed a little, and she had to take it out and trim it the next day an easy mistake to make, and probably one I’d make too.
Before you bring a dresser home, do this:
- Push on the back panel from the inside, and if it bends, you’ll need to add a wood frame.
- Check the edges and corners for veneer peeling up.
- Pick which drawers you want to keep working before you cut anything.
A dresser bench with a working drawer or two fits nicely at the end of a bed, which is the same spot we went on about in main bedroom ideas that took two years to get right.
How tall and deep a DIY bench from old furniture should be
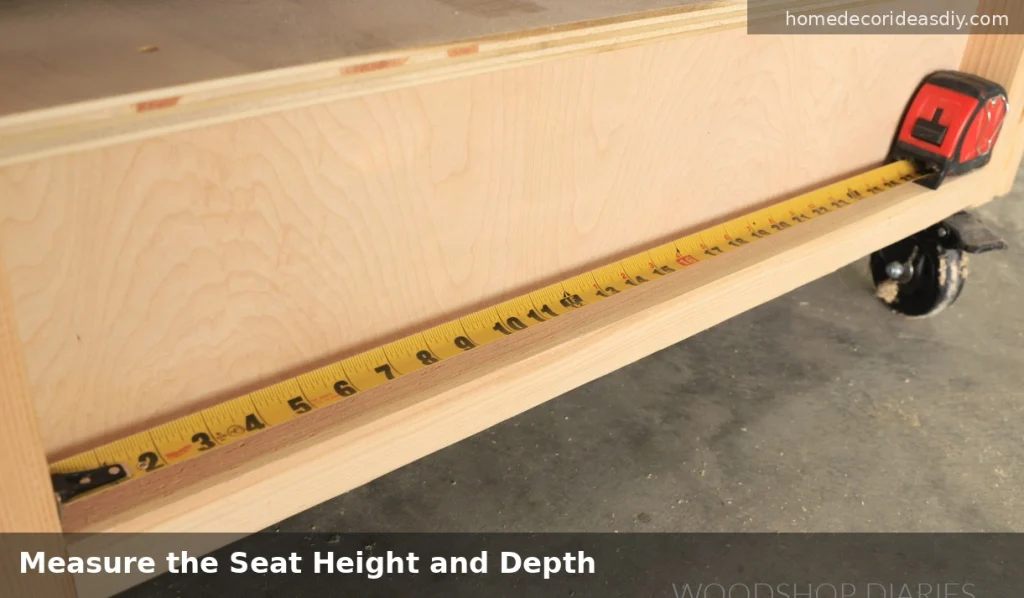
Make the seat about 18 inches deep and somewhere around 16 to 18 inches high. Katie Olthoff says 18 for both; Brooke Nicole Larsen goes with 16 inches for the height, and H2O Bungalow went 18 deep because that’s how deep most chairs are.
- Seat depth: about 18 in
- Seat height: 16 to 18 in
- Twin headboard arms: 18 1/2 in from the bedpost
Old furniture doesn’t come in standard sizes, though. Petticoat Junction cut their footboard sides and noticed the seat sat too high, so they trimmed the bottoms; Gail had one that sat too low and built a simple box under the seat to lift it. Clamp everything together and sit on it before a single screw goes in, and if a cushion is going on top, build a bit lower since the cushion adds height.
I still like the look of chair benches more than headboard ones, and it’s a little annoying because I’d tell anyone to build the headboard first, and a bench people have to sit on carefully isn’t really doing its job.