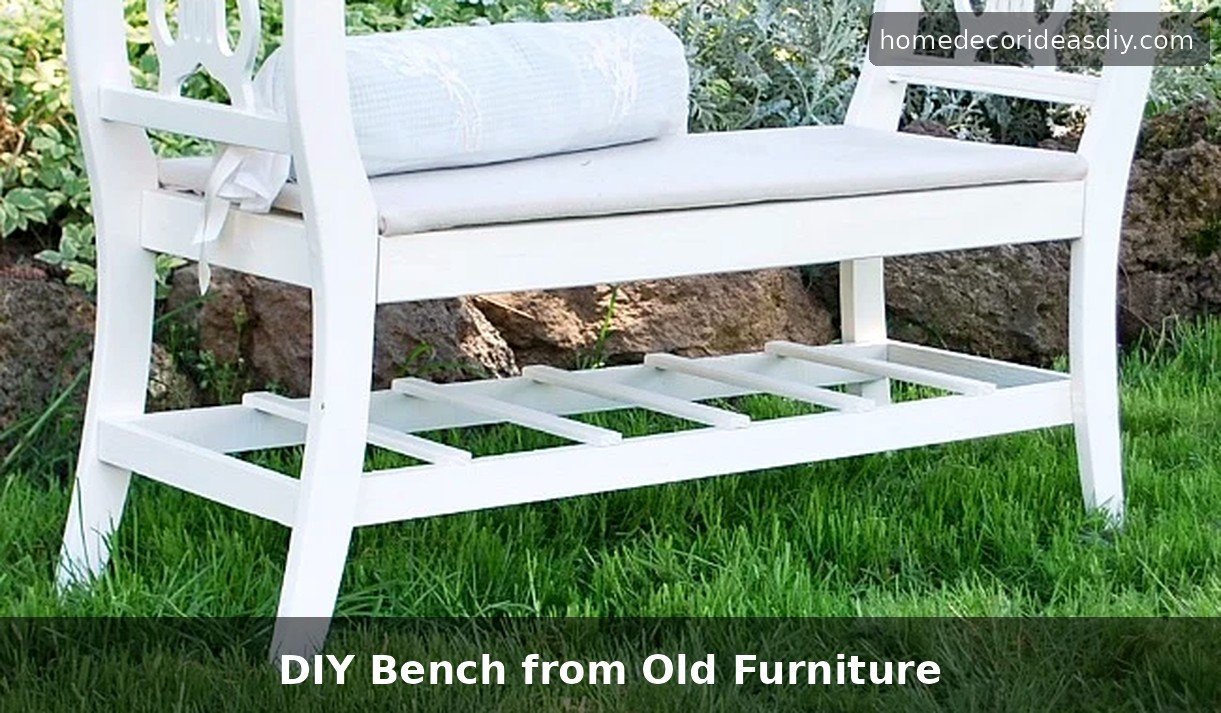
I had two old dining chairs sitting in the garage for months. One seat was cracked, and the other leg wobbled every time you sat down. I almost took them to the curb, but decided to make a bench instead. That’s how I ended up with a DIY bench from old furniture that now sits by the front door. It holds shoes, bags, and anyone who needs a place to sit while they take off their boots.
You don’t need matching furniture or a full workshop for this. Most of the time you’re just using the solid parts of whatever you already have and adding a basic frame so it doesn’t fall apart when someone sits on it.
Why Turn Old Furniture Into a Bench?
Throwing good wood away feels dumb once you’ve already paid for it. A bench made from old chairs or a headboard costs almost nothing if you already own the pieces, and it looks different from the ones everyone buys at the big box store. I like that mine has a couple of old dents and the wood grain isn’t perfect. It fits the rest of the house better than something brand new.
It’s also useful in more than one spot. The same basic build works in the entryway, out on the porch, or at the end of a bed. Outdoor ones need a better sealer so rain doesn’t wreck them.
Suppose you’re still looking for pieces worth keeping the same rules I use when thrifting apply. Solid wood with real joints is worth bringing home. Particle board usually isn’t.
Best Old Furniture for Making a Bench
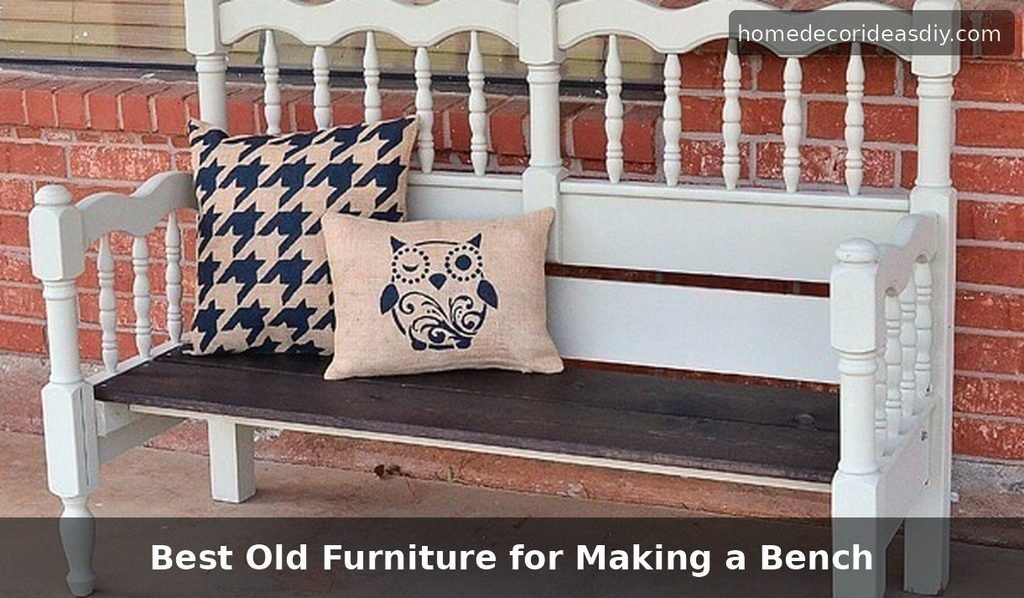
These are the ones I’ve actually used or seen work well.
Old dining chairs
Two or three chair backs side by side make the easiest version. The backs become the bench ends. You build a seat frame between them. They don’t have to match. I used different styles, and it looked fine once I painted everything the same color.
Old bed headboards and footboards
A headboard gives you a ready-made back. Cut the footboard down for the sides if you want arms. Add 2x4s underneath for support, then lay planks on top for the seat. Height is usually close to what you want for a hall bench.
Old dressers
Remove the drawers, cut the body down to seat height, and reinforce the open section. If the drawers still slide okay, you can leave one or two in for storage. More cutting involved, but you get a place to hide shoes or blankets.
Old cribs
The end panels and spindles are usually solid. Turn them into the back and sides of a small bench. You’ll need extra framing underneath because the thin parts flex without support.
What You Need
Keep it simple.
Stuff to have
- Whatever old furniture you’re using
- A few 2x4s for the frame under the seat
- Boards or plywood for the top
- Screws and wood glue
- Wood filler
- Paint or stain plus a topcoat (use outdoor stuff if it’s going outside)
Tools
- Saw (circular or jigsaw is fine)
- Drill
- Sander
- Measuring tape and pencil
- Safety glasses
I used scrap 2x4s and some pine boards that were already in the garage. Didn’t buy much.
How to Make a DIY Bench from Old Furniture
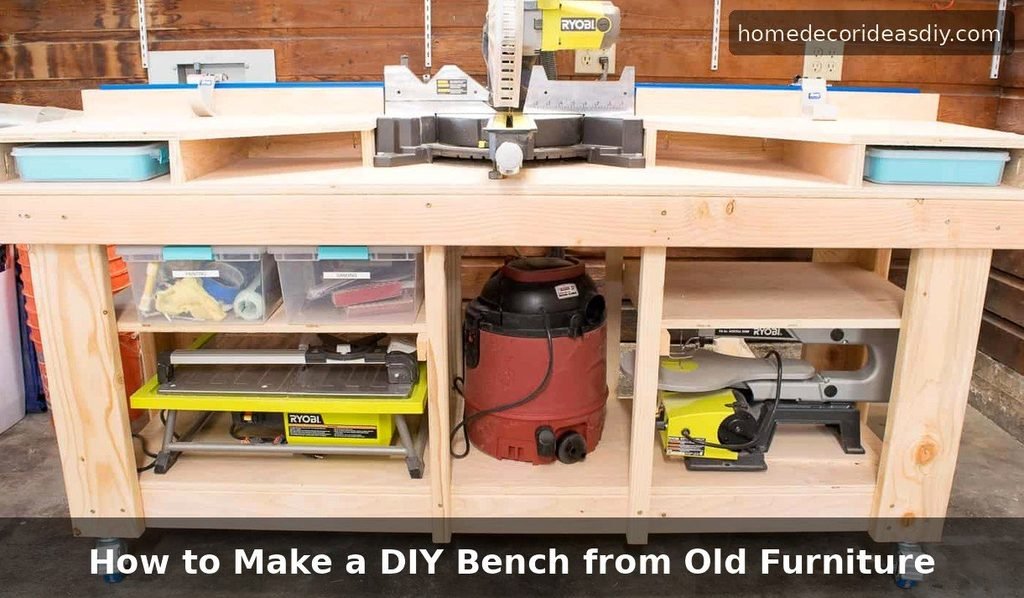
This order worked for the chairs. Same idea works for the other pieces.
Get the old piece ready
Pull the seats or drawers off. Take out any loose hardware. Sand the old finish just enough so glue and paint will stick. You don’t have to strip everything. Wipe the dust off.
Build the support frame
Measure between the chair backs or the headboard posts. Cut 2x4s to that length and screw them into a simple rectangle that will sit under the seat. Glue the joints too. This frame keeps the bench from wobbling when someone sits down. Set it in place and check that the legs still touch the floor evenly before you screw it to the old furniture for good.
Put the seat boards on
Cut the top boards so they stick out a little past the front and sides of the frame. Glue and screw them down. Leave a tiny gap between boards if you’re using solid wood. Plywood is easier if you plan to paint the whole thing one color.
Fill and sand
Fill the screw holes and any gaps. Let it dry, then sand everything smooth. Round the seat edges a bit so they don’t catch on clothes. Wipe the dust off again.
Paint or stain it
Prime if you’re painting bare wood. Two thin coats look better than one thick one. If it’s going outside, finish with a clear outdoor sealer. Inside, you can stop at a regular topcoat. Let it dry completely before you sit on it.
Keeping It From Wobbling
Most wobbles come from uneven legs or a frame that isn’t square. Check everything on a flat floor before you glue the final joints. A small shim under one leg is fine if your floor isn’t level. For porch or garden use, seal the bottoms of the legs so water doesn’t soak up. Indoor ones don’t need that.
If the old joints were already loose, glue and clamp those first, then add the new frame. A few extra screws from the old pieces into the 2x4s help too.
How to Style It
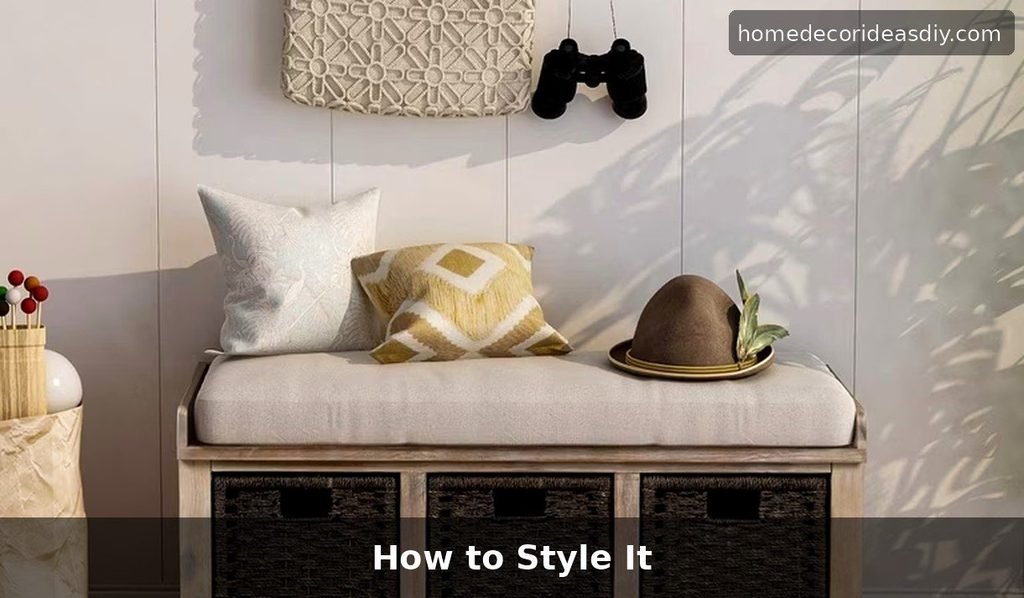
In the entryway, I just put a couple of baskets underneath and one cushion on top. It holds bags while people take off their shoes. On the porch, outdoor cushions work better than indoor ones. At the foot of a bed, it gives you a place to sit while you put socks on. A folded blanket on one end is enough.
Paint color hides a lot. I used a soft cream so the mismatched chairs looked like they belonged together. Stain works if the wood is decent and you want the grain to show.
Last Thoughts
My DIY bench from old furniture still has a couple of filled holes you can see if you look closely, and one leg sits on a tiny shim. Nobody cares. People sit on it every day, and it hasn’t fallen apart. That’s good enough for me.
If you’ve got old chairs or a bed frame taking up space, start with the prep and the support frame. Once those are solid, the rest is pretty straightforward. The same basic idea works for many other DIY wood projects that come out of the garage. If you’re still figuring out which old pieces are worth dragging home, our thrift store home decor ideas post checks the ones that actually hold up.
Upcycling means using stuff you already have instead of buying new. For a bench, that usually means better wood and more character than what you’d get from a flat-pack store.