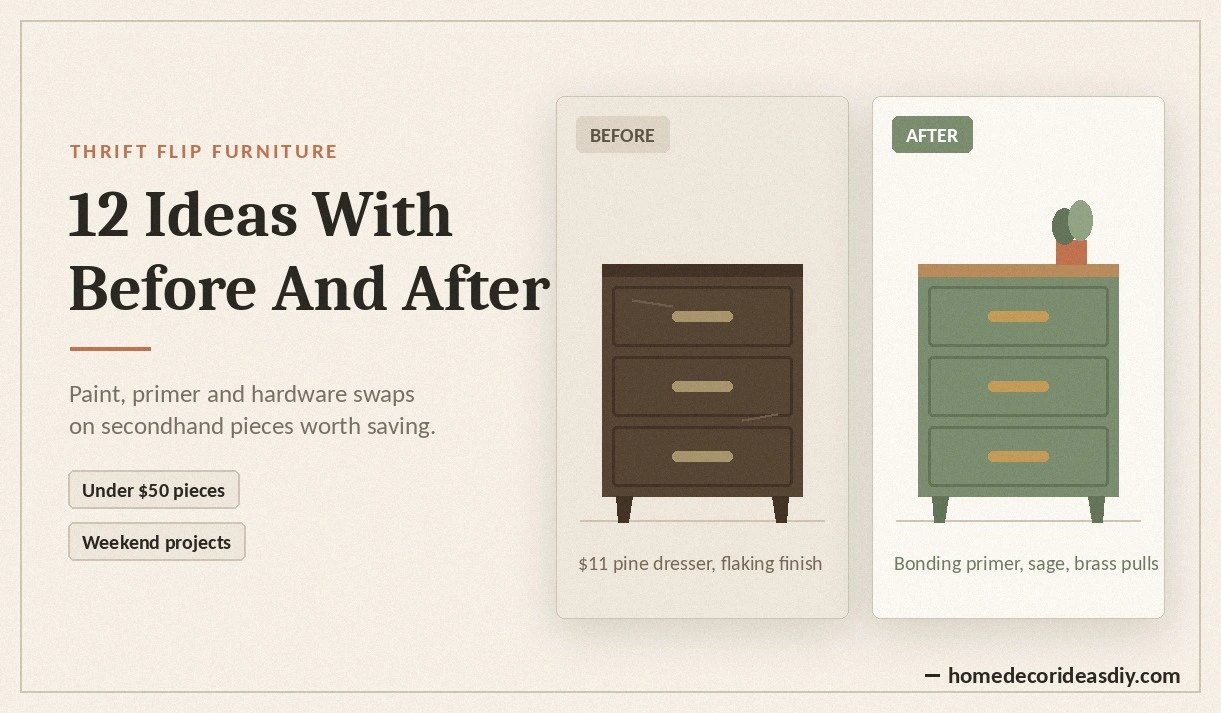
The first thrift flip furniture project I ruined cost me eleven dollars and about six hours. Pine dresser, decent bones, and I painted it straight out of the can with no primer and no cleaning because I was impatient and it looked clean enough. Three weeks later, the top drawer was shedding paint in flakes anywhere a fingernail caught it.
So most of what follows I found out by wasting a Saturday first, which is honestly the only way any of it sticks.
Primer decides whether a flip lasts; paint only decides the color
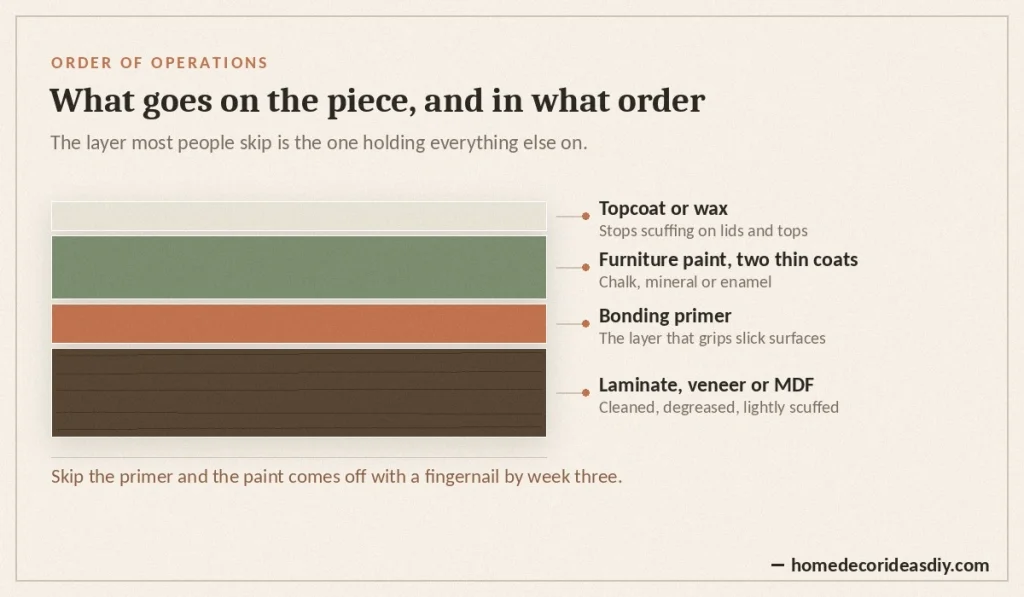
This is the part that kills more secondhand furniture makeovers than bad color choices ever will. If the piece is laminate, veneer, or that shiny MDF everything was made from between 1998 and about 2010, a bonding primer is not optional, and skipping it is why so many before-and-after photos look great in week one and rough by month three.
Chalk paint and mineral paint do bond to most surfaces without full sanding, which is real, but they still need the piece degreased first. Kitchen grease, furniture polish, and forty years of somebody’s hand oil all sit on that surface, and paint doesn’t care how expensive it was; it will lift.
One more thing worth saying flatly: standard latex wall paint does not belong on furniture. It stays slightly tacky, drawers stick to each other, and it peels off the edges within a year. Furniture enamel, mineral paint, or chalk paint, sealed. That’s it.
Seven thrift flip furniture ideas that need only paint, fabric or new hardware
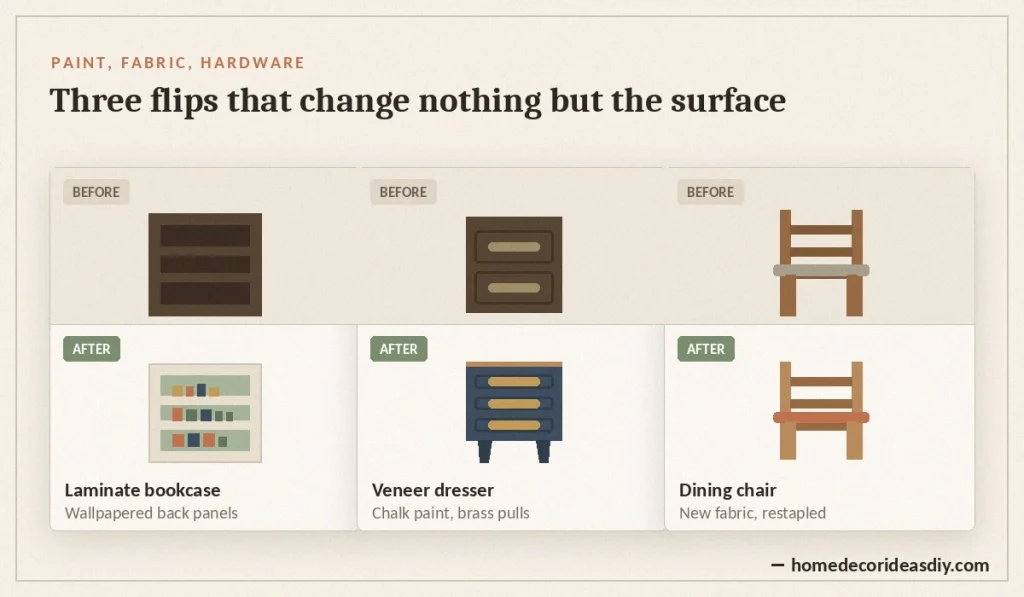
1. The dark laminate bookcase with wallpapered back panels
Before: a heavy black-brown bookcase, the kind that came flat-packed and got resold six times.
Peel-and-stick wallpaper on the back panels, exterior painted a warm off-white, and the shelves suddenly have depth behind them instead of a black hole. A patterned back also does the thing where half-empty shelves stop looking half-empty. This one shows up on Pinterest constantly, and for once the popular version is the correct version.
2. The 90s veneer dresser, chalk paint and better pulls
Sage green, warm clay, deep navy, whatever you like. The color matters less than the hardware. Original pulls on a dresser like this are usually thin gold-tone stamped metal, and swapping them for solid brass or matte black changes how expensive the piece reads from across a room, more than the paint does.
Two things to check before you buy the handles:
- Measure the hole spacing center to center, not edge to edge. Three inches and 96mm are close but not the same, and you’ll notice.
- If the drawer front has three holes and you want a single knob, you’re filling and sanding two holes, which is fine, but it’s another evening.
People do sell these for a few hundred on Marketplace after buying them for fifteen. I’ve never bothered; I keep them.
3. Dining chair seats, restapled
Cheapest visible win in the whole list. Unscrew the seat pad from underneath, pull the old staples out with pliers, lay your new fabric face down, pull it taut, and staple in from the middle of each side outward so it doesn’t skew. Four chairs, one afternoon, maybe fifteen dollars of fabric.
If the foam smells, replace the foam. Fabric over old foam smells like old foam.
4. Two-tone coffee table
Strip and stain the top, paint the base. Works because it splits the labor: you only strip the surface anyone actually looks at, and the legs get the easy treatment. It also reads as a deliberate design choice rather than a rescue, which most painted furniture doesn’t.
5. Two mismatched nightstands, one color
Buy them separately, weeks apart, different shapes even. Paint both the same color and add identical hardware, and your brain files them as a matched pair. Nobody who visits your bedroom is measuring them. This is one of my favorite tricks on the budget decor and thrift side of things because it lets you stop waiting for a perfect set to show up.
6. Solid oak side table stripped back to nothing
Sometimes the flip is removing what somebody else did. An orange-toned 80s oak table sanded down and finished with hemp oil or a matte wipe-on poly looks like a much more expensive piece of raw wood furniture. No paint at all. If the piece has good grain, painting it is the mistake.
7. Cane webbing in the cabinet doors
Pop the flat panel out of a cabinet or wardrobe door, staple pre-woven cane webbing behind the opening, add a thin trim strip to hide the staples. It’s fiddly, and my first attempt was crooked enough that I redid it. The second one took forty minutes. Cane costs about twenty to thirty dollars a running foot depending on weave, so this is not the cheapest idea here, but the before and after is the most dramatic.
Five flips where the piece stops being what it was
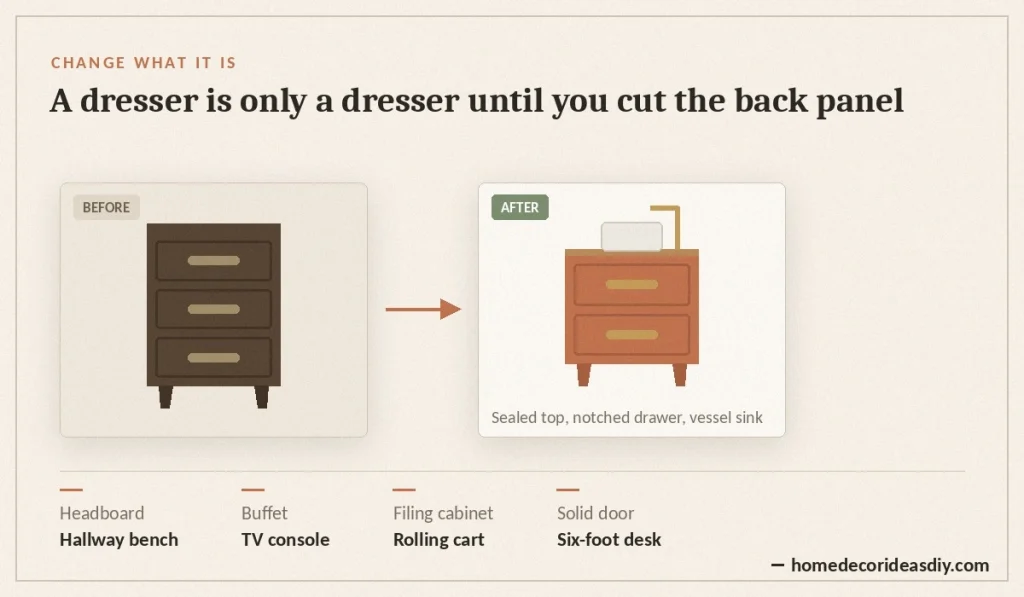
8. Dresser to bathroom vanity
Cut the back panel for plumbing, notch the top drawer around the trap, seal the top properly, drop in a vessel sink. The one thing to get right is a good waterproof sealer on the top surface, because the failure mode here is water sitting where two pieces of wood meet and swelling the joint. Old dressers are usually deeper than a stock vanity, which is why they look custom.
9. Headboard to hallway bench
Cut the headboard in half for the back and sides, build a simple seat frame, and you have a bench with detailing you can’t buy new. Carved wood headboards sit in thrift stores for almost nothing because full-size beds are a hard sell now.
10. Buffet to TV console
Barely a flip. Drill two cord holes in the back, remove one shelf from the middle cabinet for the console, and paint it or don’t. The proportions are already right, most sideboards being about the height a TV wants to sit at anyway.
11. Filing cabinet on casters
Sand the rust, spray it, bolt four locking casters to the base, and it becomes a rolling cart for craft supplies or a printer. Metal takes spray paint well as long as you knock the loose rust off and use a metal primer.
12. Old door as a desktop
Solid core door across two cabinets or a pair of trestles. Sand, fill the hardware mortises with wood filler, and seal it. You get a desk about six feet long for the price of the door and some sandpaper, which is roughly what a decent desk lamp costs.
Which of these is easiest if you’ve never done one?
The chair seats. There’s no drying time, no primer decision, and if you mess it up, you pull the staples and start again with the same fabric.
Do you have to sand a thrift store piece before painting it?
Not always, but you do have to know how old it is. Chalk and mineral paints are built to skip the sanding step on most surfaces, so a light scuff and a proper clean is usually enough.
The exception matters more than the convenience. Lead-based paint was banned for residential use in 1978, and anything painted before that should be treated as though it contains lead, which means no dry sanding and no heat gun. The EPA’s lead-safe guidance for DIYers covers containment and cleanup, and the CDC’s page on lead in paint explains why sanding is the specific activity that creates the hazard. Old painted furniture from a charity shop has no build date, so if it looks genuinely old and it’s painted, either test it or don’t sand it. Wet sanding, or priming straight over intact paint, gets you there without the dust.
Structural stuff is worth a second look too. Wobble it, open every drawer, and check whether the joints are screwed or stapled. Cheap furniture and good furniture look identical under a coat of paint, but only one of them survives being moved. I go into the buying side of this in more detail in the thrift store home decor ideas post.
Take the before photo in the parking lot
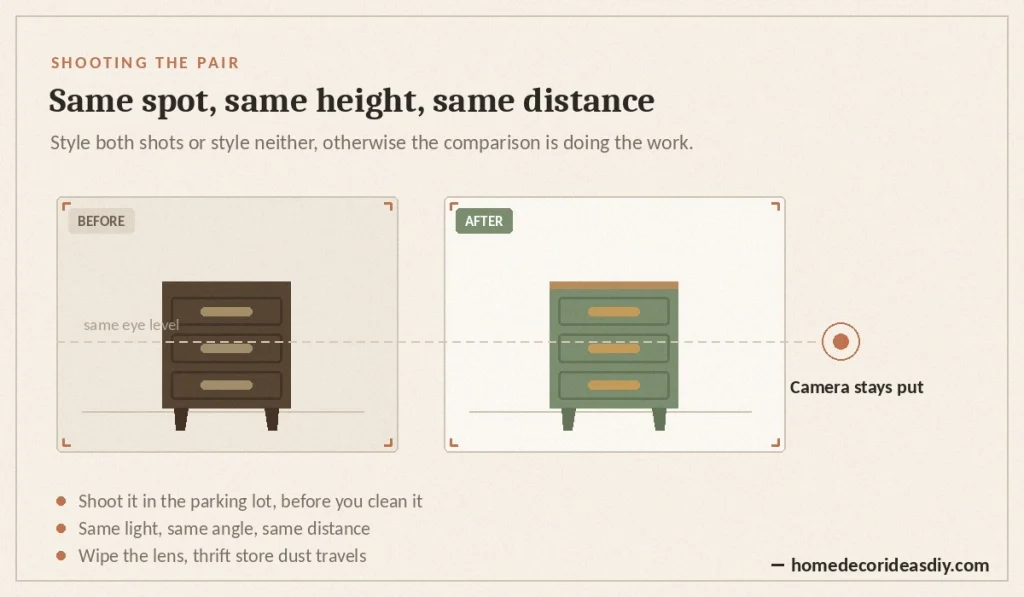
Sounds pointless until you’ve forgotten. You bring the piece home, you clean it, you sand the worst corner, and by the time it occurs to you to document anything, the before is gone and the after has nothing to sit next to.
Same light, same angle, same distance, both photos. That’s the entire technique. The reason before-and-after thrift flips look so good online is rarely the paint; it’s that the after shot is styled with a lamp, a plant, and a couple of books, while the before shot is a bare piece against a garage wall. If you want the comparison to be honest, style neither or style both.
The pieces I’ve stopped picking up
Anything with a smoke smell, because it doesn’t come out of upholstery or unsealed wood, no matter what the internet promises. Particleboard that has swollen at the base from water, because there’s nothing under the surface to fix. And large curved veneer, since it lifts when you sand it, and patching veneer is a skill I do not have.
Everything else is worth a look. The flips that go wrong are almost always the ones where I liked the shape so much I ignored what the piece was made of, and I’ve done that at least four times now. If you’re doing this to spend less rather than build a hobby, under-fifty-dollar decor projects and dollar-store DIY ideas get you further per hour than furniture ever will. Furniture is the one you do because you want to.