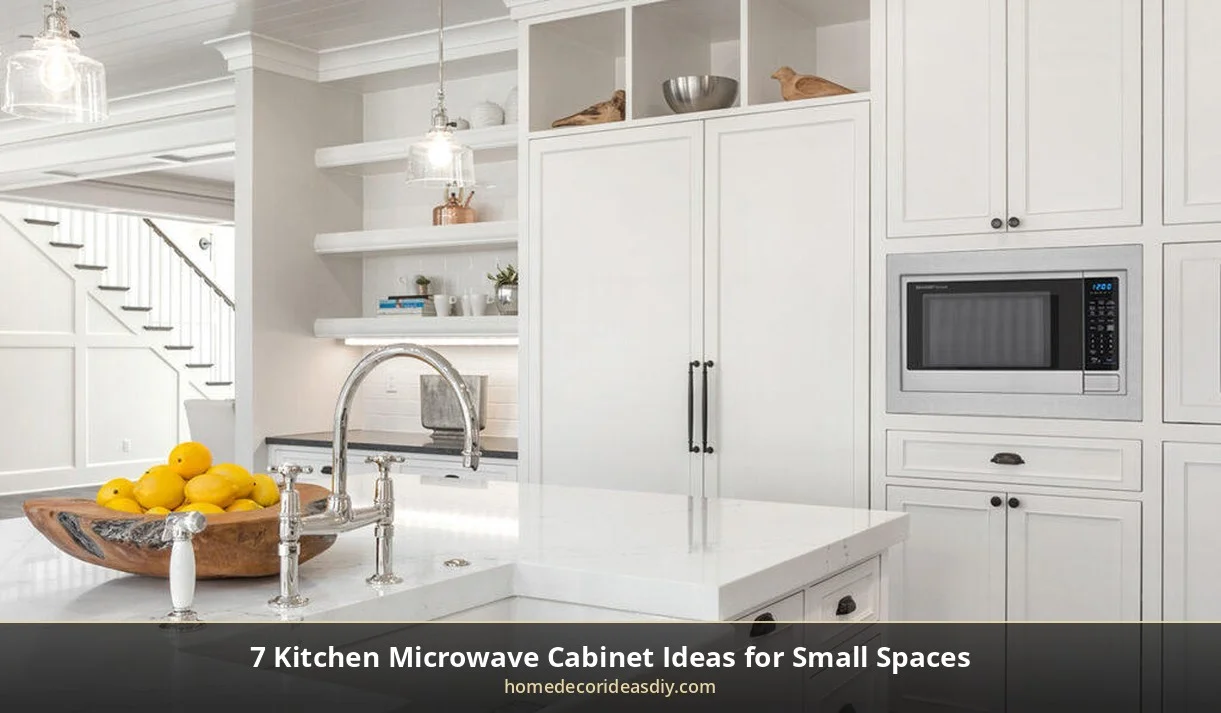
If your kitchen is small, your microwave is probably taking up the counter space you need most. A regular LG countertop model is about 21 inches wide and 17 inches deep, so it takes up a good part of the space where you would cut vegetables or set down a hot pan. A kitchen microwave cabinet gets it off the counter, and there are many ways to do that, like putting it in a drawer under the island, hiding it behind a door, or building it into the wall over the oven.
The style isn’t the hard part, though. The hard part is heat, because a microwave has to push warm air out of its sides or its top or its back, and if the cabinet is too tight around it, the heat stays in there, and that’s not good for the microwave or the wood around it. For each idea below, I added how much space the microwave needs, and you should check that for your model before you cut or build anything.
Kitchen Microwave Cabinet Clearance and Fit
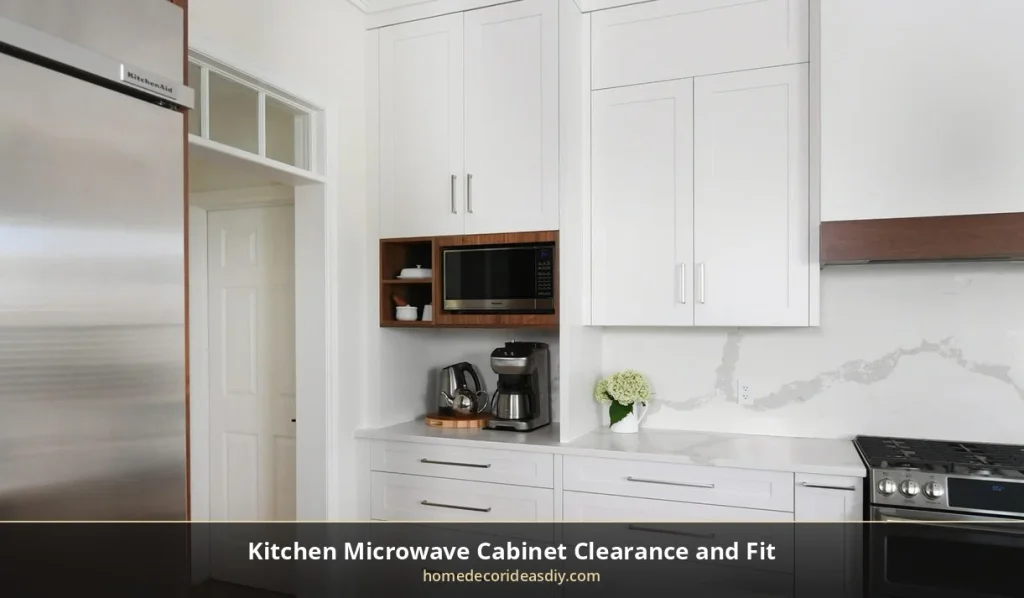
I thought all microwaves would need about the same space around them, but they don’t, and the difference between brands is pretty big. These numbers come from the brands’ own instructions and support answers:
| Sharp countertop models | 2 to 3 in | 2 to 4 in | 1 in |
| GE countertop (GCST16S1W1SS) | 3 in | 3 in | 1 in |
| LG MSER1590S | 4 in | 12 in | Left open |
| Frigidaire built-in with its trim kit | 3 in inside the cabinet | 12 in before the duct part | See manual |
Look at the LG line. It needs 12 inches above it, which is almost a whole upper cabinet, so many of the “put it in a cabinet” ideas you see online won’t work with that model. Always read the manual for your exact microwave first, and pick the cabinet idea after that. The model number is on a sticker inside the door, and most brands have the manual as a free PDF on their website.
Outlet Rules for a Kitchen Microwave Cabinet
Once the microwave is inside a cabinet, you can’t see the plug anymore, which is why this part gets skipped so often.
Use a grounded three-hole outlet, and don’t use an adapter or cut off the round ground pin. KitchenAid and Panasonic both say this in their manuals. Panasonic also says the microwave should be on its own circuit: 15 or 20 amps at 120 volts, with no other appliance on that same circuit, and some models need the full 20 amps. If your breaker already trips when the kettle and the toaster run together, adding the microwave to that line will make it trip more.
Where the outlet should go:
- For a built-in microwave, the outlet usually goes inside the cabinet, above the opening, so the plug isn’t stuck behind the microwave.
- For a shelf or cubby, put it on the side wall or above the microwave, not low on the back wall where the microwave will push against the plug.
- Don’t use an extension cord. KitchenAid recommends having an electrician install an outlet near the microwave instead.
For the cord, drill a hole in the side or back of the cabinet, insert a plastic grommet, and run the cord through. Don’t run it through the door gap, because the door pinches it every time you close it. Leave a little extra cord loose so you can pull the microwave out to clean behind it without tugging on the plug. That 1 inch of space at the back helps here too, since it keeps the microwave off the plug.
1. A Microwave Drawer in the Island or a Base Cabinet
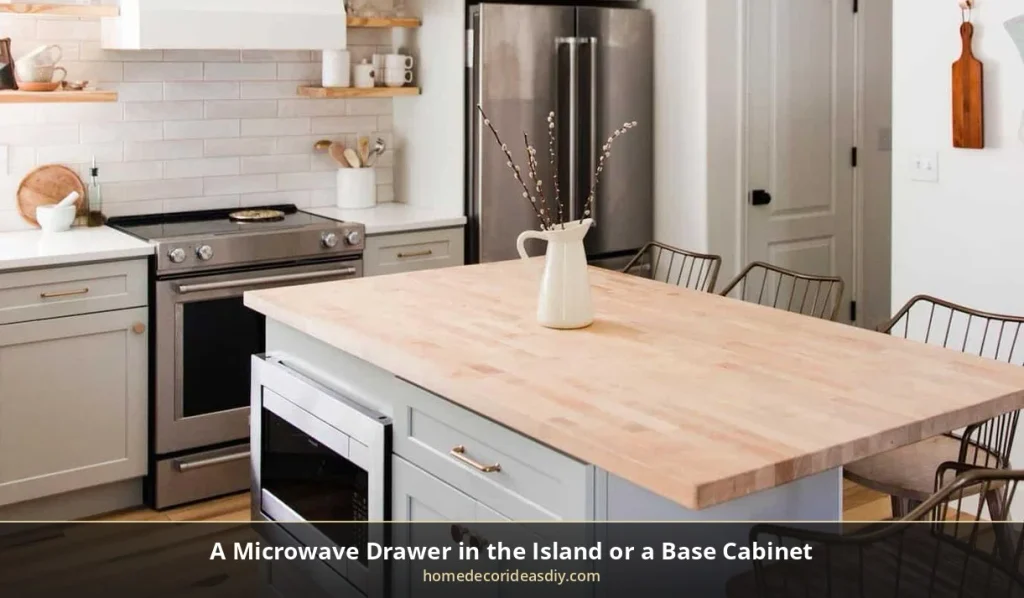
Base cabinets are the lower kitchen cabinets under your counter, and a microwave drawer fits in one of those or in the island. In a small kitchen, this idea clears the most space, because nothing sits on the counter and nothing hangs over it. Sharp makes two drawer models, the KB-6524PS and the SMD2470AS, both 24 inches wide and designed to go under the counter. They don’t need a trim kit because the vents are already built into the drawer.
The writer at Sundayflat said the first thing they liked about their drawer was not having to lift heavy soup bowls high anymore. You look down into it instead of reaching up, and kids can use it too, which you may or may not want.
The problem is price. A drawer microwave costs a lot more than a normal one, so it makes the most sense if you’re already building a new island or redoing the lower cabinets.
Can you put a regular microwave in the island?
Yes, but you need the trim kit made for your model. Marissa Cal put one in her own island, and she says the kit includes brackets that screw onto the shelf and lift the microwave a couple of inches so air can get under it. She also says a small microwave, under 1 cubic foot, can sit on a shelf with no trim kit. Micro Trim, a company that makes custom trim kits, says a standard countertop microwave must be at least 2½ inches shorter than the cabinet opening.
- Best part: it gets the microwave off the counter and off the wall at the same time
- Downside: it’s the most expensive choice, and it only fits if you’re redoing the base cabinets anyway
2. An Appliance Garage With Doors That Close
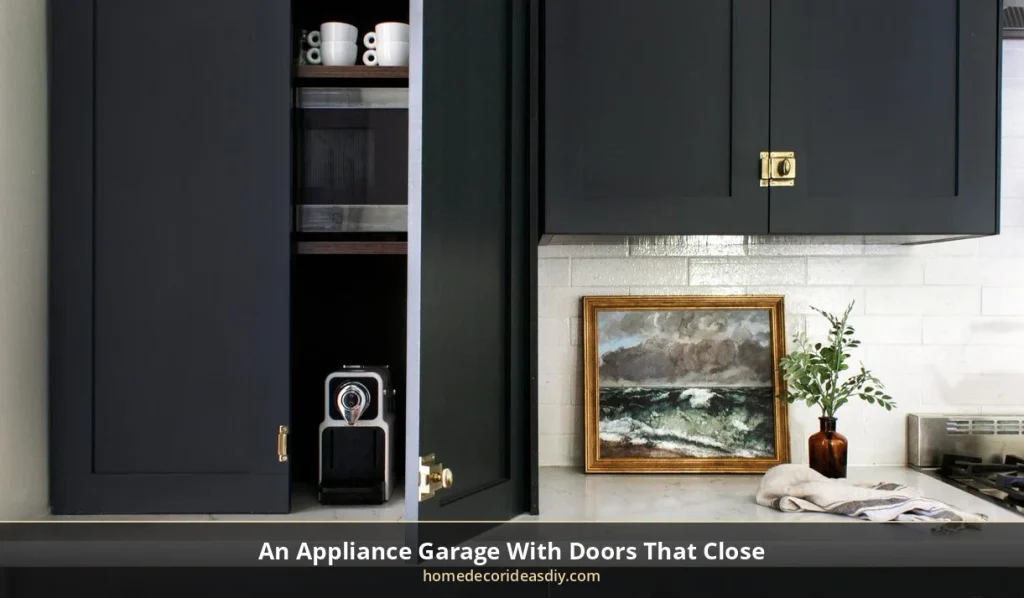
An appliance garage is a small cabinet that sits on the counter with doors on the front. The microwave goes inside, and when you close the doors, the counter looks clean, and you don’t see the microwave at all. It looks really good in pictures.
But Sharp says a countertop microwave shouldn’t be built into a cabinet unless it’s marked as built-in capable or you use their official trim kit, and an appliance garage is a cabinet. So you have to open the doors every time you use the microwave. That’s easy to say, but early in the morning somebody is going to heat their coffee with the door half closed.
If you still want one, these things help:
- Pocket door slides, so the doors slide back into the sides and stay open while it runs
- An outlet inside the garage, so the cord doesn’t go out through the door
- Enough room inside to match the table above, and with the LG that means a garage a lot taller than the microwave.
- Doors that swing out to the side, if the cabinet is low enough that a lift-up door would hit your head
Honestly, I’d build one of these for a toaster. For a microwave, I’d only do it with a model that’s made for built-in use.
- Why people like it: the counter looks the cleanest of any idea here, and you can build it yourself with plywood
- Why I’m careful with it: the doors have to stay open while it runs, and a normal microwave isn’t made to be shut in a box
3. A Built-In Wall Unit Stacked Over the Oven
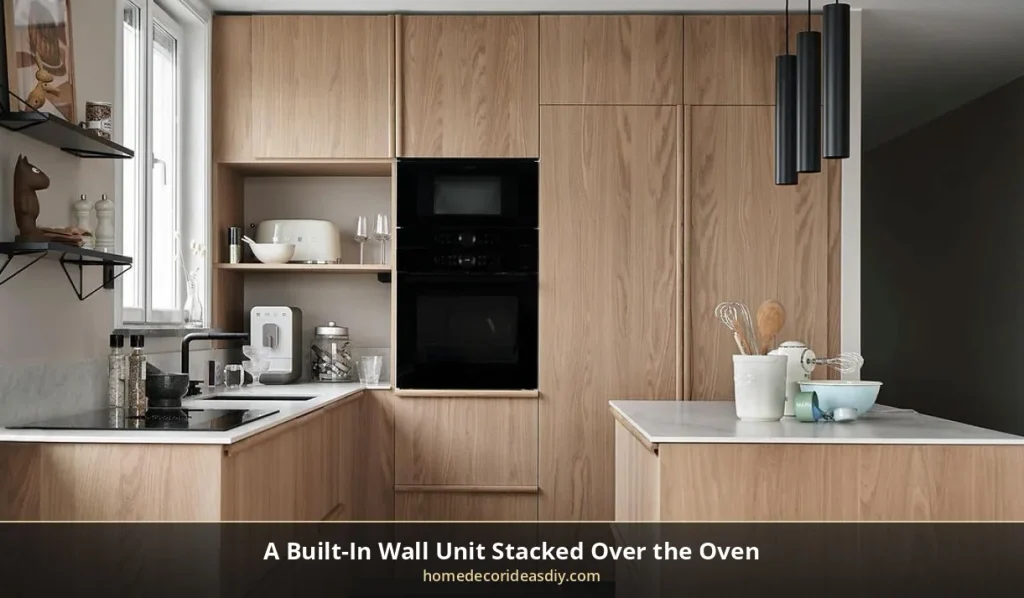
Here the oven and the microwave go together in one tall cabinet built into the wall. It takes both of them off the counter and off the stove, and in a narrow kitchen that can give you back a whole stretch of counter. It’s also the biggest job on this list, so know what’s involved before you order anything.
The oven and the microwave need to be the same width. A 30-inch microwave goes over a 30-inch wall oven. If you put a smaller one on top, there’s a gap in the trim that you can’t really cover. A common GE setup is the Profile PEB7227ANDD microwave with the JX7227SLSS trim kit for a 27-inch opening, or the JX7230SLSS for 30 inches.
From the installation instructions:
- The opening needs to be 17½ to 19½ inches tall for the microwave and its trim.
- You need a grounded outlet inside the cabinet, usually above the opening, and that means calling an electrician.
- Frigidaire says to leave 21 inches in front so the door can swing open.
Many built-in models push hot air out through the front of the trim kit, unlike the countertop models shown here. Frigidaire still asks for 3 inches on the sides inside the cabinet, though, so follow your manual. The flat front also goes well with the smooth, no-handle look of a modern kitchen. The downside is you lose a whole tall section of wall, and in a small kitchen that section might have been your pantry.
- What you get: a clear counter and a clear stove, and it looks like it came that way from the factory.
- What you give up: new wiring, a tall wall cabinet, and two matching appliances, so it’s a remodel, not a weekend job.
4. An Upper Cabinet Cubby With a Trim Kit
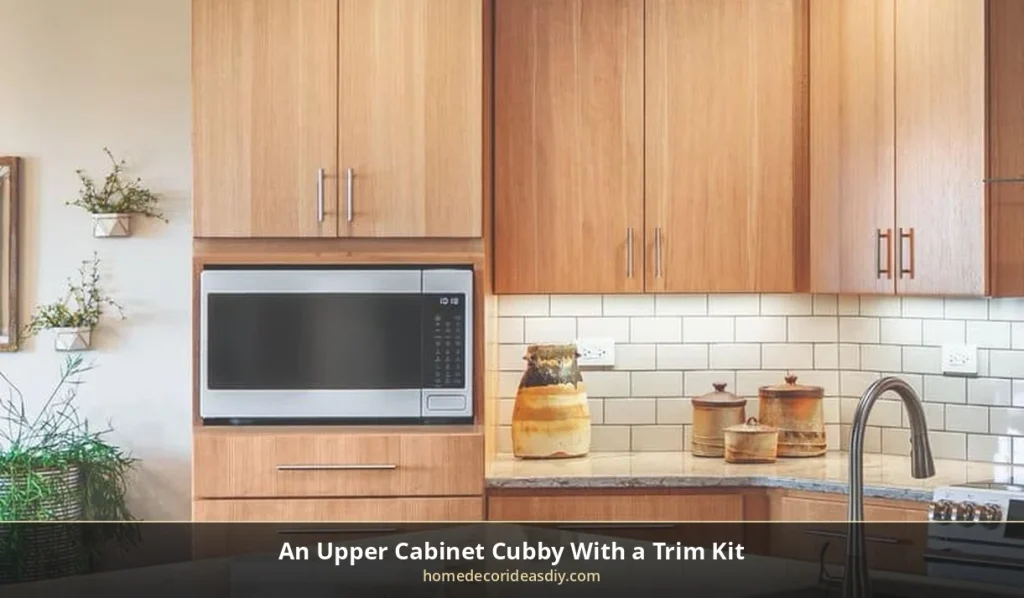
Pick one of your upper cabinets, remove the door, and fit the microwave into that space. It costs less than the wall oven setup, and it still keeps the counter clear.
This works best with a microwave that has its own trim kit. The Sharp SMC1442CS, a 1.4 cubic foot countertop microwave, fits the Sharp RK94S27F 27-inch trim kit. Most trim kits come in 27-inch or 30-inch sizes to match standard cabinets.
If your microwave doesn’t have a trim kit, it gets harder. A shopper named Melissa asked Best Buy whether the LG MSER1590S needed a trim kit to fit in a cabinet. LG said there’s no trim kit for that model and told her to leave 4 inches on every side, 12 inches on top and the back open. That microwave is about 12 inches tall, so the opening would have to be around 30 inches wide and more than 24 inches high, and at that size it’s not really a cubby anymore.
On the same site, a buyer who put in an LG trim kit said they used heat-resistant metal tape to seal the vent pieces after lining them up. LG’s answer to that question asked for 1 inch of space past the edge of the trim frame, which is easy to miss.
Think about height too. If the microwave ends up above your shoulders, you’re pulling hot soup down toward your face, and I wouldn’t set it up that way for anyone shorter than the cabinet line.
- Good: cheaper than the wall oven idea, and it uses a cabinet you already have
- Not good: it only works well with a trim kit model, and it can sit too high for shorter people.
5. A Slot in a Tall Pantry Cabinet
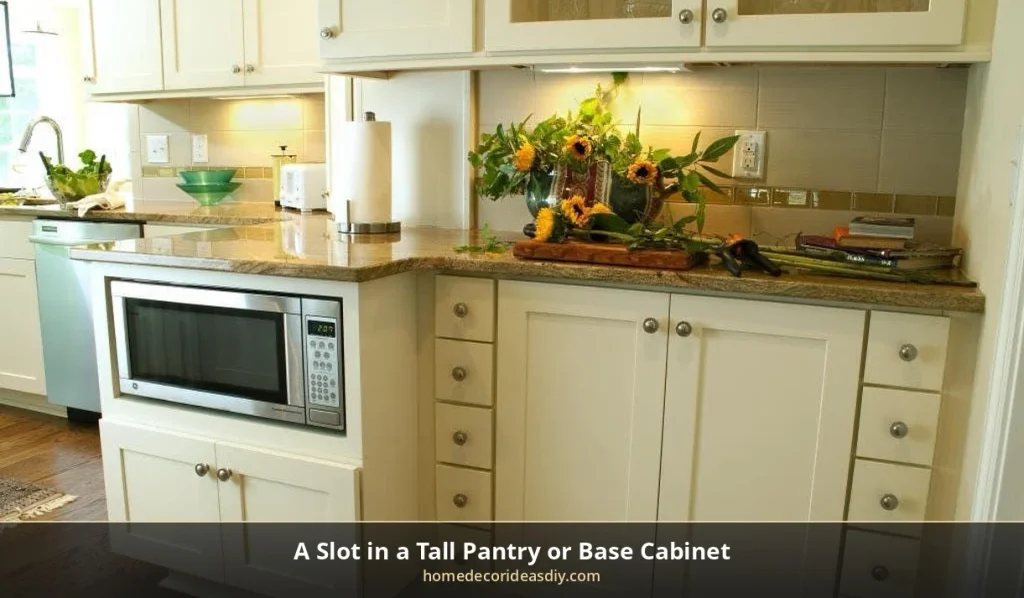
If you have a tall pantry cabinet near the kitchen, you can give one shelf to the microwave at waist height, which is about the easiest height to use. The Sunday flat writer designs small kitchens and likes this setup because it keeps the main kitchen wall clear. The space numbers from the table still count here, and the pantry door needs to stay open while it runs.
- Plus: waist height is easy on your back and arms.
- Minus: you need a tall cabinet close by, and you lose that shelf for food
6. An Open Shelf Under the Wall Cabinets
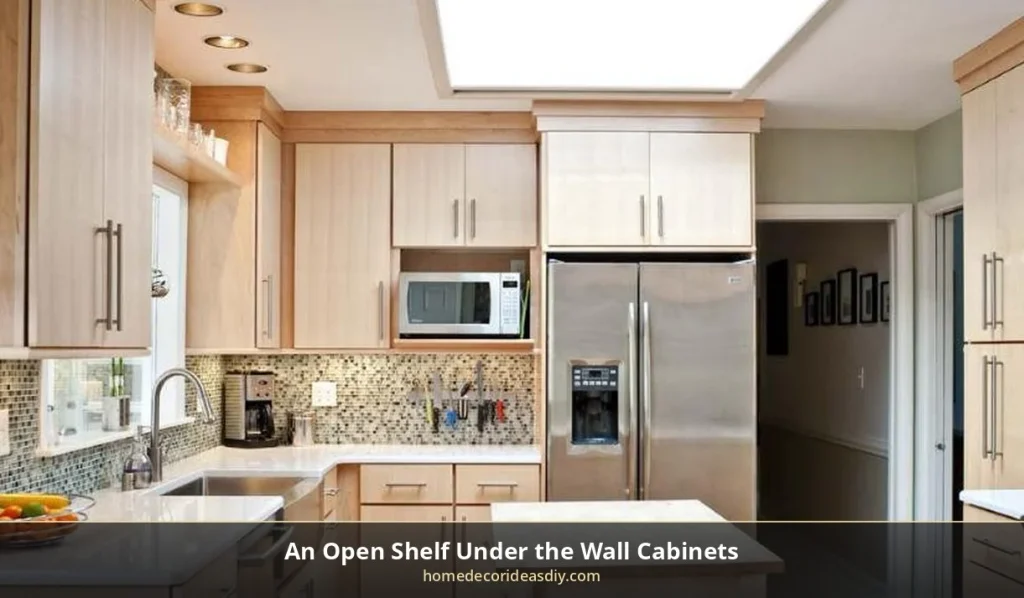
This is the cheapest idea here, and it’s the one I’d try first. Real Homes suggests bringing the cabinets down a bit or putting floating shelves under the wall cabinets, close to the coffee maker and where you prep food. An open shelf has no sides or door, so heat can escape easily, and you only need to keep the space on top and at the back.
Make the shelf strong, though. A full-size microwave is heavy, so screw the brackets into the wall studs, not just the drywall. If you’ve done any easy DIY projects around the house, a bracket shelf isn’t hard, and it takes about an afternoon.
- Nice thing: it costs the least, and the heat has room to go
- Not so nice: you still see the microwave, and the shelf has to be screwed into studs.
7. The Dead Corner Cabinet You Never Open
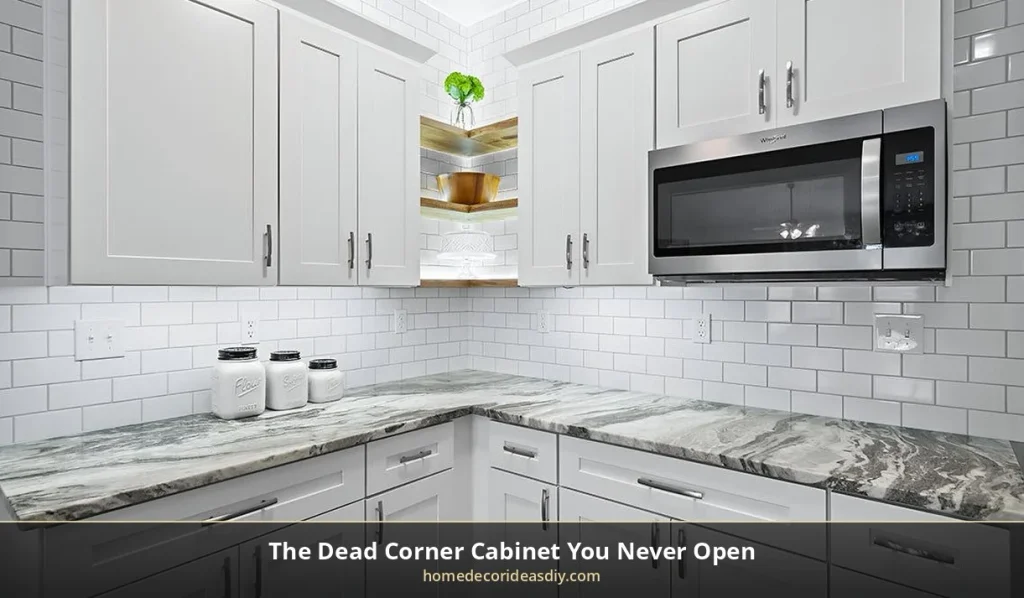
Coohom says corner cabinets are some of the least-used spots in a kitchen, and it’s tempting to make a corner cabinet to hold the microwave in a small kitchen, since that corner isn’t doing anything right now.
Check how far the door opens before you build. Frigidaire requires 21 inches of clearance in front for the door. In a corner, the side wall is often closer than that, so the microwave door hits the wall or only opens partway. Open the door all the way and measure before you build anything.
- Good: you use a spot that was sitting empty.
- Bad: the door often doesn’t have room to open, and you’ll probably need a custom cabinet.
If this was my small kitchen and I had one weekend, I’d go with the open shelf or an upper cubby with a real trim kit, and I’d leave the wall oven setup for a full remodel later. The appliance garage looks the best in pictures, but it’s the one I trust the least, because people close that door and the microwave keeps running anyway.