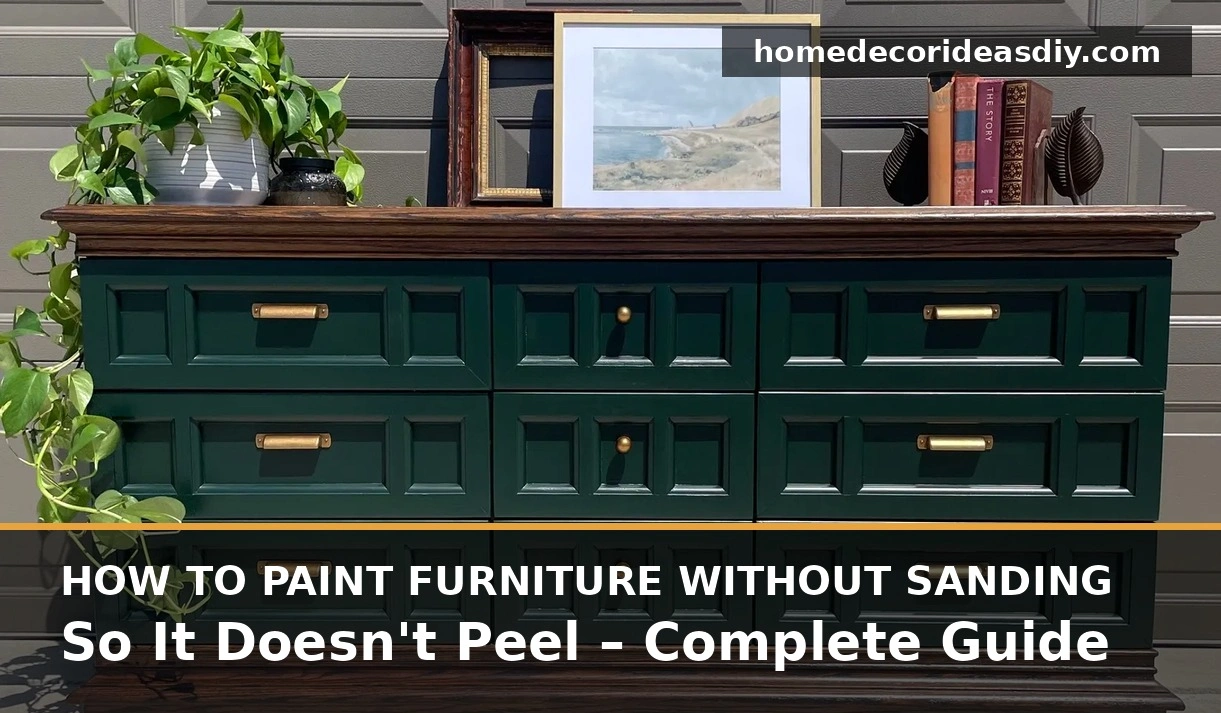
The first time I tried to paint furniture without sanding, three coats of good latex came off the top in one rubbery strip, the way a label peels off a jar, and all I did was pull up a bit of painter’s tape I’d stuck there to mark where the lamp would go. It was a laminate nightstand I paid eight dollars for at a Habitat for Humanity ReStore, and the lesson from it still holds on every piece I do: you can skip the sandpaper, but you can’t skip giving the paint something to grip.
Sanding a piece that’s already smooth was never about smoothness. It scuffs the old finish so fresh paint has tiny scratches to hang onto, and when you drop that step, something else has to do the scuffing for you, whether that’s a chemical, a primer, or a paint built to stick on its own. Most pieces come out fine once one of those is doing the work. The ones that fail are nearly always the ones where nothing was, which was me, with the nightstand.
Do you have to sand furniture before painting?
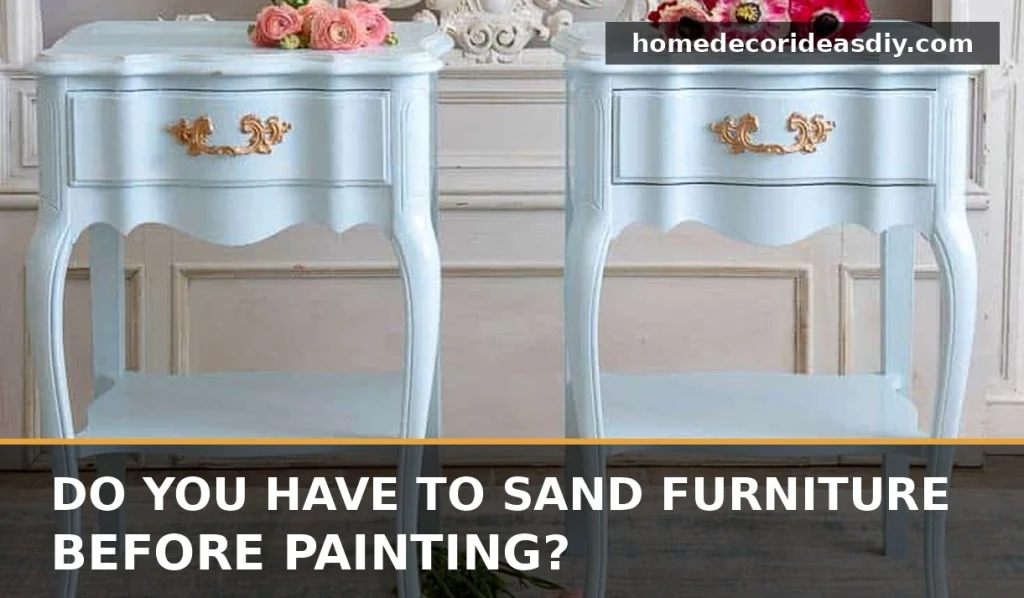
No, as long as the old finish is sound and you use a deglosser, a bonding primer, or a paint made to grip without prep. The surface matters more than the paint. A dull finish in good shape is halfway there. A slick, shiny top coat, like the factory lacquer on a lot of ’80s and ’90s bedroom sets, is the one paint slides off.
Before I buy anything, I drag a fingernail across a hidden spot, the back edge or the underside of a drawer front. If the old finish flakes or lifts, stop there, because a primer can only hold paint to a finish that’s still holding onto the wood, and that piece needs its loose areas scraped and sanded. If your nail skates across without catching, keep going without sandpaper.
Sanding still wins in a few cases:
- Anything peeling, bubbling or cracked. Loose finish has to come off first.
- Raw wood with raised grain or water damage, which feels rough under paint regardless of what goes over it
- Deep gouges you want gone, since paint shows dents more than it hides them
- A dining tabletop that takes plates and keys every day, where I’d give it a light scuff even after priming, to be safe
Clean it first, because grease beats every primer.
Old furniture holds years of hand oil, kitchen grime and furniture polish, and the polish is the sneaky part. A lot of the old spray polishes left a film behind, some of it silicone, and paint pulls away from that film in little craters refinishers call fisheye. You won’t see it until the first coat goes on, which is a bad time to find out.
Pull the hardware and drawers, then scrub everything with a degreaser or a TSP substitute and a scrub pad, gloves on. Get into the corners and the carved bits, where the grime is thickest. Then wipe it all down again with clean water, because leftover cleaner leaves its own film and you’re back where you started. Let solid wood dry overnight.
Three ways to paint furniture without sanding
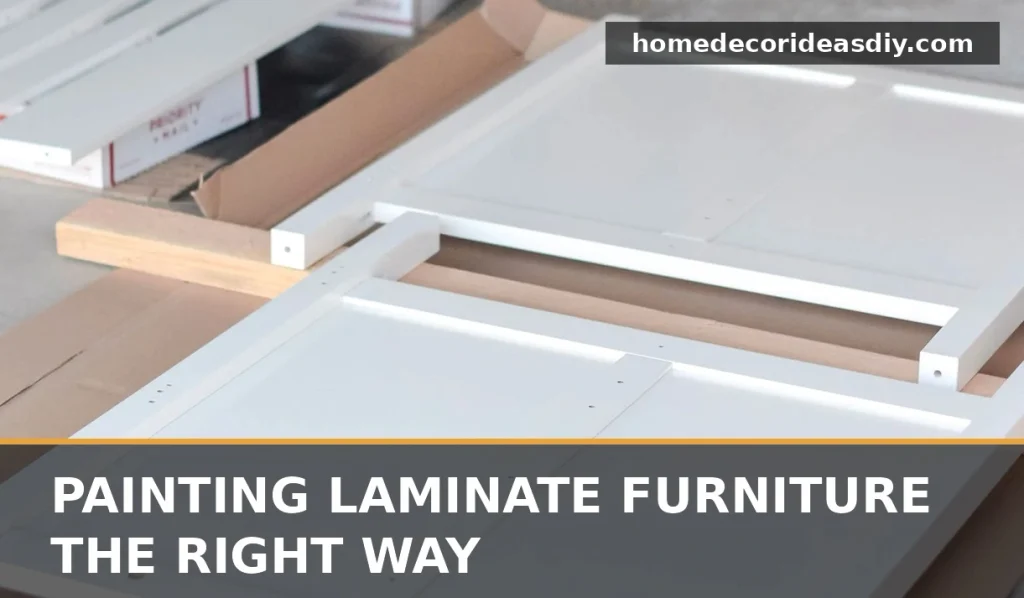
Each of these stands in for sandpaper. I use the second one far more than the other two.
Liquid sandpaper (deglosser)
It’s a wipe-on solvent that dulls and softens the very top of the old finish so paint can bite in. Klean-Strip’s liquid sander deglosser is the one most hardware stores stock. Gloves on, windows open because the smell is strong, and wipe it on with a lint-free rag, then wipe off whatever the label tells you to.
That label also gives you a window for priming or painting afterward, and it’s short, so read it before you start, not after. Don’t dogless on Saturday and paint the following weekend. Honestly, on a really glossy piece I don’t trust deglosser alone. I treat it as cleaning plus insurance before primer.
Shellac-based bonding primer
If I could keep one product on the shelf, it would be this. Zinsser’s B-I-N is the usual pick, and the company’s own spec sheet says it grips dense, glossy surfaces like enamel, varnish, laminate, even glass and ceramic tile, without sanding or deglossing. You can recoat in about forty-five minutes.
The other reason I reach for it is bleed-through. Cherry, mahogany and some oak push tannins up through water-based paint, and white goes pink or yellow along the grain. A cherry side table I painted a soft white did exactly that, a sort of salmon blush showing up on the second coat, and two coats of B-I-N stopped it. That stain-blocking isn’t new, either. Shellac is a resin made by the lac bug, and it was one of the main wood finishes on Western furniture from the 1800s until nitrocellulose lacquer took over in the 1920s and ’30s.
It has its annoyances:
- It’s thin and dries fast, so work quickly and don’t go back over areas that have started to set
- The original formula smells like a nail salon and needs denatured alcohol to clean your brush, while the B-I-N Advanced version cleans up with soap and water.
- The spray can is worth buying for carved legs and spindles, where a brush drags and leaves drips.
Paint that sticks on its own
Chalk-style and mineral paints are sold on the no-prep idea, and on a clean, sound finish they mostly live up to it. Annie Sloan’s Chalk Paint started the category, and Rust-Oleum and Dixie Belle now make their own versions. The finish comes out matte and a bit chalky, and it distresses easily at the edges, which is most of the look people want from budget farmhouse decor anyway.
Two catches. Chalk paint is porous, and fingerprints show, so it needs wax or a water-based topcoat on anything you touch often. And it won’t stop tannin bleed on redwoods, so a cherry piece still needs shellac underneath.
Which prep fits which piece
| Glossy varnish or lacquer | Clean, then shellac primer, then any paint |
| Laminate or thermofoil | Clean, then 2 thin coats of bonding primer |
| Dull, sound painted finish | Clean, then paint (primer optional) |
| Cherry, mahogany, red oak | Shellac primer, even under chalk paint |
| Raw, unfinished wood | Primer, plus a light sand if the grain feels fuzzy |
Laminate is where most first-timers get burned. It looks like wood grain, but it’s a printed plastic-type layer, and ordinary latex has nothing to hold onto.
Tape-test the primer before you paint.
Once the primer has had a day, press a strip of painter’s tape hard onto a hidden spot and yank it off fast. Clean tape means you’re good to paint. If flecks of primer come away on the tape, fix it now, while it takes ten minutes instead of a weekend. This is the test I skipped on the nightstand.
Thin coats, then a longer wait than you’d like
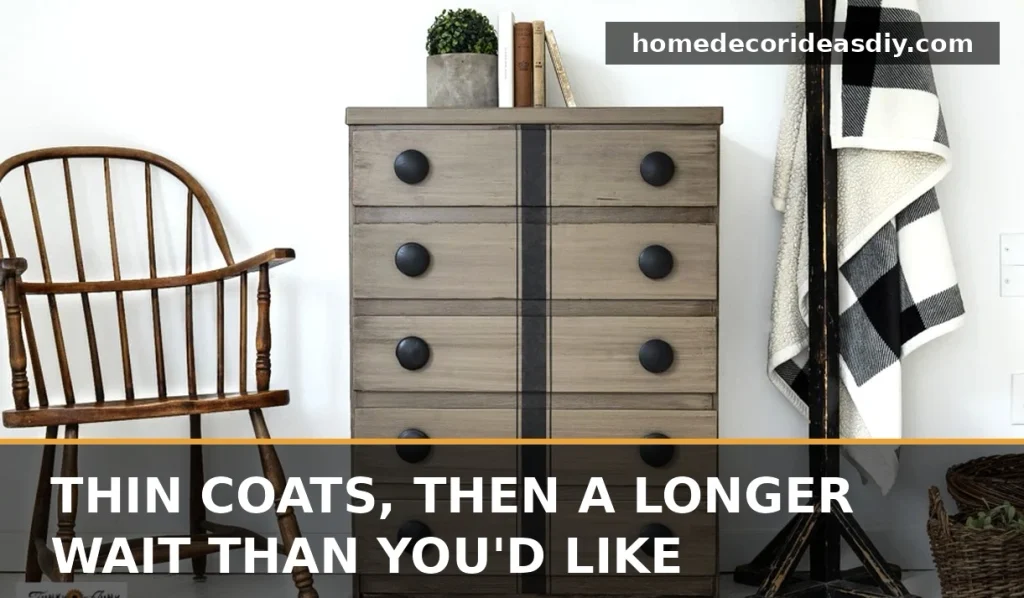
A lot of the peeling I see on unsanded pieces comes down to impatience more than prep. Latex feels dry in about an hour, but it stays soft underneath for three to four weeks while it fully cures, and anything heavy left sitting on it during that time sticks. Painters call it blocking. A lamp base, a stack of books, a laundry basket- any of them can leave a print or tear the paint when you lift them off.
So go with thin coats from a decent synthetic brush or a foam roller, two or three of them, and let each one dry properly before the next. Use lightly after a couple of days; don’t park anything heavy on top for about a month. Tops that get handled a lot deserve a water-based polycrylic over the paint. Skip oil-based poly over white or pale colors, because it yellows.
Can you paint over varnish without primer? Sometimes, with chalk paint or an all-in-one furniture paint, on a piece that sees light use, like a mirror frame or a plant stand. A dresser top or a kitchen table? No, I’d prime.
If this is your first painted piece, go small, a stool or a side table instead of a six-drawer dresser, for the same reason most of these easy DIY home decor projects start small: you learn how the paint behaves on something that doesn’t matter much if it goes wrong.
I still keep a sanding block in the kit for the one loose corner that turns up on nearly every thrift store piece. Skipping sandpaper across a whole piece works fine. The real mistake is pretending a flaking finish is sound, and I paid eight dollars to learn that one, which, as lessons go, was cheap.