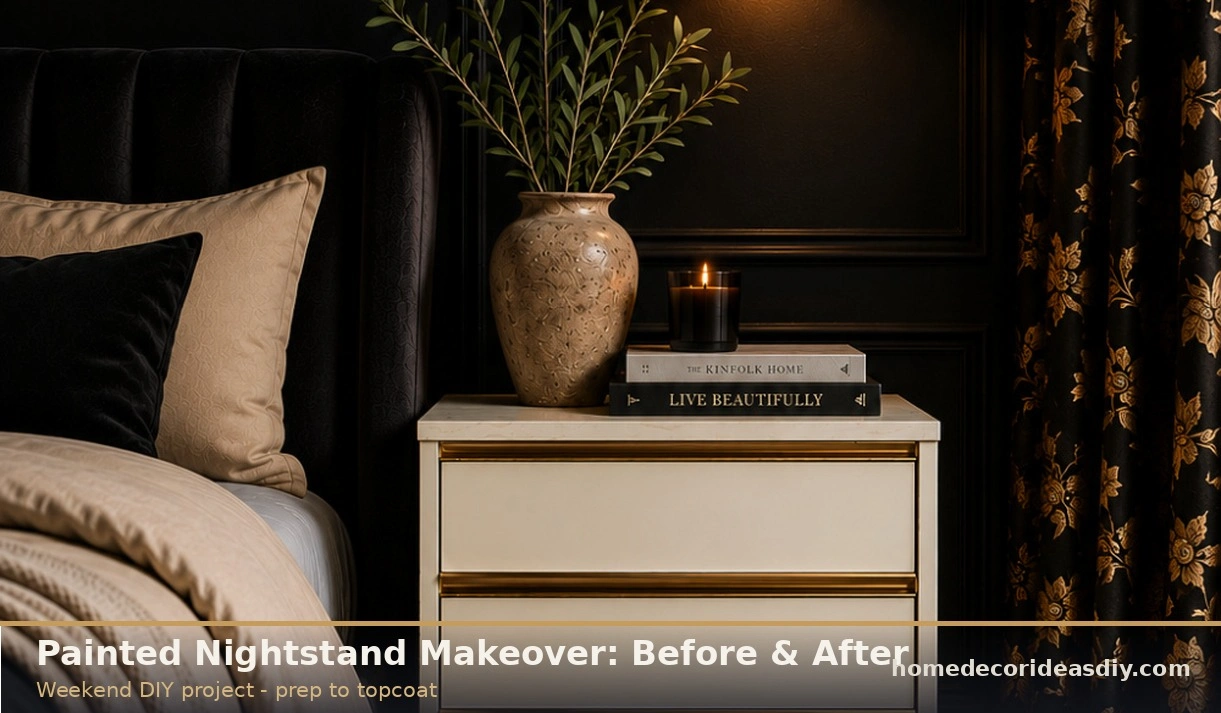
A twenty-dollar nightstand from Goodwill with a tired orange finish and one knob hanging loose is my favorite kind of project, and a painted nightstand makeover on a piece like that fits into a weekend as long as the first day goes to prep. Peeling edges, drawers that grab, rings on the top. Nearly all of it traces back to day one.
This is the order I’d work in, start to finish.
What you’ll need
- Degreaser (Krud Kutter or a TSP substitute) and a couple of rags
- 220-grit sanding sponge, plus 320-grit for between coats
- Primer: bonding primer for laminate, shellac-based for mahogany or cherry
- Paint: water-based enamel or chalk paint (more on picking one below)
- Water-based polycrylic, if you go with chalk paint
- 4-inch foam roller and a 2-inch angled brush; a Purdy or Wooster is fine
- Wood filler, tack cloth, painter’s tape
- Lead test swabs if the piece looks older than about 1978
Step 1: Figure out what the old finish is sitting on
Pull a drawer and look at the edge of the front. Grain that runs over the edge and carries on down the end means solid wood, and solid wood forgives almost anything. A thin line at the edge, maybe a chip with brown particleboard underneath, that’s veneer. Still wood on top, but it’s paper-thin, so keep the orbital sander away, or you’ll be through to the board before you notice.
Then there’s laminate. Printed wood grain on plastic. You spot it when the same knot shows up twice on one top because the print repeats. Laminate has no tooth at all, which means paint has nothing to grab, and no matter what the chalk paint label promises, you still need a bonding primer underneath.
Is the old paint safe to sand?
It depends on how old the piece is. The US banned making lead-based house paint in 1978, and nightstands from estate sales or a relative’s back bedroom can still carry a coat of it under the newer layers. Test before you sand, since sanding is what turns it into dust.
Swabs are cheap at any hardware store. Nick a small spot through every layer, rub, wait. If it changes color, I wouldn’t sand it or heat-gun it, and for a table that sits beside a pillow I’d walk away and find a different one. Anyone who buys furniture at the same flea markets that turn up good vintage home decor should keep a pack of swabs in the car. I mean that.
Step 2: Clean, scuff and fill
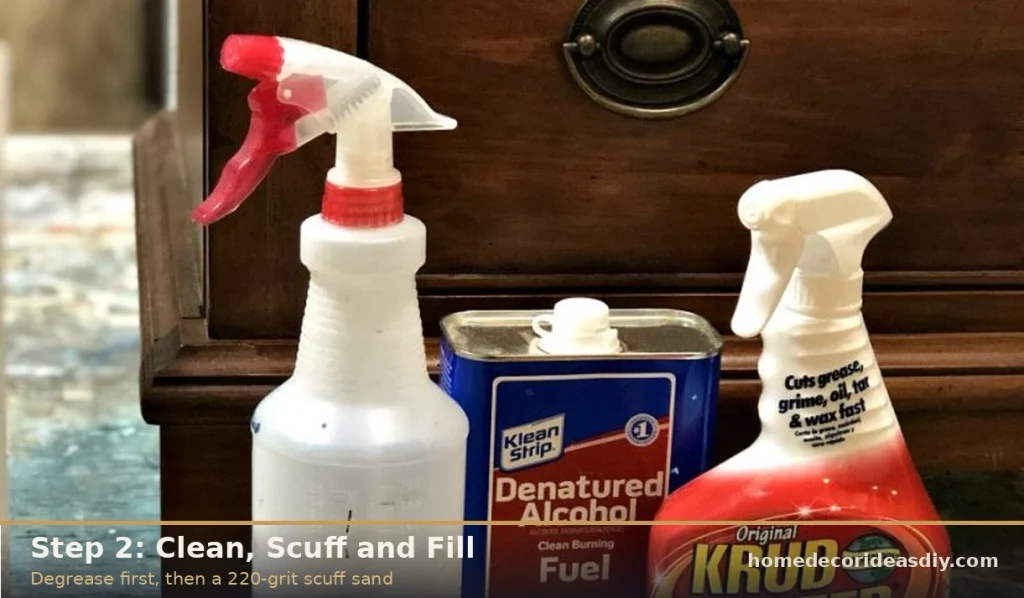
Degrease first. People skip it. A nightstand is where hand cream and lip balm live, and the front edge collects finger oil every single night, and paint over that lets go early.
After it dries, scuff everything with the 220 sponge. You want the shine dulled, not bare wood. Spend the time on the top and the drawer fronts. Fill dents and the old knob holes too; if the new pulls won’t line up, let the filler harden, then sand it flush. Vacuum, tack cloth, done.
Label the drawers in pencil on the back before they go anywhere. Two “matching” nightstands rarely have drawers that swap cleanly.
Step 3: Prime (and watch red wood)
Old mahogany and cherry push tannins up through water-based paint. The stain shows as a pink or yellowish haze, usually on your second coat of white, which is maddening. Shellac-based primer like Zinsser B-I-N blocks bleed-through where water-based blockers are hit-or-miss. It stinks porch or open windows.
Laminate gets bonding primer. Light solid wood or an already painted piece can take a regular primer.
Chalk paint or enamel for a painted nightstand makeover?
My vote goes to a water-based enamel, Benjamin Moore Advance or Sherwin-Williams Emerald Urethane Trim Enamel being the two that come up most. Enamel cures harder, so a lamp base won’t leave a dent, and it levels out while wet so brush marks mostly vanish. It also has a long open time, which is nice, but it also means long waits between coats. Three evenings, realistically.
Chalk paint goes on faster and suits a first-timer, and for a distressed look with the edges rubbed back it wins. It’s porous, though. Leave the top unsealed and the first sweaty glass of iced tea marks it.
Sealing chalk paint: use water-based polycrylic, not oil-based poly. Oil-based ambers with age, and over white it slides toward cream within a year or two near a window. Thin coats, light 320-grit pass between them.
Step 4: Paint it
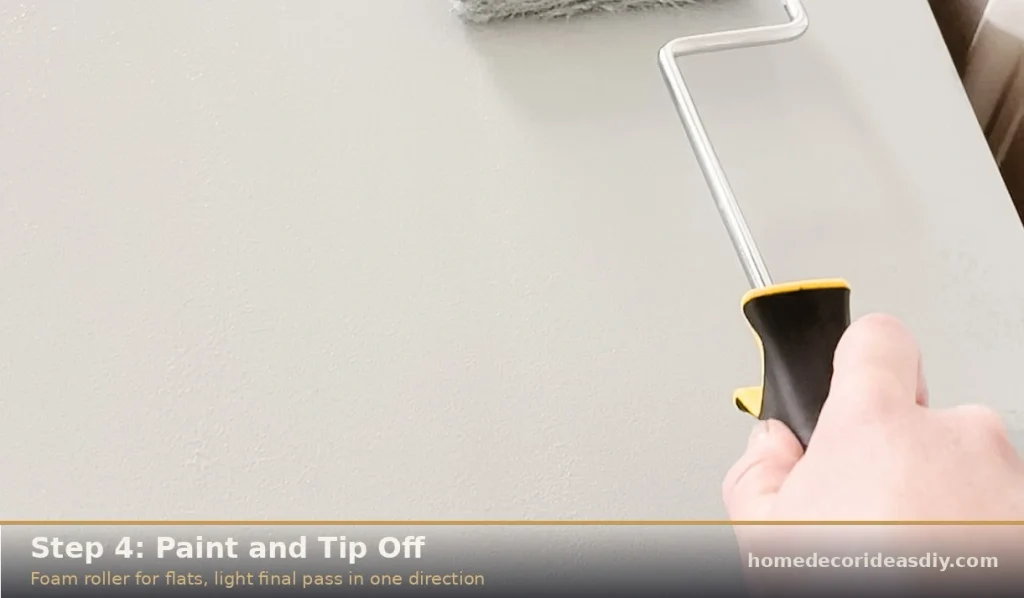
Roll the top and flat sides, brush the edges and trim, then tip off, meaning one light pass of the roller or brush over the wet paint in a single direction so it lies flat. Drawer fronts go face up on a pair of cans so nothing runs.
Don’t paint drawer sides or the inside of the openings. Enamel stays slightly tacky against itself for days; painters call that blocking, and a drawer painted tight into its opening can glue itself shut. Humidity makes it worse. Once dry, rub paste wax or a stub of white candle along the runners.
Step 5: Hardware
New pulls do half the work in most before-and-after photos. Swapping to heavier brass or matte black over the original builder knobs is how a lot of bedrooms end up looking expensive without costing much. Measure center to center on the old holes first; 3-inch and 96mm look alike on the store shelf and don’t fit each other.
Let it cure before you load it up.
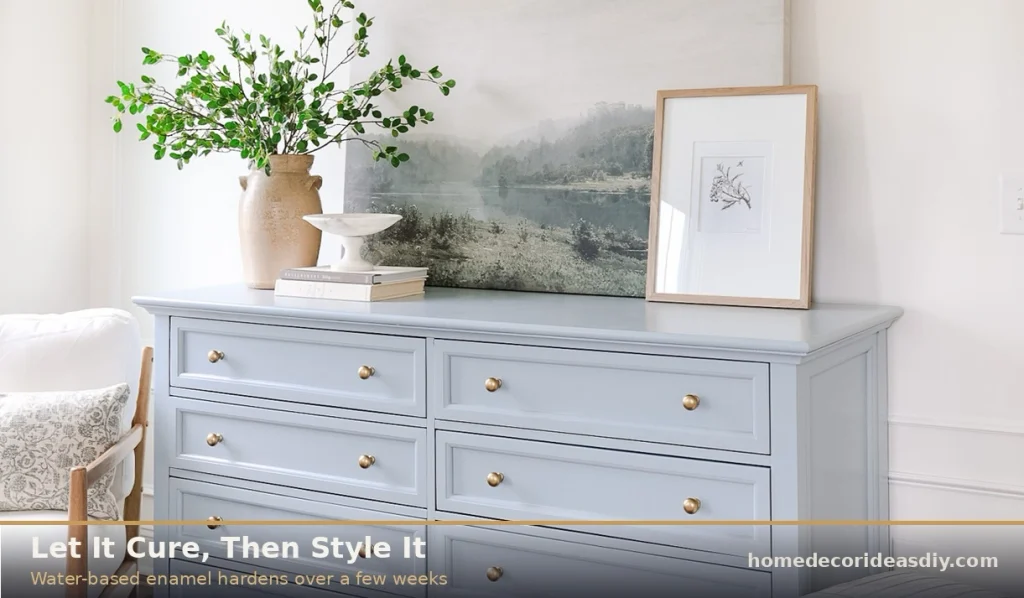
Touch dry happens in hours. Fully hard takes weeks with enamel. Drawers can go back in after a day or two, but keep books, the lamp and the phone charger off the top for a week, and coasters after that for a good while.
Is all this prep overkill for a twenty-dollar nightstand? Maybe. I’ve just never met anyone happy they skipped the primer.