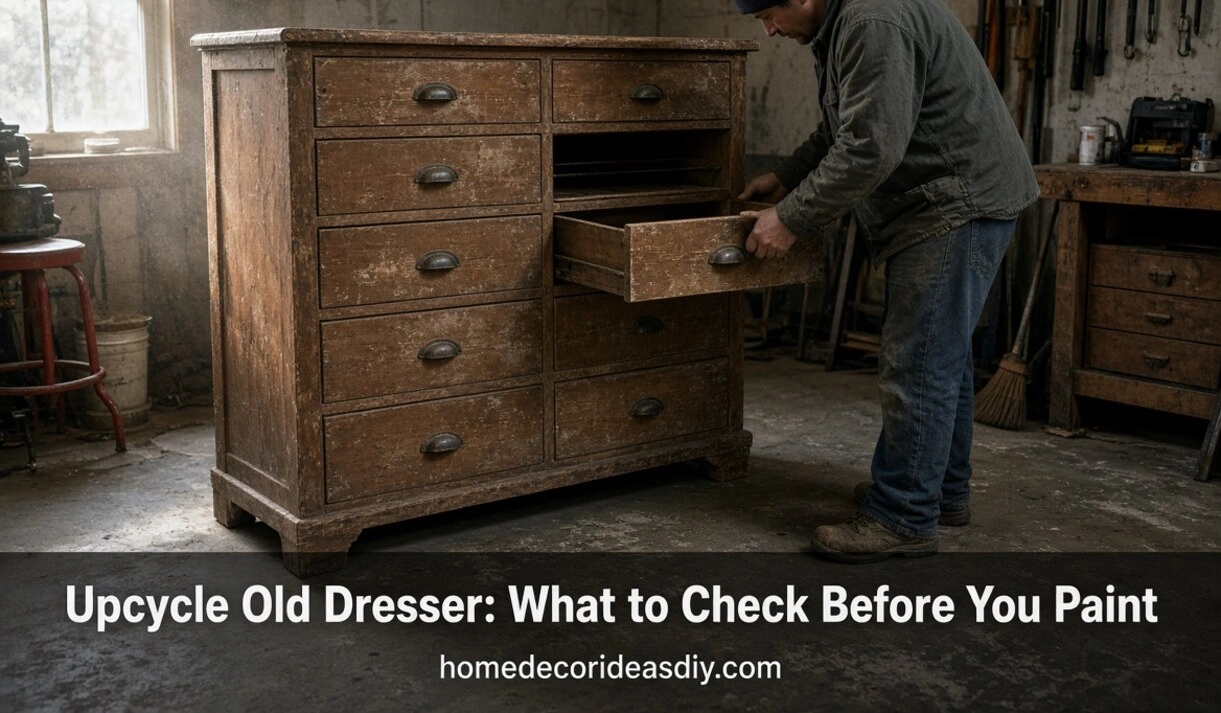
I dragged a dresser home off a curb once- seven drawers, good lines- and it sat in the garage for two weekends while I sanded and primed and bought paint for it. Then I tipped it forward to do the bottom edge, and the whole base came apart in my hands because the particleboard had swollen from sitting outside. I’d spent about sixty dollars and two Saturdays on something that went to the dump anyway. Most of the decision on whether to upcycle old dresser finds like that one gets made in the first ten minutes, before a single tool comes out, and those ten minutes separate a piece you keep for years from firewood with primer on it.
So this isn’t a list of paint colors. It’s the checks I do now, in the order I do them, because I’ve wasted enough weekends to have a system.
Three checks that tell you whether it’s worth a weekend
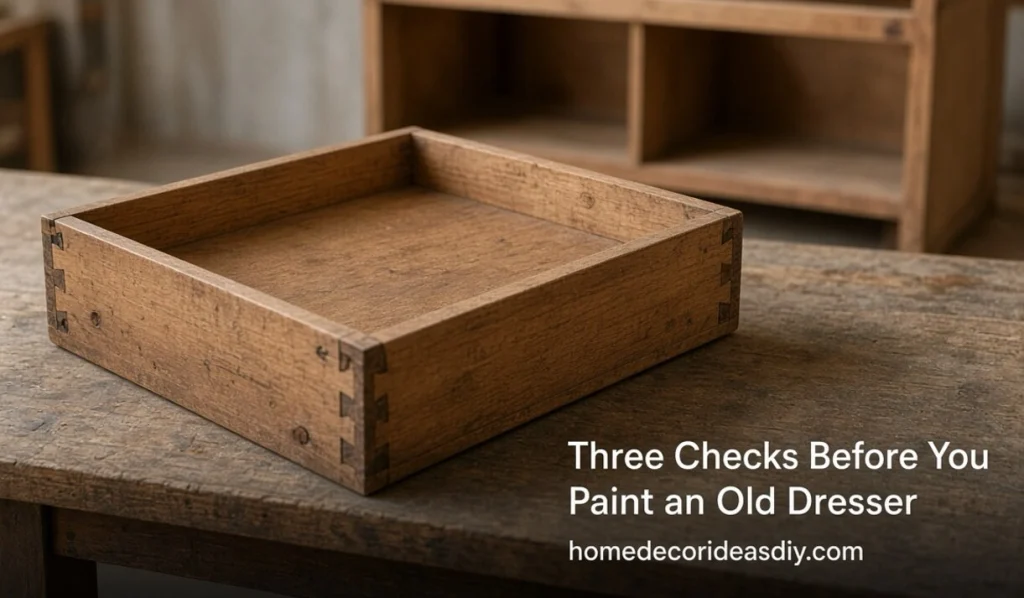
Pull a drawer all the way out and turn it over. That one move answers most of it.
- Look at the drawer corners. Interlocking wedges cut into each other- those are dovetails, and they mean somebody built the thing properly. Staples and a butt joint mean it was assembled fast, and it’ll rack apart when you sand it.
- Look at the back panel and the underside. Solid wood or plywood is good. Thin hardboard stapled on is normal even on decent pieces. But if you see a printed paper layer peeling up at a corner, showing grey crumbs underneath, that’s laminated particleboard and the wood look is a photograph.
- Lift one end an inch off the floor. Solid wood dressers are heavy in a way that surprises people. Light means hollow, and hollow means the screws for your new handles have nothing to bite into.
None of that makes particleboard impossible, by the way. You can paint it with a good bonding primer, and it’ll look fine. Just know you’re decorating a box rather than restoring furniture, and don’t spend forty dollars a quart on the paint.
And there’s the opposite problem, which people run into less often but it stings more. If the piece turns out to be genuinely old and solid, with hand-cut joinery and original brass, painting it can knock real money off it, so think hard about whether it belongs in the room as an antique piece instead. I’ve seen people paint 1920s walnut white and then find out what it was.
The alcohol test tells you what’s already on there.
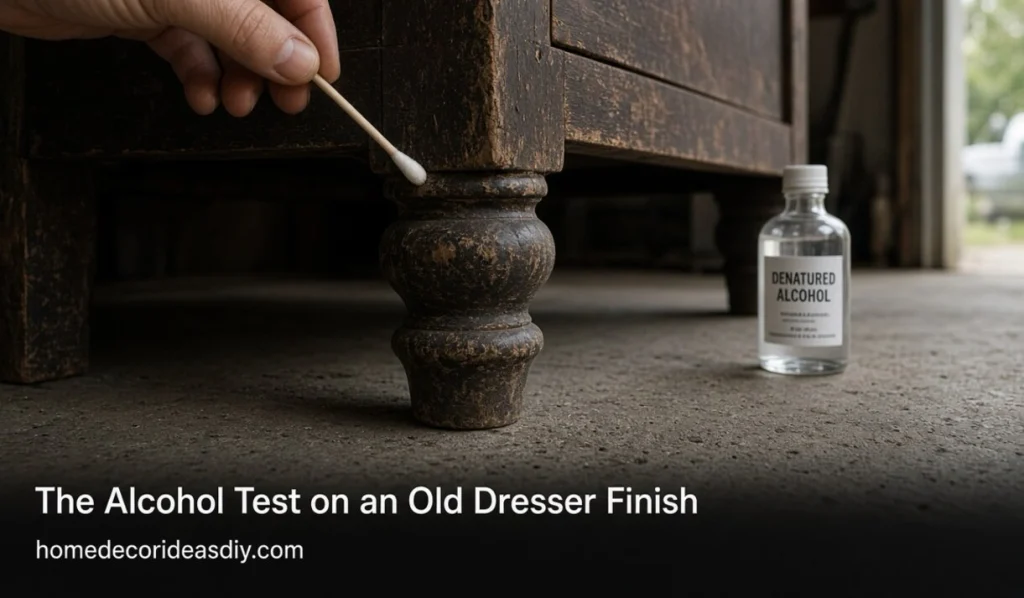
Dip a cotton bud in denatured alcohol and rub it somewhere hidden, the inside of a leg, the back edge of the top. If the finish goes soft and gummy and lifts onto the cotton, you’ve got shellac.
That matters more than it sounds. Shellac is a resin from the lac bug, dissolved in alcohol, and it was the standard furniture finish in the West right up until nitrocellulose lacquer took over in the 1920s and 30s. So a positive alcohol test is a rough dating clue, and it also means the existing finish can be revived with more shellac rather than stripped, which is a fraction of the work.
If nothing happens, it’s lacquer or polyurethane or a modern conversion varnish, and paint is your realistic route.
One more thing the test gives you. Shellac on old oak or mahogany usually sits over wood full of tannins, and tannins bleed up through light paint as yellow-brown blotches weeks later, which is a heartbreaking thing to watch happen to a white dresser. Shellac-based primer is the answer, and it’s the only primer I’ll use on old dark wood now.
Anything painted before 1978 might contain lead.
I’m not going to soften this one. Lead paint was used in American homes and on furniture until it was banned for residential use in 1978, and a dresser older than that with layers of paint should be treated as suspect until you’ve tested it.
Test kits are a few dollars at the hardware store and take two minutes. If it comes back positive, don’t dry sand it, because sanding turns the problem into airborne dust in the room where you’re breathing. Wet sanding, chemical stripping, or simply priming and painting over the top without disturbing the layer are the safer paths. And if it’s going in a child’s room, I’d skip that dresser entirely and find another one. They’re not rare.
Prep is where the job is actually won
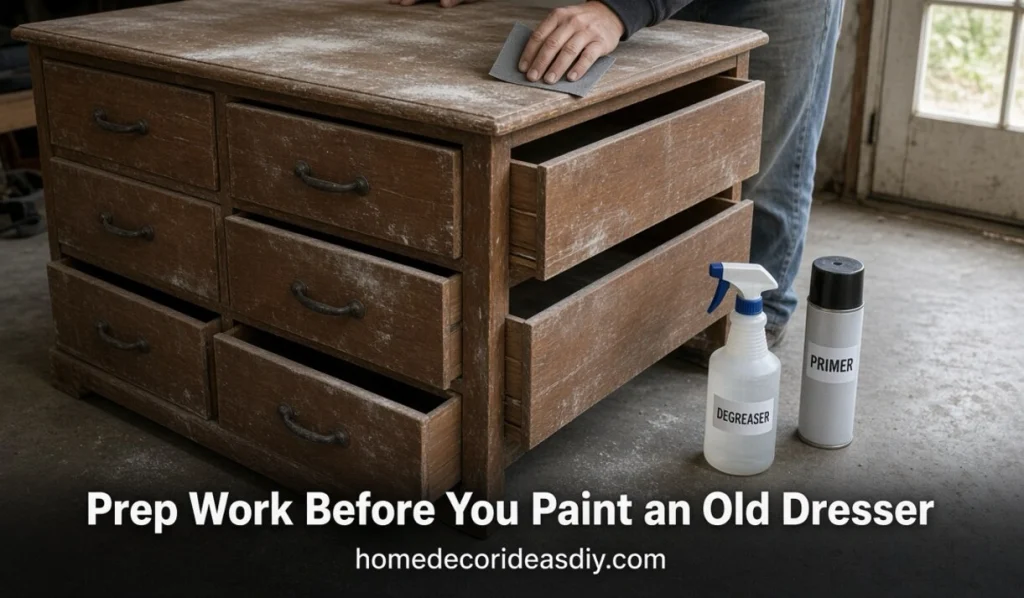
Every peeling furniture flip you’ve ever seen failed at this stage, not at the painting stage.
Clean it first, properly, with a degreaser rather than a wipe. Bedroom furniture carries decades of body oils and furniture polish, and that silicone film in old spray polish will reject paint no matter what you put on top. Then scuff the surface with 220-grit sandpaper; you’re not removing the finish, just taking the shine off so the primer has something to grab. Ten minutes a side.
Liquid deglosser works if the piece has carved detail you can’t reach with paper, though I find it less reliable on thick lacquer.
Then prime. Shellac-based primer for tannin bleed and odors, water-based bonding primer for slick laminate. Skipping primer to save an hour is the most common reason a dresser looks perfect in June and chips at the drawer edges by September.
Upcycle old dresser ideas that go past a coat of paint

Not everything wants to stay a dresser, especially the low, wide ones from the seventies.
- Media console or entryway piece. Take out the middle drawers, cut a cable hole in the back, done. A long, low dresser sits at exactly the right height for a TV, and it looks far better than flat-pack, which fits neatly with how a living room gets pulled together around one substantial piece.
- Bathroom vanity. Cut the top for the basin and notch the back drawers around the plumbing. Seal everything, including the inside.
- Kitchen island. Butcher block on top, casters underneath if the floor allows.
- Bench with storage. Lay it on its back, add a cushioned seat, keep the bottom drawers for shoes.
- Drawers as wall shelves. Painted inside, hung in a staggered group. Cheap and it works.
- Drawers as planters. Line them, drill drainage, and accept they’re a two- or three-season thing outdoors.
- A desk. Pull the knee-hole drawers, extend the top with a wider board.
Measure the hole centers before you buy handles.
This is small, and it has caught me twice. Existing pulls sit on holes with a fixed spacing between centers, commonly three inches on older American pieces and 96 millimeters on newer imports, and those two are close enough to look identical and far enough apart not to fit.
Measure center to center with the old pull off, write it down, then shop. If you fall for something with different spacing, backplates will cover the old holes, or you fill them with glued dowels, sand flush, and drill fresh. Both are fine, but both are extra work you could have avoided.
Why do the drawers stick after painting?
Because paint went on the runners, wood on wood is already a tight fit, and a coat of paint adds enough thickness to bind it.
Leave the runners and the drawer sides bare, and rub a candle or a block of paraffin along them once the piece is back together. Old furniture people have done that forever, and it works better than any spray.
Give it time too. Paint dries to the touch in an hour and doesn’t fully cure for something like three or four weeks, so drawers pushed shut hard in week one can stick to the frame and pull the finish off when you open them. Leave them slightly ajar for a few days if you can stand the look.
The pieces I’ve kept longest are the ones I nearly walked past heavy, ugly, dark, usually free, and solid underneath. The cute ones on the curb with the pretty shape are almost always the hollow ones.