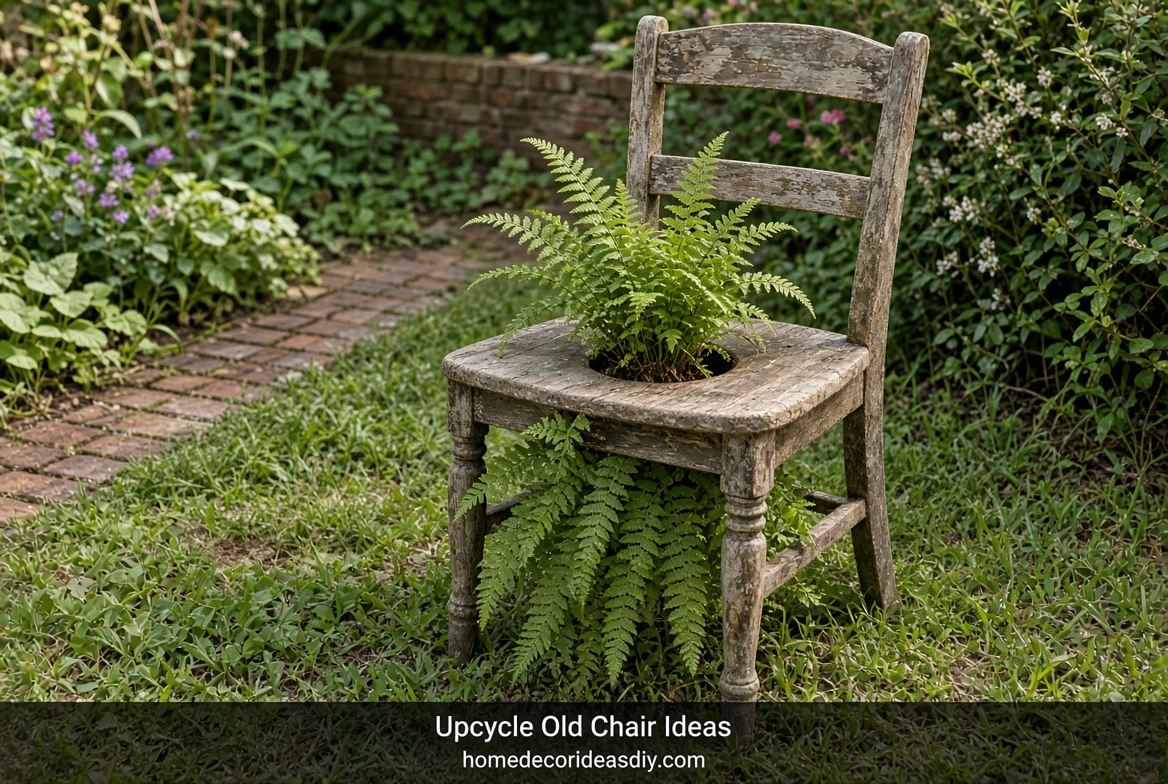
There’s a chair in my garden right now with a fern growing out of the seat, and it looks lovely, and it should never have ended up there. It wobbled; I decided it was finished, I cut a hole in the seat and called it a planter. Two years later, I took a proper look at the thing while I was moving it and found every joint was sound, and the whole problem was one loose back leg that would have taken an hour and some glue. Most upcycle old chair ideas you find online start from the assumption that the chair is beyond saving. In my experience, about three-quarters of them aren’t; they’re just loose, and loose is a repair, not a demolition.
So the ideas are in here, near the bottom, and there are good ones. But I’d rather you checked something first.
A wobbly chair usually isn’t broken; it’s loose.
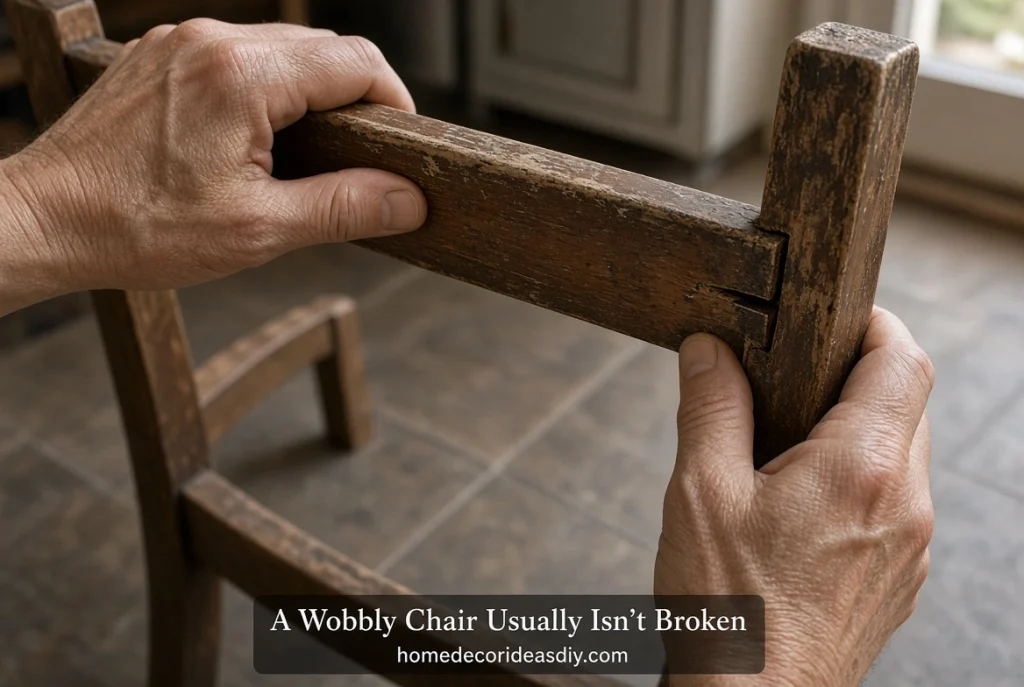
Chairs are the hardest piece of furniture to build, and the first to fail, because all the load in a chair passes through a handful of small joints where a thin rail meets a leg. There’s no big flat panel holding anything together. A dining table can be sloppily made and survive for decades because it just stands there. A chair gets sat on, leaned back on, and dragged sideways across a floor, and each movement works the joints.
Those joints are almost always mortise and tenon: a tongue cut on the end of a rail fitting into a matching hole in the leg, and a joint people have used for thousands of years. What fails is the glue holding it, and seasonal wood movement slowly opening the fit.
So pick the chair up, hold it by the back and twist it gently. If the frame moves and you hear a dry creak from a joint rather than a crack from the middle of a timber, you’ve got a glue problem and not a broken chair. Look at the joint while you rock it. You’ll see the tenon sliding in and out of the hole by a millimeter or so, which is exactly what’s making the wobble.
Screws and brackets are the wrong fix, and they’re permanent.
I know the temptation. There’s a loose leg, there’s a drill on the shelf, a long screw through the joint takes four minutes.
Please don’t. A screw driven across a tenon splits it, because you’re putting a wedge into end grain that’s already under stress. Metal L-brackets on the inside corners do the job for a while, then the screws wallow out their holes in softwood, and you’re left with a chair that’s loose again and full of torn-up holes. And the real cost is that both of those make the proper repair much harder later, since you can’t pull the joint apart cleanly anymore.
Corner blocks, if the chair came with them, are different. Those are original, and they’re glued and screwed into a designed position. Tightening those back up is fine.
Glue doesn’t stick to glue.
This is the bit that gets skipped, and it’s why so many home repairs fail within a year. Squeezing fresh wood glue into a wobbly joint and clamping it does almost nothing because the surfaces inside are already coated in old, dried adhesive, and the new glue bonds to that coating rather than the wood.
The joint has to come apart. Rock it loose, work it out slowly, and if it won’t move, then the old glue is probably animal hide glue, which softens with warm water or a little vinegar and some patience. Once it’s open, scrape both the tenon and the inside of the mortise back to bare wood. A dull chisel and some coarse paper are all it takes, ten minutes a joint.
Dry fit it before any glue goes near it. If the tenon rattles in the hole, glue alone won’t fill that gap, so glue a thin shaving of wood to one face of the tenon to bulk it back out.
For clamping, a ratchet strap or a band clamp run right around the chair works better than trying to aim two bar clamps at an angled leg. Snug, not crushing. Then leave it overnight and put it on a flat floor while it dries so you don’t twist the frame.
The seat is the easiest reupholstery job in the house.
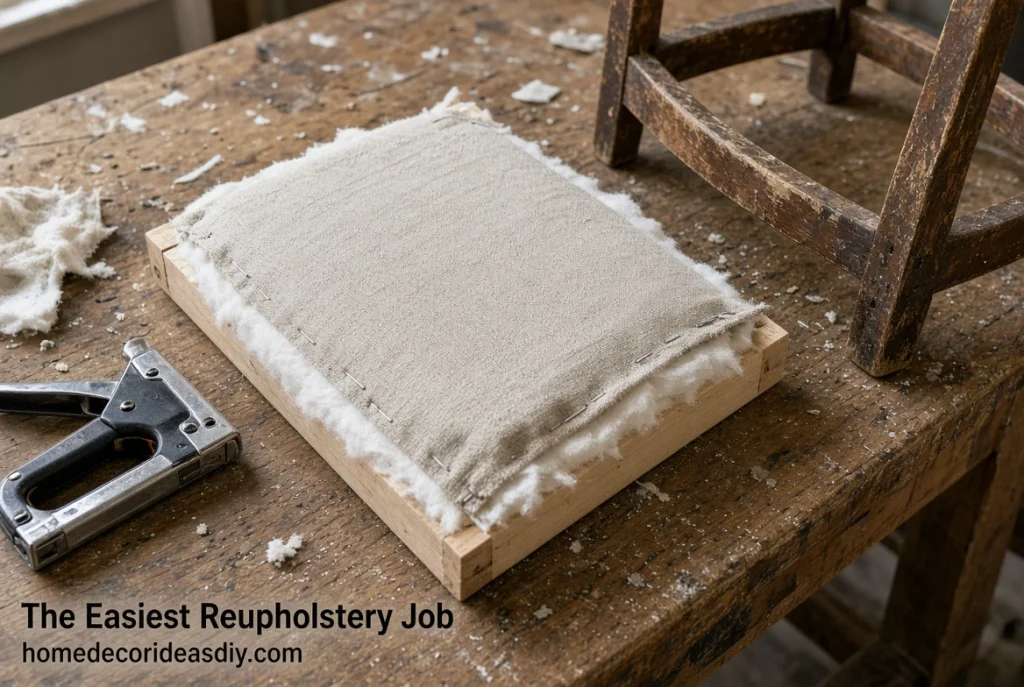
Turn a dining chair over. If four screws hold a padded panel into the frame, that’s a drop-in slip seat, and swapping the cover is genuinely a thirty-minute job with a staple gun and no skill at all.
Take the screws out, lift the seat, leave the old fabric in place unless it smells, lay the new cover face down, center the seat on it, and staple the middle of each side first before working out to the corners. Corners get folded like a parcel. Half a yard covers a standard chair.
Old foam that’s gone crumbly and yellow wants replacing, and a layer of batting over fresh foam stops the edges printing through. Heavy cotton or canvas holds up far better than anything decorative, and it fits the relaxed, thrifted look I went for in these budget farmhouse projects.
Woven cane seats are the exception. Re-caning is a real skill and the materials aren’t cheap, so most people cut a plywood panel to the frame and pad it instead, which is a perfectly honest fix.
Upcycle old chair ideas for frames that really are finished.
Some are past it. Cracked legs, rotten feet, a back that’s snapped through the curve. Those I’ll happily take apart.
- Planter. Cut the seat out, drop a pot through, let something trail down the legs. Works best with a chair that already looks weathered.
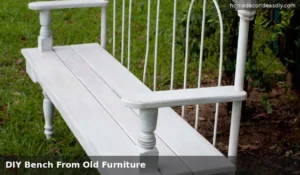
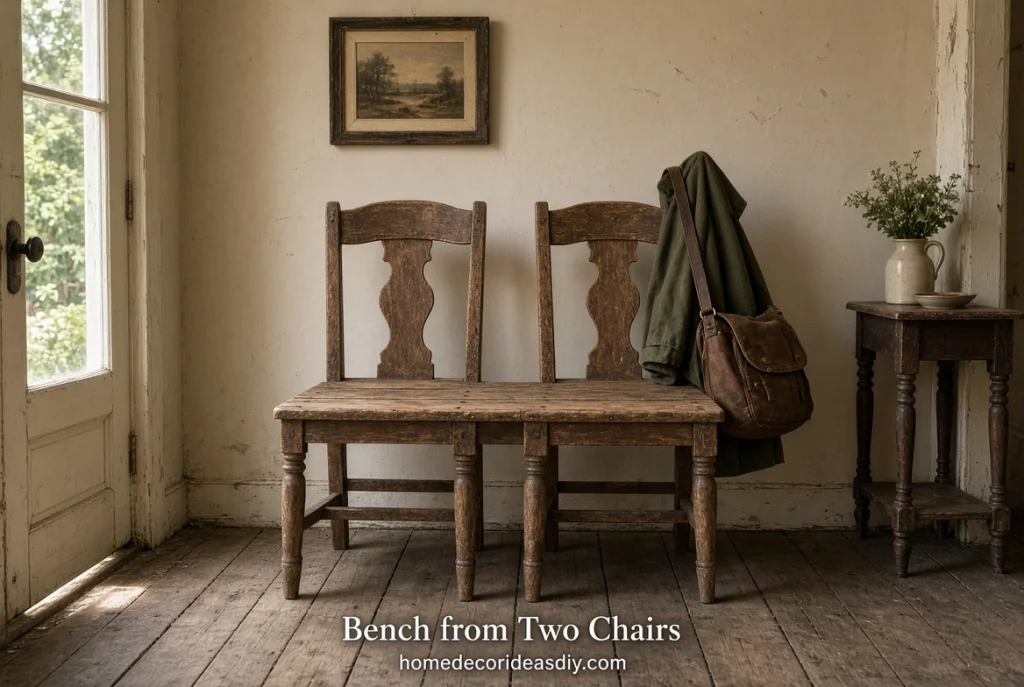
- Bench from two chairs. Set them facing the same way, bolt boards across where the seats were, and you get a hall bench with two backrests.
- Wall hooks from the chair back. Cut the back off just below the seat rail, mount it flat, and screw hooks along the bottom rail.
- Bathroom or garden shelf. A chair pushed against a wall with a board across the arms holds towels or pots, and it reads as a deliberate piece rather than a leftover one, which is the whole trick with decorative corner pieces.
- Dog bed. Seat removed, sling a cushion in the gap, cut the legs down.
- Spindles as small hardware. Turned spindles make candle holders, curtain finials, drawer pulls. This one surprised me.
- A sign or headboard. Two chair backs side by side, joined with a rail, sitting behind a single bed.
Take the useful parts off before you cut anything up, by the way. Old brass casters and hand-turned spindles are worth more than the frame.
Paint it or strip it back?
Strip it if the wood underneath is decent; paint it if the chair is a mix of timbers or carries repairs you’d rather not see. Chairs are frequently made from three or four different woods, because the maker used whatever turned well for the legs and something else for the seat, and stripping that back gives you a patchy result.Whatever you choose, use a hard finish. Chairs get touched, gripped, scraped against tables, and a soft chalk finish with only wax over it will show wear on the arms within months. Enamel or a water-based polyurethane over your paint holds up.
I’d still rather sit on a repaired chair than look at a planted one. The planter is what you do when there’s nothing left, and the truth is that most of the chairs people give up on are one evening of glue away from being furniture again.