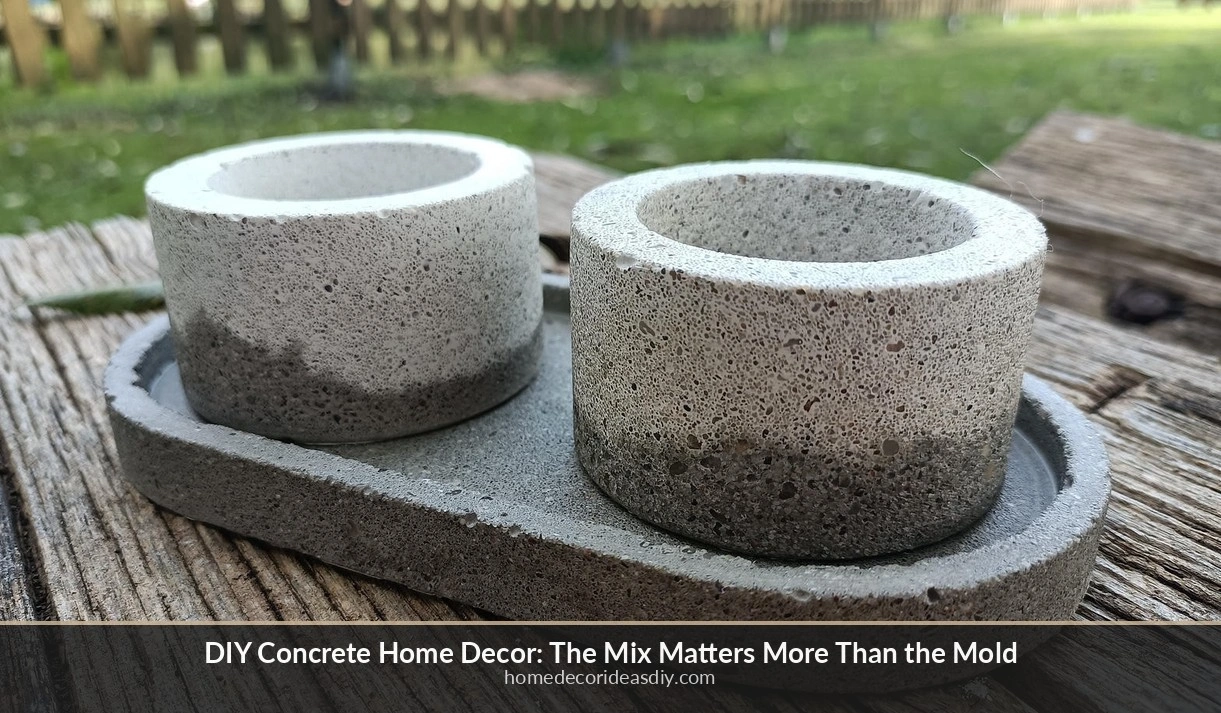
My first planter came out of the mold looking almost right, and then I turned it over, and there was a lump of gravel sitting in the wall of it the size of a grape, and about a week later the whole rim broke off in my hand while I was carrying it to the window. I’d bought a bag of concrete mix off the shelf because it said concrete on it. That bag was meant for a fence post. Most DIY concrete home decor fails right there, at the shop, before anybody has mixed anything.
The mold shape is honestly the least important decision you’ll make. What determines whether the piece survives is what’s in the bag, how much water you add, and whether you got the air out before it went off. Those three things, in that order, and the rest is decoration.
The bag you buy decides the project.
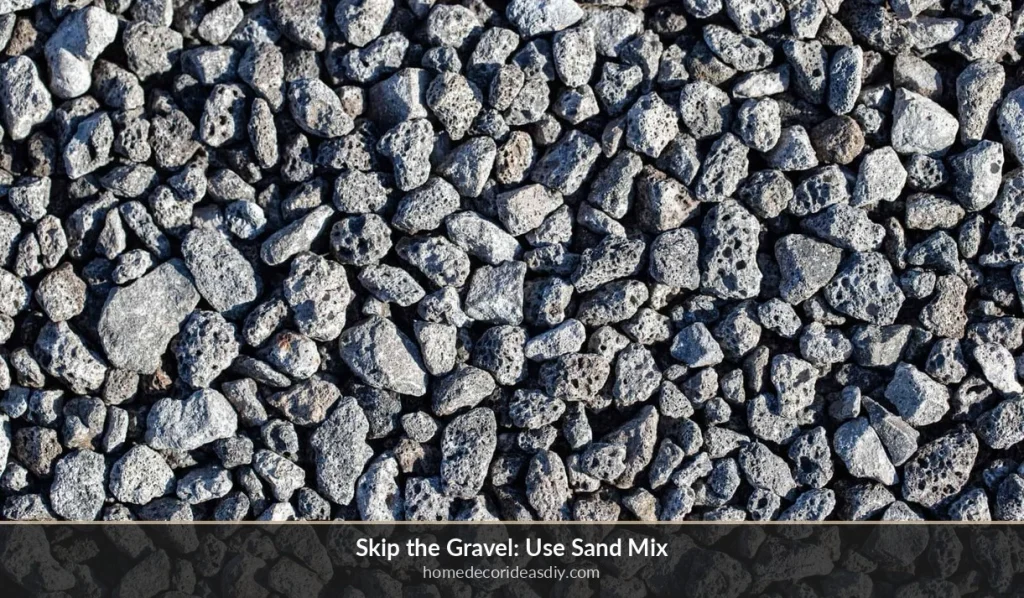
Standard concrete mix has coarse aggregate in it, which is a polite way of saying gravel, and some of those stones run up to three eighths of an inch. In a driveway, that gravel is doing the structural work, and you want it there. In a candle holder with walls barely a third of an inch thick, one stone is a fault line.
What you want instead is a sand mix or a topping mix: cement and fine sand, with no stones at all, and it pours into small molds the way you’d expect concrete to pour if you’d only ever seen it on Instagram. Mortar mix works too. Rapid-set products are the other option, and they’re worth knowing about because they go off in well under an hour, so if you’re impatient or you only get Saturday afternoons, you can demold the same day rather than waiting until Monday.
I keep a bag of sand mix and a small tub of rapid-set now, and that covers nearly everything. Standard concrete with gravel in it, I don’t buy at all anymore unless I’m doing something that sits outside and holds weight.
Too much water is why yours came out chalky.
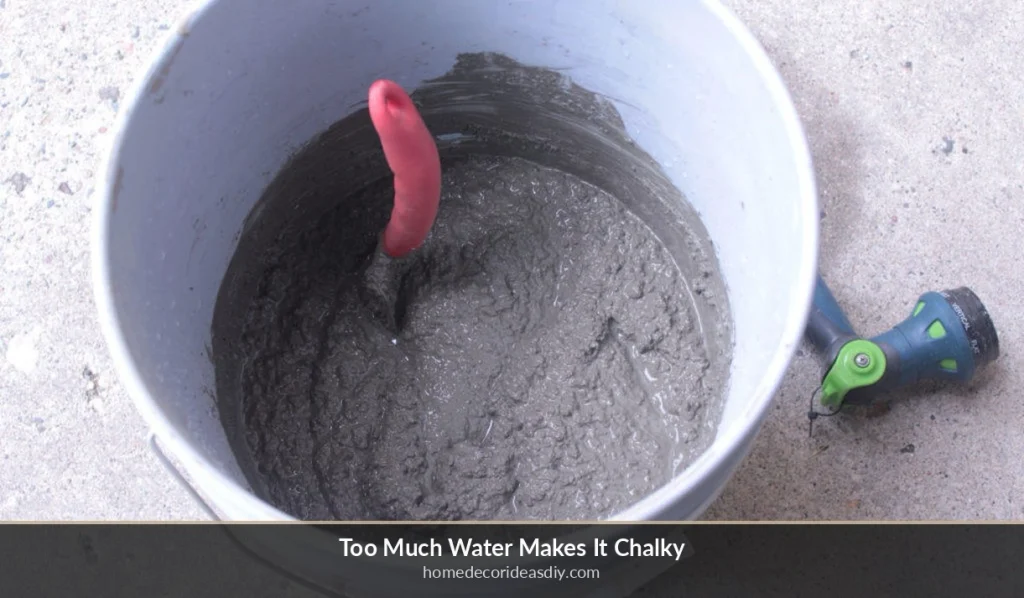
This is the part people get wrong constantly, and I include myself in that, because wet mix is easier to pour and it looks smoother going in, so every instinct you have is telling you to add a splash more.
The water–cement ratio usually sits somewhere between 0.40 and 0.60, meaning forty to sixty parts of water for every hundred parts of cement by weight, and a lower ratio gives you stronger and denser material. Go past that, and the extra water doesn’t react with anything; it just sits there in the mix and then evaporates out later and leaves pores behind, and those pores are why the surface rubs off on your fingers like chalk two weeks after you made it.
You want it about the consistency of thick porridge, or wet sand that holds a shape when you squeeze it. Not pourable, not soup. It should be harder to work with than you’d like. That feeling is correct.
Concrete also doesn’t dry; it cures, which is a chemical reaction with the water rather than water leaving. So keep it damp for the first day or two, cover it with a plastic bag if the room is warm, and resist checking on it every twenty minutes.
Getting the bubbles out is mechanical, not luck
Every pour traps air against the mold wall, and those bubbles are what leave the little pits all over the outside. You can’t prevent them with a better mix. You have to shake them loose.
Tap the mold, and keep tapping longer than feels reasonable- two or three minutes of it. Drop the mold flat onto the worktop from an inch up, over and over. If you own an orbital sander, hold it switched on against the side of the mold and let the vibration do the work, which is the single best trick in this whole craft, and it takes about ninety seconds.
You’ll see the bubbles come up as the surface goes slightly glossy. That’s your sign to stop.
Silicone releases on its own; plastic does not
Silicone molds are the easy road; they flex, and the piece comes out clean, and you can buy them cheaply or use baking molds you already own. Anything rigid needs help.
For plastic containers, yogurt tubs, old takeaway boxes, any of that, wipe the inside with cooking oil or petroleum jelly before you pour, or the piece will not come out in one piece. Cardboard tubes work, but you’ll want to peel them off. Balloons make round planters, though they’re messy and about half of mine failed, so don’t start there.
One thing I’d tell anyone: build the mold with how you’ll get the thing out in mind. It’s obvious, but I’ve still poured into containers with an inward lip more than once and had to break them open with a knife.
DIY concrete home decor projects that suit a beginner
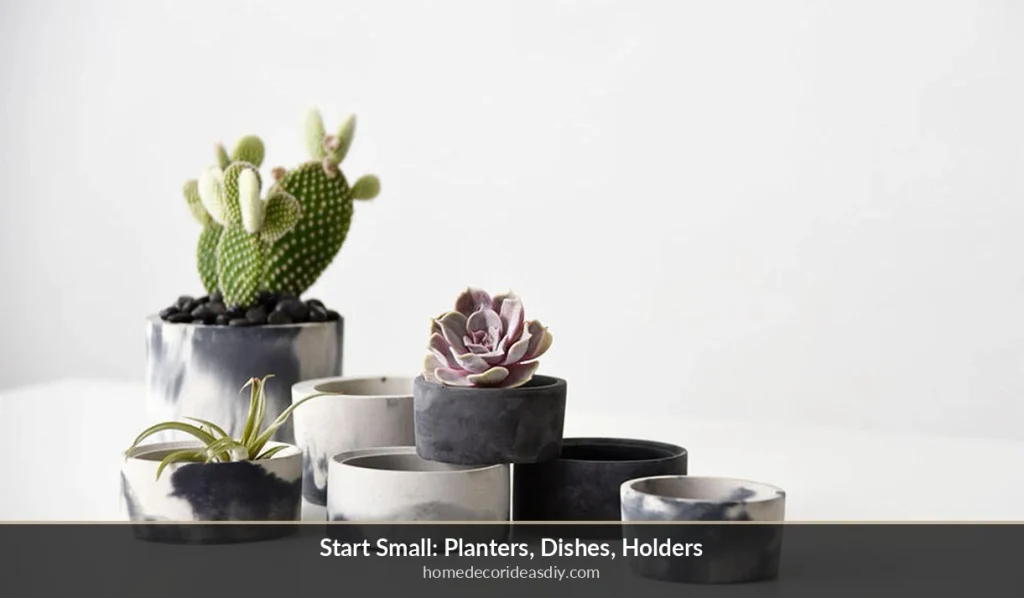
Start small, because small pieces cure faster and a failure costs you almost nothing.
- Candle holders. A tea light needs one shallow recess, and that’s the whole design, which is why it’s the usual first project. Worth reading through these candle holder ideas first, because heat and wobble ruin more of them than bad casting does.
- Coasters. Flat, fast, forgiving. Seal them properly, or a wet glass will leave a ring you can’t get out.
- Small planters. The gateway project for most people, and deservedly so.
- Trinket and ring dishes. Two bowls nested inside each other with a weight on top.
- Bookends. These want mass more than shape, so they’re a good use of leftover mix.
- A tray with brass handles. More work, looks far more expensive than it is.
- House numbers. Pour into a shallow frame, press number stencils in, pull them out before it sets hard.
If none of that appeals and you want something you can finish tonight, there’s a broader list of easy projects here that don’t involve mixing anything.
Wet cement sits at pH 12 to 13, so wear the gloves.
I’m not going to be casual about this bit. Dry cement is fairly harmless, but the moment water hits it, you get calcium hydroxide, and wet cement runs at a pH of around 12 to 13 against skin that sits at about 5.5.
What makes it genuinely nasty is that it doesn’t hurt at the time. An acid burns you instantly, and you pull your hand away. Cement will sit on your wrist for two hours while you work and feel like nothing more than damp, and the burn shows up later, and people have ended up in hospital from a day of kneeling in it.
So, use nitrile or butyl gloves rather than cheap latex, wear long sleeves, and wash it off with clean running water and a neutral soap the second you notice it, not at the end. Wear a mask when you’re tipping the dry powder out too, because that dust is silica and your lungs don’t clear it.
Do concrete planters need a drainage hole?
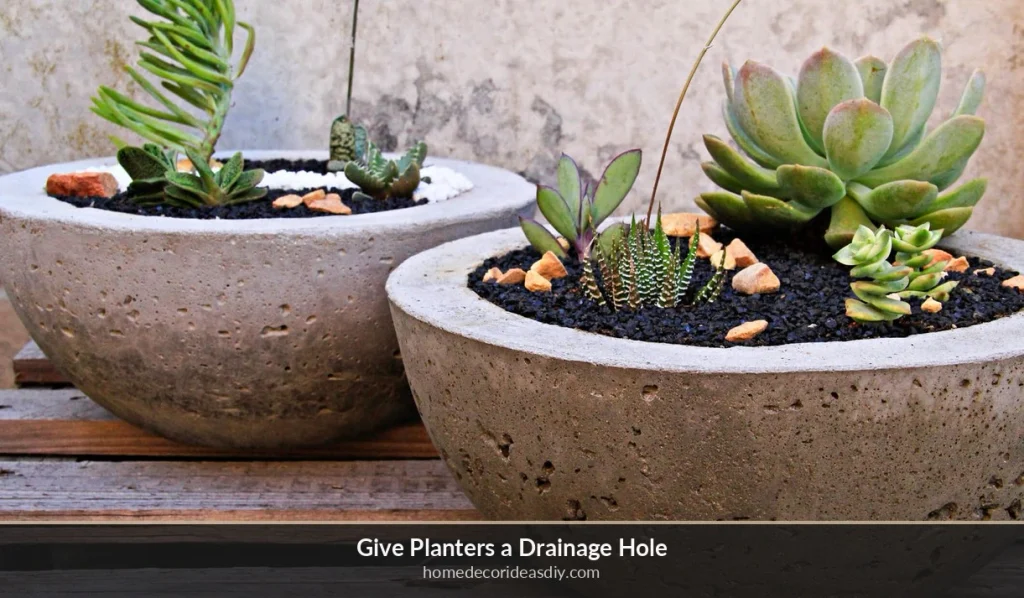
Yes, unless the plant is a succulent in a very dry room, and even then I’d still drill one. Push a dowel or straw down through the mix while it’s wet, then pull it out before it sets. Drilling afterwards is possible with a masonry bit, but the piece will sometimes crack on you, and you’ll have wasted the whole thing.
Fresh concrete also leaches lime into the soil for a while, which raises the pH and some plants really object to it. Soak the finished pot in water for a few days, changing the water, before you put anything in it.
Honestly, the material rewards patience more than skill. I’ve made pieces that look like they came from a shop and pieces that crumbled, and the difference was never how steady my hands were; it was whether I got impatient with the water or pulled it out of the mold a day early.