
The first curtains I made were four yards of quilting cotton with a print I’d been staring at for about twenty minutes in the shop. They went up on the rod and immediately hung there like two tea towels, with no weight at all, and by six the next morning the light was coming through like the cloth wasn’t even on the window. I’d picked it by looking at it. That’s how nearly everybody picks it, and honestly that one habit is behind more failed diy fabric home decor projects than bad sewing has ever managed.
Pattern is the thing you decide last, or at least it should be, because what really settles whether the project works is how heavy the cloth is and how it falls when you let go of it. Get that part wrong, and you can sew perfectly straight seams all afternoon and still end up with something that’s sagging by Thursday.
Nine projects below, and I’ve made every one of them at least once, some of them three or four times because the first attempt went in the bin. There’s one in there I’d tell you not to bother with.
Fabric weight decides the project before color does
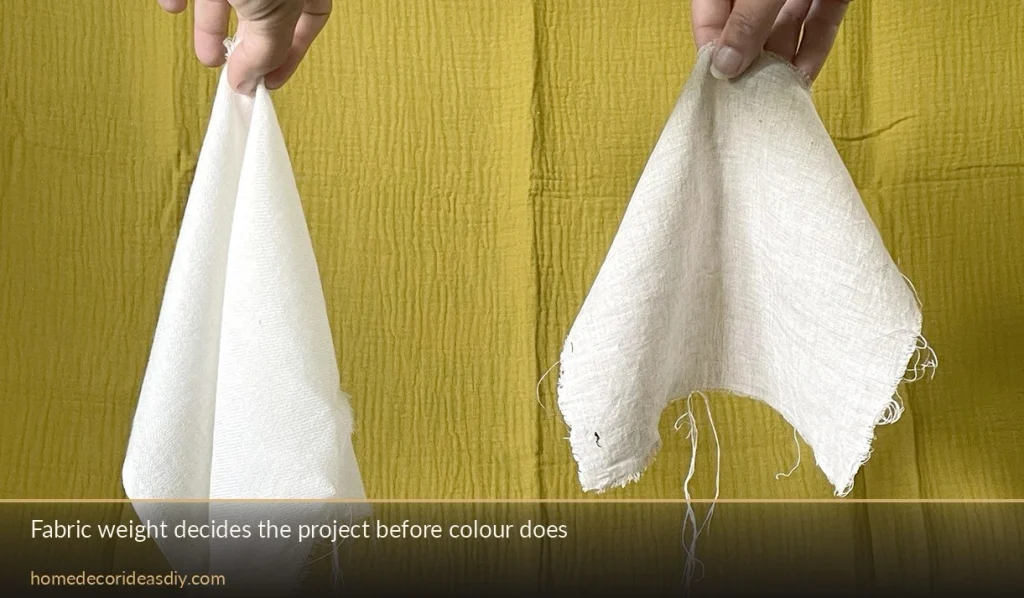
Weight is sold to you in ounces per square yard, and that number will tell you more in two seconds than the swatch photo will in ten minutes. Four to six ounces is soft and drapey, which you want for anything that’s meant to fall and move a bit. Seven to twelve ounces is where most of this work lives, so cushion covers, runners, storage, the bulk of it. Twelve and above is upholstery weight, stiff enough to hold a shape, and stubborn enough that a normal home sewing machine will complain at you about it.
Then there’s cotton duck, which has its own numbering system that runs backwards and confuses everybody the first time. A number 1 duck is the heaviest and a number 12 is the lightest, and the word itself comes from doek, which is Dutch for cloth. The one you’ll keep coming back to is 10 oz. It takes paint, it takes staples, it doesn’t collapse into a pile of loose threads the second your scissors go through it.
Shop staff rarely walk you through the drape test either, which is a shame, because it takes no time at all. Hold a corner up and let it drop. If it sticks out sideways and refuses to fall, you’ll never get curtains out of it; and if it puddles straight down into nothing, then a box, a headboard, or a stretched panel is off the table. I’ve saved more money from that than from any tutorial I’ve ever watched.
No-sew holds a hem, not a load
Iron-on hemming tape is genuinely good, and I use it constantly; I’m not one of those people who sniffs at it. But all it’s doing is bonding two flat layers of cotton to each other; that’s the whole of what it can do, so it earns its place on:
- Hems on curtains and table runners
- Edges on a wall panel that’s already stretched over something solid
- Backing a lightweight banner or bunting
- Turning a placemat edge under
Where it goes wrong is anything that pulls. Cushion cover seams, anything with stuffing behind it, a strap, a bench seat, any of that. The bond opens at a corner first and you’ll probably not notice for a week, and then the whole edge lets go, usually about a month in, usually right after you’ve pointed the thing out to somebody.
Ring clips are another shortcut, and they’re worth owning even if you do sew. You clip them along the top edge of a panel, slide the whole lot onto the rod, and in about four minutes you’ve got curtains with no stitches anywhere.
The DIY fabric home decor projects I’d make again
1. No-sew curtains from a heavier cotton
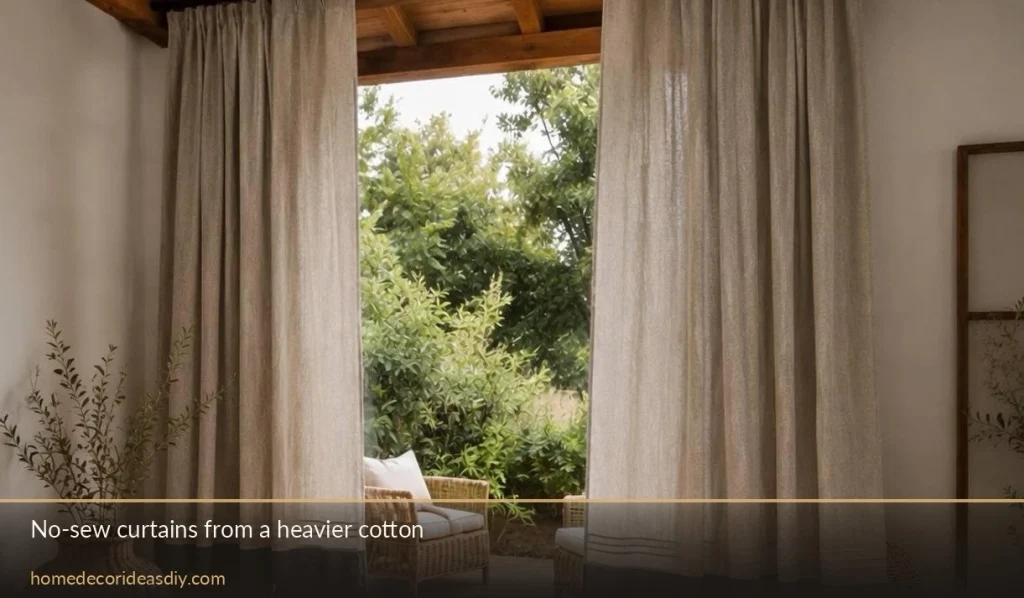
Measure your drop, then add four inches at the bottom for the hem and two at the top; cut, press properly, hem tape down both sides and along the bottom, then ring clips across the top. Use 7 to 10 oz cotton, or a linen blend if you want a bit more movement. Thin curtains are probably the most common reason a bedroom feels unfinished even after you’ve done everything else to it, and I went on about that at some length in this piece on getting a main bedroom right, because I lived with see-through ones for two years and did nothing about it.
2. Cushion covers with an envelope back
No zip and no piping, which leaves you three seams. You cut one front panel, then two back panels that overlap each other across the middle by roughly five inches, sew around the outside and turn the whole thing out the right way. If somebody’s never touched a sewing machine this is what I put them on, because it teaches seam allowance without punishing you, it eats about half a yard, and a crooked one is still a usable cushion.
3. Stretched fabric wall panels
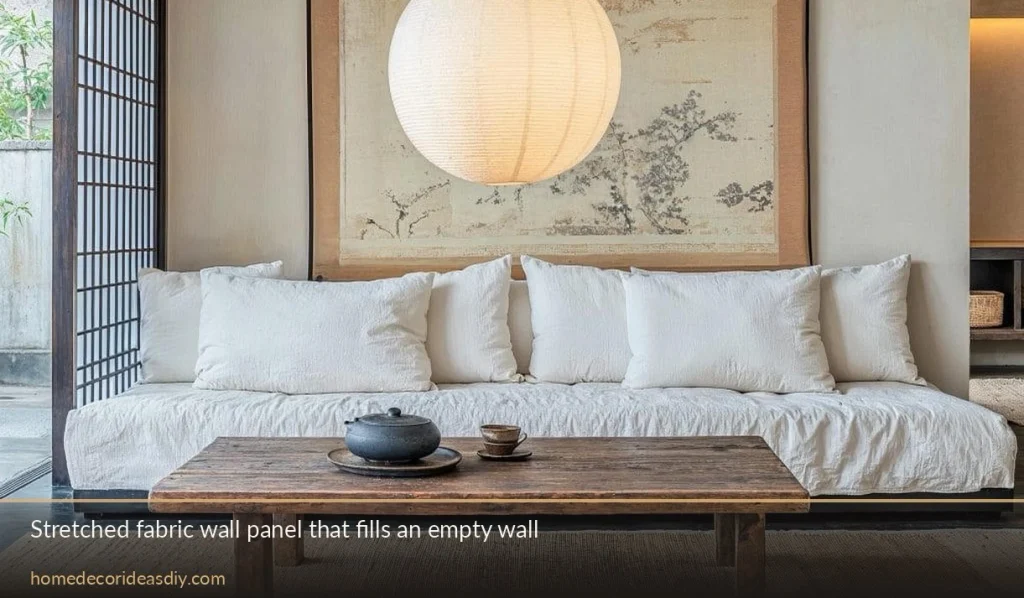
Foam board or a cheap blank canvas, cloth pulled round to the back, then staples or good strong tape to hold it. For the size you get out of it, this comes in at a fraction of framed art, and if you’ve got a big empty wall and no money, it’s the only method I know that actually fills the space. Pull the corners the way you’d pull them on a wrapped present, and pull them tighter than feels right, because slack corners are what makes it read as homemade rather than handmade.
4. A table runner
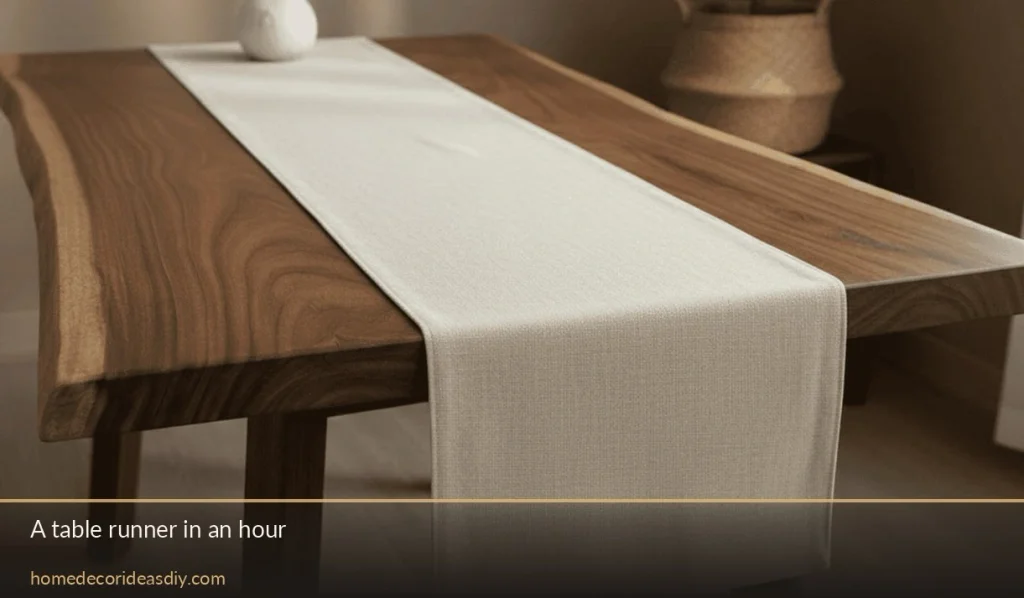
An hour if you’re slow about it. Double-fold the long edges, press them hard so they stay folded, then hem tape or stitch. Pick something you can wash, because red wine will find it eventually.
5. Upholstered headboard
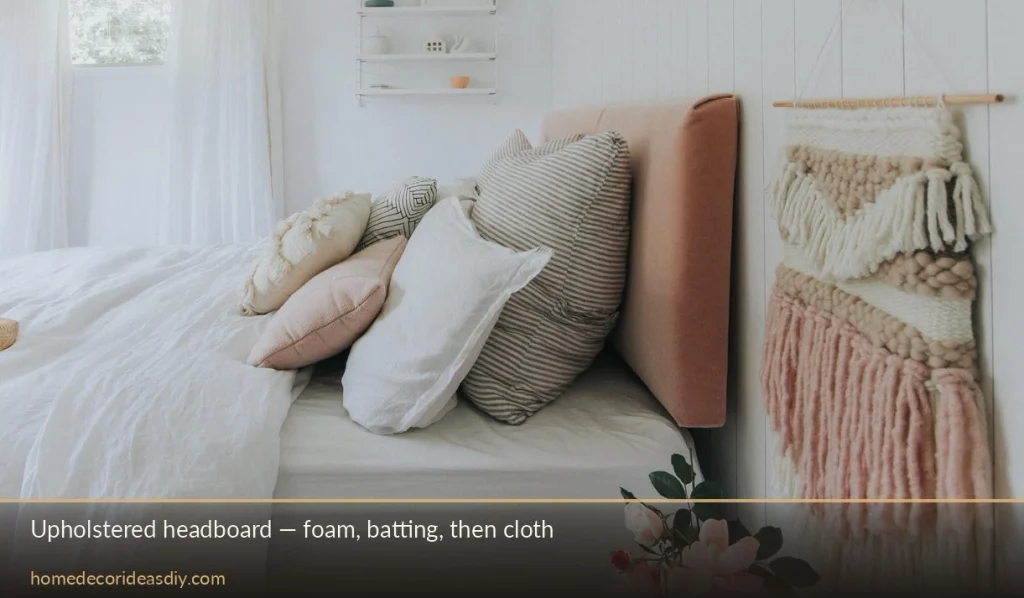
Start with plywood, then add a couple inches of foam, then batting over the foam, then your cloth over it all, and staple around the back. The batting is the layer people leave out to save a bit of money, and it’s also the layer that stops the foam edges from showing through as two hard lines down the sides. It’ll take a weekend. It’ll also cost you less than almost anything you could buy ready-made, which is why I keep recommending it.
6. Recovered lampshade
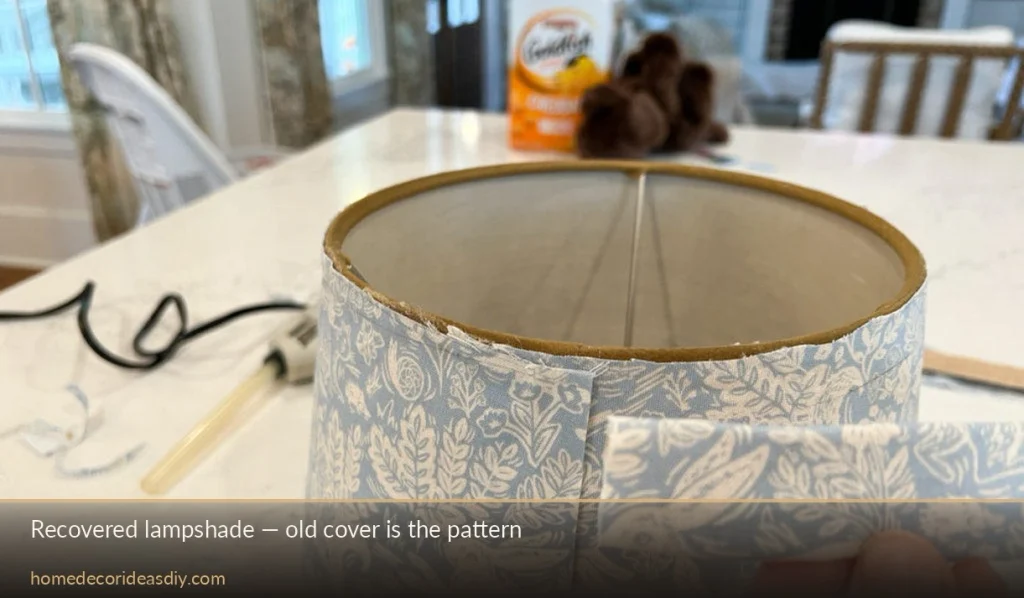
Peel the old covering off slowly so it comes away in one piece, because that piece is your pattern. Trace it, cut it, spray adhesive, wrap it. Fiddly work. Worth doing on a shade you already own and dislike.
7. Fabric-covered storage boxes
Cardboard boxes plus whatever’s left over from something else. Wrap it like a parcel and glue the edges down inside the rim. On open shelving these look considerably better than plastic tubs and they’ve cost you nothing at all.
8. Drop cloth slipcover
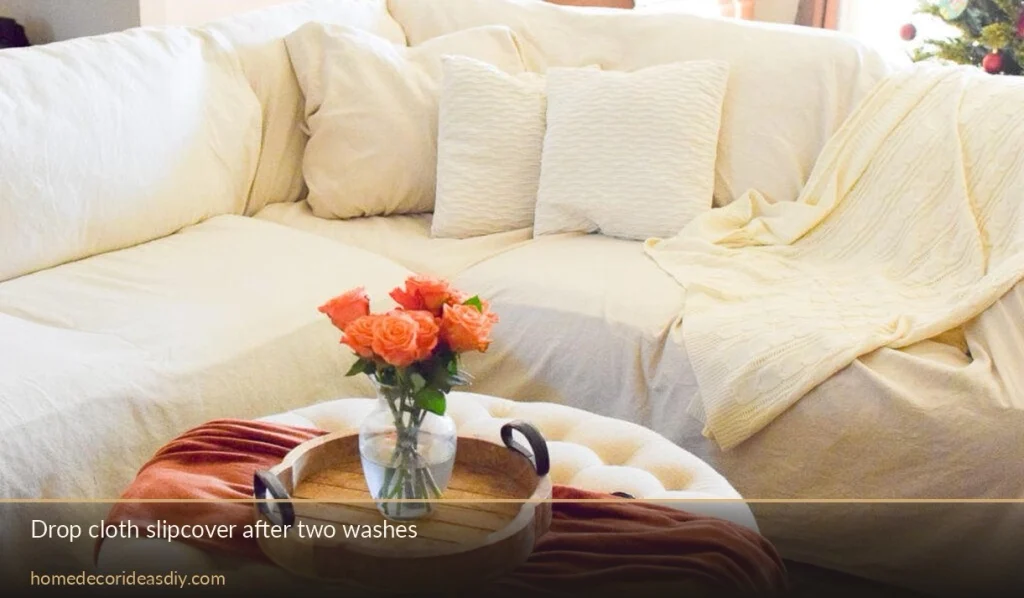
Canvas painter’s drop cloth is honestly one of the best-value materials in this whole list; it washes, softens right up after two or three goes through the machine, and sits well with the thrifted sort of look I wrote about in these budget farmhouse projects. Wash it twice before you cut into it, though.
9. Fabric bunting
This is the one I’d skip. It photographs beautifully, but it takes ages, and mine was in a drawer by week three. Make it for a party if you like, but I wouldn’t make it for a room.
Where do you buy decent material without paying $30 a yard?
Remnant bins, thrifted textiles, and the hardware store. Roughly in that order, too.
The remnant bin in any fabric shop is the ends of the bolts, usually a yard or two left, usually marked down properly rather than token-discounted, and a yard is plenty for cushions or a runner or a small panel. Thrifted curtains and tablecloths are the quieter source, and people overlook them, but the older ones are often better cloth than you’d get new for the same money. I picked up a pair of heavy lined curtains once for less than lunch cost me and got four cushion covers and a runner out of them, which still feels like I got away with something.
The hardware store is selling you cotton duck too, it’s just called a drop cloth there and priced like a drop cloth rather than like decorator fabric. And if you know anybody working in interior design, ask about discontinued sample books, because those sometimes go free.
Cotton shrinks 3% to 5%, so wash before you cut.
Moda Fabrics puts cotton shrinkage at 3% to 5% the first time it goes through a wash and dry, and linen runs a bit higher at around 4% to 7%, and linen keeps softening for several washes after that anyway. On a cushion cover, three percent is the gap between snug and won’t-go-on. On a curtain, it quietly eats the hem you measured so carefully.
Wash the cloth the way you plan to wash the finished thing: if it’s getting a hot wash later, give it a hot wash now, then press it flat before the scissors come anywhere near it, because cutting into wrinkled material gives you a wavy edge. You won’t find that out until it’s already sewn.
Does that mean prewash everything?
No. Anything that gets stapled down and never washed again, so wall panels, headboards, covered boxes, cut straight into those.
I’d take one cushion cover made properly in a 10 oz cotton over a whole room of things made in the pretty thin stuff, and I know the heavy cloth costs more per yard; I’m not pretending otherwise. It hangs right, it takes a hem without fighting you, and two winters on it still looks like something somebody meant to make.