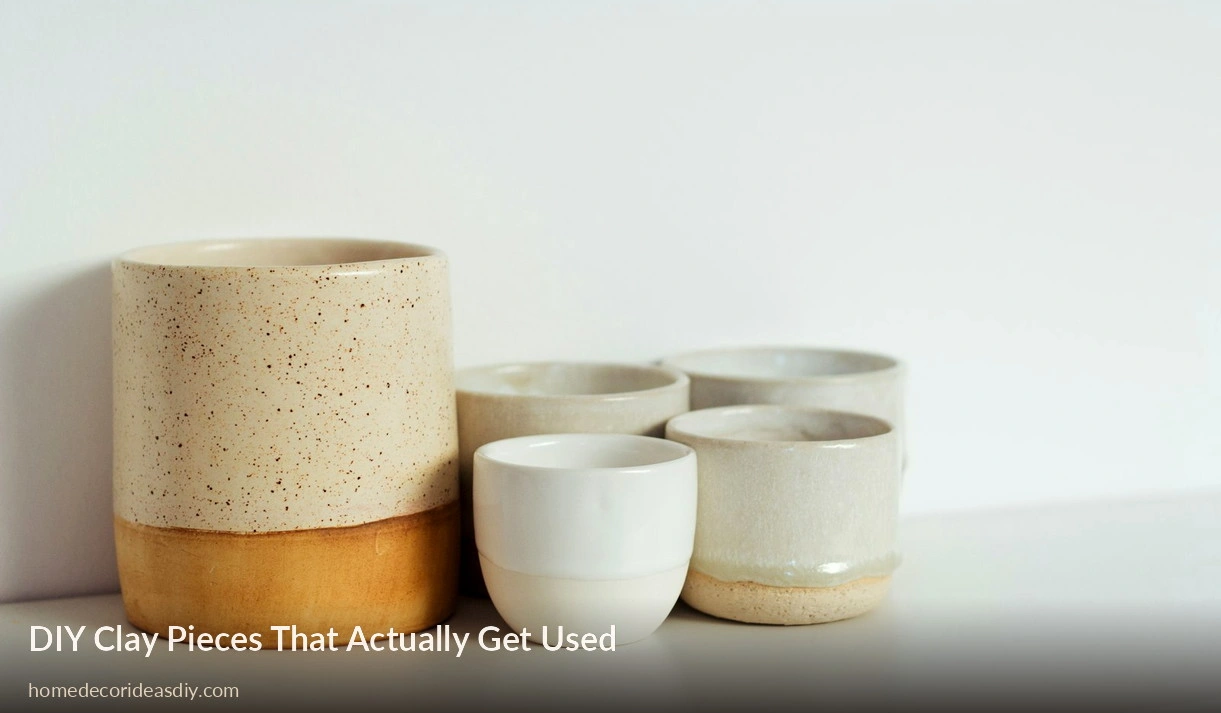
I’ve made seventeen things out of clay since last spring, and about nine of them live in a cupboard now. The ones still out in the house all have one thing in common, which took me embarrassingly long to notice. They hold something: keys, rings, a tea light, a fistful of dried grass. Purely decorative clay gets dusted twice and then quietly retired, and I say that as someone who spent two full evenings on a sculpted little bird that now sits behind the vacuum cleaner.
So here’s the diy clay home decor that survived actual use, roughly in the order I’d make them again.
1. The catch-all dish by the front door
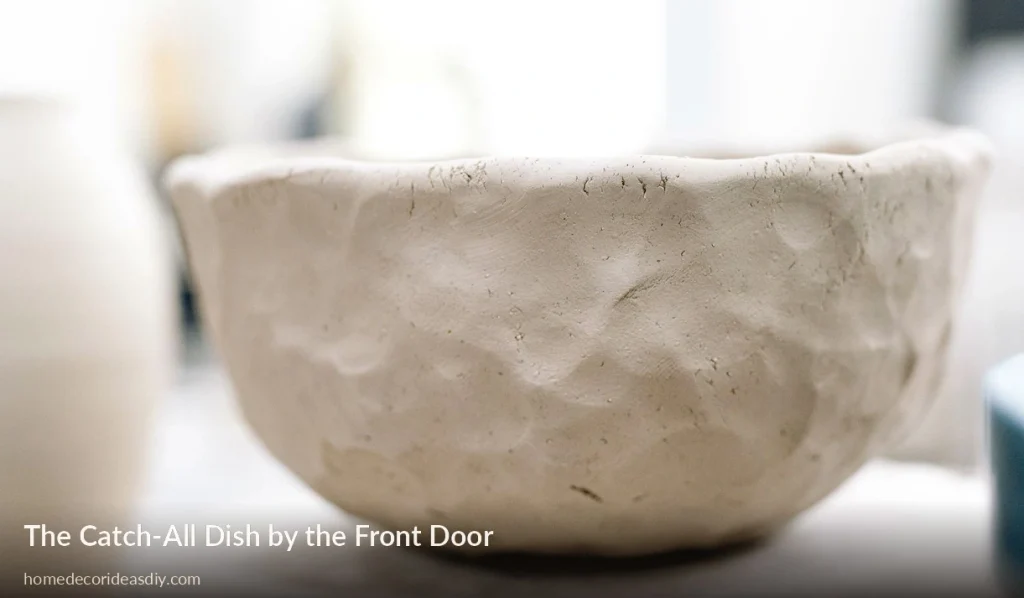
This is the one. If you make nothing else, make this.
Take a ball of air-dry clay about the size of a plum. Push your thumb into the middle, then keep turning it in your palm, pinching outward and up from the base, going round and round rather than working one spot at a time. The walls need to end up the same thickness as the dish floor. That’s the bit people get wrong, including me, the first three times.
Leave your thumbprints in it. Seriously. A smoothed, perfect, factory-looking dish looks cheap, whereas one with finger marks pressed into the rim looks handmade the way you were hoping for.
Mine takes keys, a bike light and whatever coins come out of pockets. Two years in, there’s a chip out of one side from where it got knocked off the shelf, and it looks better for it.
2. A ring dish with a leaf pressed into the base
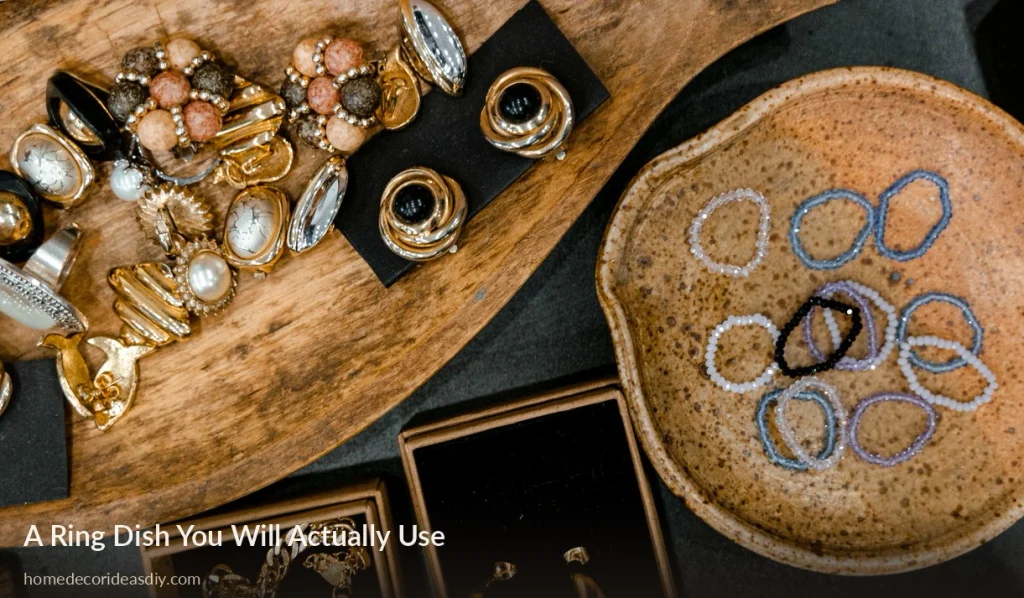
Same pinch method, smaller and shallower. Before the clay sets, press a real leaf face-down into the inside, then gently roll it over with a jar. Peel it off after about twenty minutes, while the clay is still soft enough to release it cleanly. Wait until it’s dry, and you’ll tear the surface, pulling it away.
Sage leaves hold detail well. Anything glossy and thick, like a rubber plant leaf, barely leaves a mark.
3. Tea light holders, which are the easiest win here
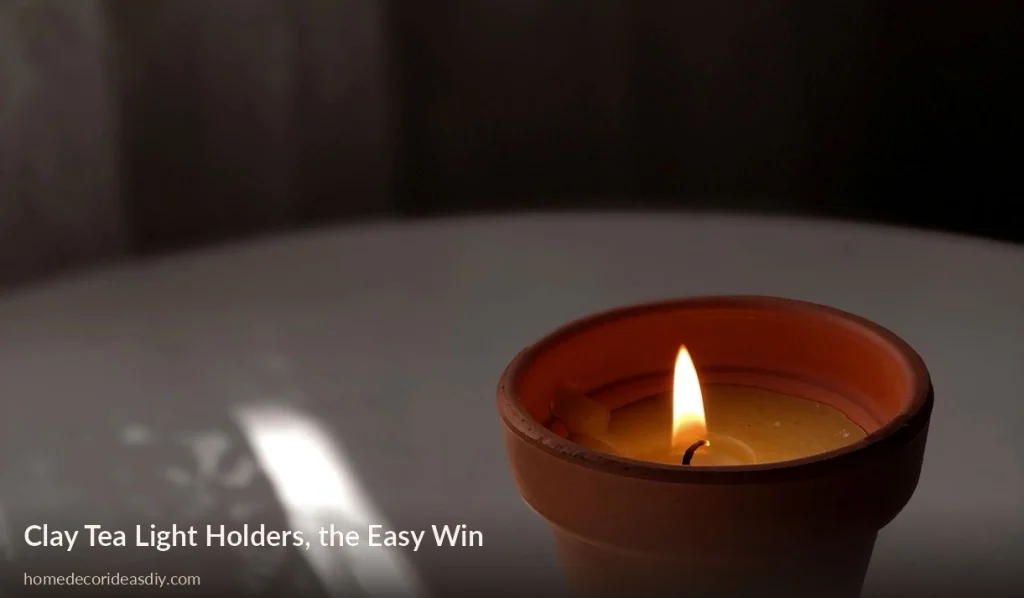
Roll a rope of clay about as thick as a pencil and wrap it around a metal tea light cup in a spiral, pressing each coil into the one below with a wet finger. Pull the cup out while things are still soft. Keep the walls lower than the top of the candle; otherwise, the flame sits down in a little well, starves for air and tunnels straight down the middle.
One warning from experience: don’t stick a taper candle into unsealed, air-dry clay. The wax soaks straight into the surface and leaves a dark, greasy ring you cannot clean off. We cover a fuller rundown of what fails on homemade holders in our DIY candle holder ideas post, especially the wobbling, which is genuinely the most annoying problem with handmade bases.
4. Flat wall shapes, hung in odd numbers
Roll a slab out between two paint stirrers so the thickness stays even, cut circles with a drinking glass, and poke the hanging hole while the clay is soft. Not later. Later you will crack it and swear.
Three in different sizes, hung loosely rather than in a straight row, looks deliberate. Six in a neat line looks like a market stall. I can’t explain why; it’s held every time.
Weight is the thing to watch with wall pieces. Clay is heavier than it feels in your hand, and a thick disc will drag a command strip off the paint within a month- the same slow sagging problem that ruins most DIY paper flower wall decor after a few weeks. Keep the slab thin, use a pin hook, and check it in week two.
5. Coasters, which I’ll be honest about
They’re fine. Not great. Air-dry clay is porous, so even sealed, a cold glass will eventually leave a faint mark, and a hot mug on a thin slab can crack it clean in half if the slab dried unevenly. Polymer clay makes better coasters because it comes out dense and a bit flexible.
Marbling is the reason to bother: twist two or three polymer colors together, roll the log, slice, flatten. Every one comes out different.
6. A bud vase for dried stems only
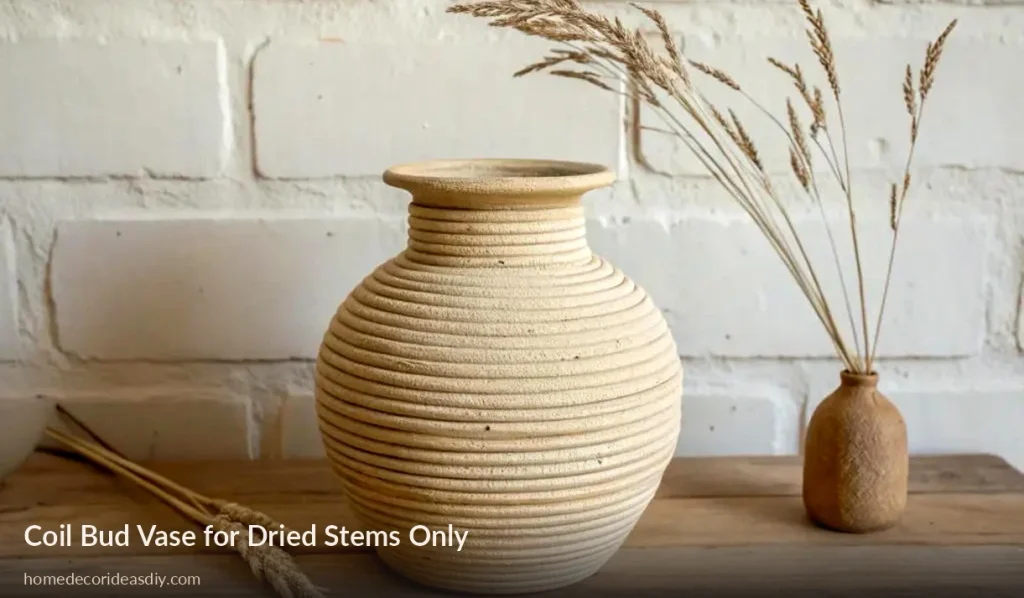
Coil built, not pinched. Roll snakes, stack them, smooth the inside seams as you go with a wet fingertip so the whole thing doesn’t come apart at the joins later.
Dry flowers only. Water in an air-dry clay vase is a slow disaster, not a fast one, which is worse, because you won’t notice until the base has gone soft and lifted the paint off your shelf. If you want a real vase, put a glass test tube or an old spice jar inside and build the clay around that.
7. Marbled drawer knobs
This is where polymer earns its money. Polymer clay isn’t really clay at all; it’s a PVC-based modeling compound that usually contains no clay minerals, and it hardens in a normal kitchen oven at around 265 to 275°F, roughly fifteen minutes per quarter inch of thickness. No kiln, no drying wait, and it holds a screw thread without crumbling.
Push a machine screw into the back before baking. Swap four knobs on a plain chest of drawers and the whole thing reads differently.
8. An incense holder
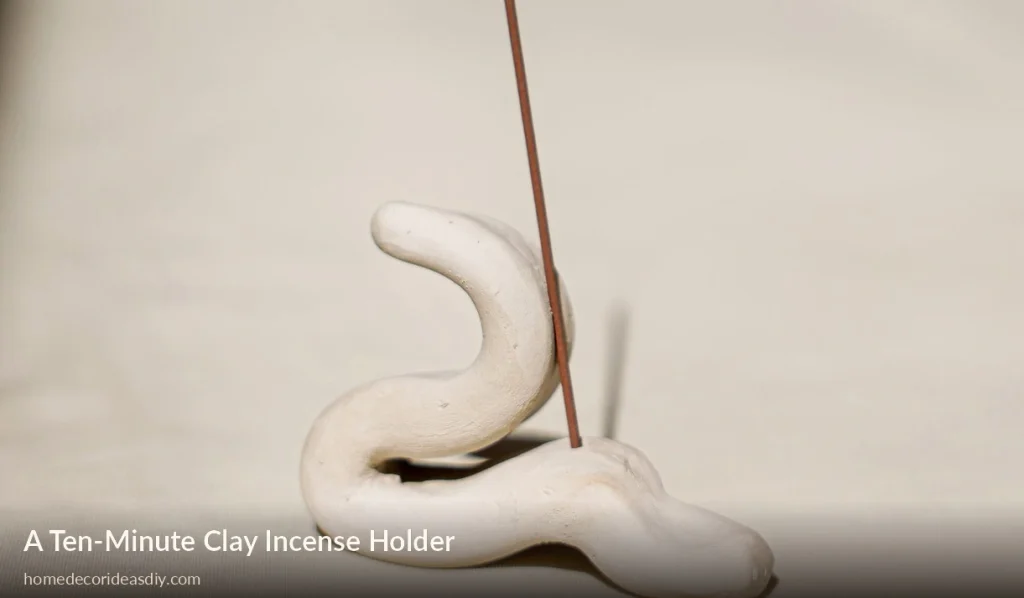
Flat oval, hole poked at one end, shallow channel down the middle for ash. Ten minutes. It’s the piece guests pick up and ask about most, which says something about effort versus reward that I’ve chosen not to think too hard about.
So which clay should you buy?
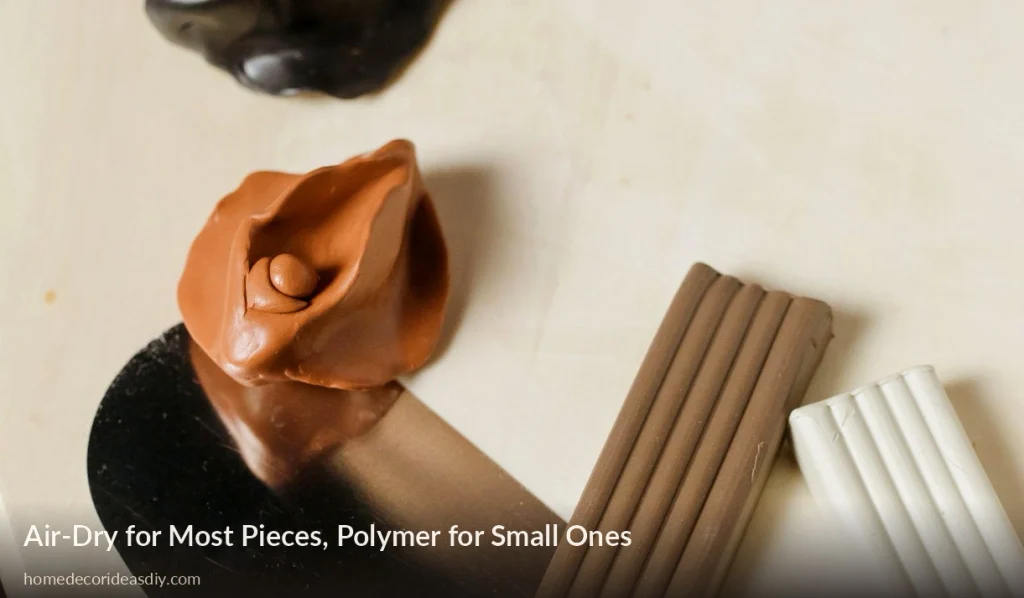
For most of the above, use air-dry clay. The soft white stuff sold for school projects is lovely to handle but goes a bit chalky and soft once dry, so I use it for wall pieces and keep the heavier terracotta-style clay for anything that gets picked up daily. It’s harder on your hands and worth it.
Polymer for small things, detail, and anything that needs to survive being knocked around.
Cost-wise, both are cheap enough that the clay is never the expensive part of the project. Your time is.
Why does air-dry clay crack while it’s drying?
Because one part of the piece dried faster than another part, almost always. That’s it. It’s rarely the clay’s fault and rarely your shaping.
Heat is the usual culprit: a radiator shelf, a sunny windowsill, a hairdryer because you’re impatient. The surface hardens, the middle stays wet and keeps shrinking, and the two pull against each other until something gives. My first ever dish split straight across the base overnight on a radiator shelf, and I blamed the brand for about a week.
What fixes it, in order of how much difference it makes: keep the thickness even throughout the piece, dry it somewhere cool, cover it loosely with a plastic bag for the first day so the surface can’t race ahead, and flip flat pieces over after half a day so both sides lose water at the same rate. Otherwise, the discs curl upward at the edges.
Cracks that show up while the clay is still damp can be filled with slip, which is clay mixed with water to a yogurt consistency, smoothed in with a finger. Cracks that show up when it’s bone dry get wood filler and paint. It’s not cheating; everyone does it.
And the piece is properly dry when it feels noticeably lighter than it did going in, and the color has gone evenly pale all over. Cold to the touch usually means there’s still water sitting in the middle.
Sealing is not optional, sorry.
I skipped it on my first few pieces and regretted every one. Unsealed air-dry clay drinks up whatever touches it. Fingerprints darken into the surface, dust settles into it rather than on it, a wet glass leaves a ring that stays. The piece starts looking grubby within a month, and wiping it down does nothing.
I’ve settled on two coats of acrylic, then a matte varnish. Gloss makes handmade clay look weirdly like plastic to my eye, and matte lets the texture show. If you want the raw terracotta finish, skip the paint and seal it clear. You can also mix acrylic into the wet clay before you shape anything, which colors it right the way through, handy for pieces that will get chipped.
None of this makes it waterproof. Water-resistant enough to survive a damp cloth- that’s the ceiling, and anyone selling you a varnish that claims otherwise is stretching it.
The DIY clay home decor I’d skip
Clay letters and word signs. They charm you for a week, and then they’re a shelf ornament spelling a word at you for two years, which was my exact complaint about shop-bought decor before I started making my own. Make the things with a job. A slightly crooked dish that holds your keys beats a perfectly sculpted object every single time, and you’ll know within a month which one you actually made.