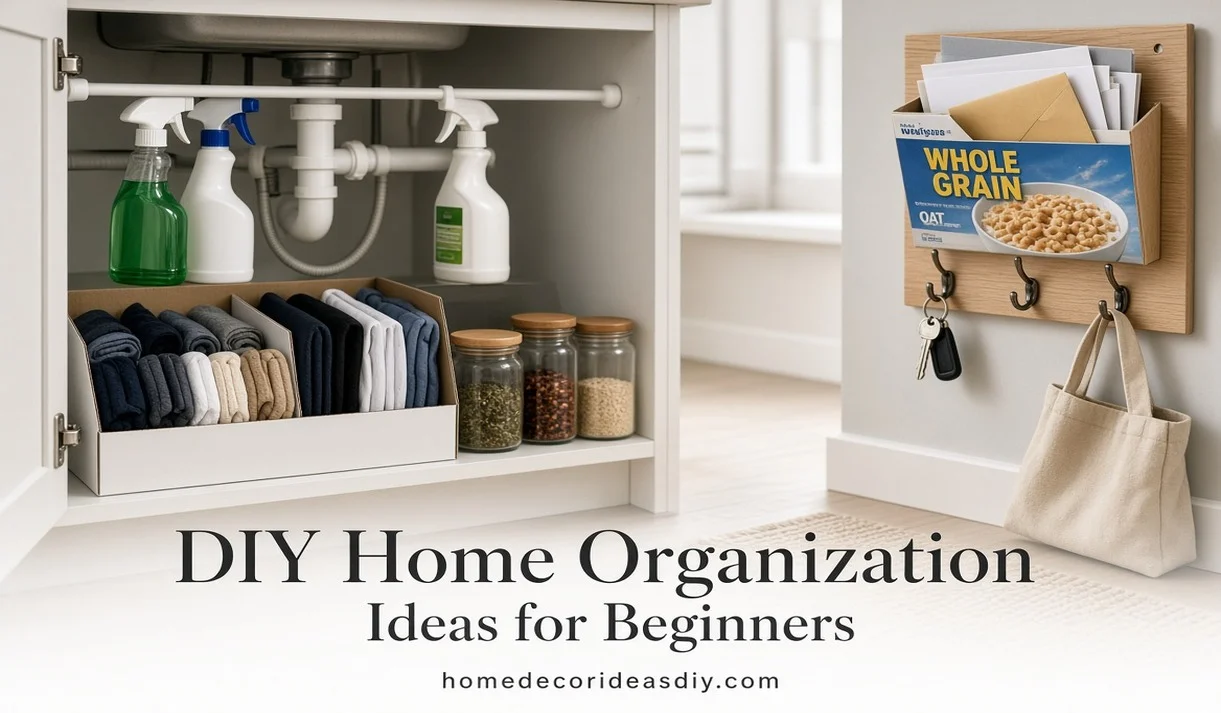
If you’ve never organized anything yourself, these DIY home organization ideas for beginners are a good place to start, because none of them needs special skills or a big budget. Most of them use stuff you’d normally throw out. I mean shoeboxes, old jars and a cereal box. Only the last project needs a screwdriver.
I’ll be honest, the first time I made drawer dividers it didn’t go well. I cut the shoebox too tall, the drawer wouldn’t close, and I had to trim the whole thing down again with the socks piled on the bed. That’s how a lot of first tries go. So with each project, I’ll point out the part that usually goes wrong so you can skip it.
One more thing before you start. Pick one drawer or one shelf and leave the rest of the house alone for now. When people try to do a whole room in one day, they usually get tired and quit halfway, and then the room looks worse than before.
What You Need Before You Start
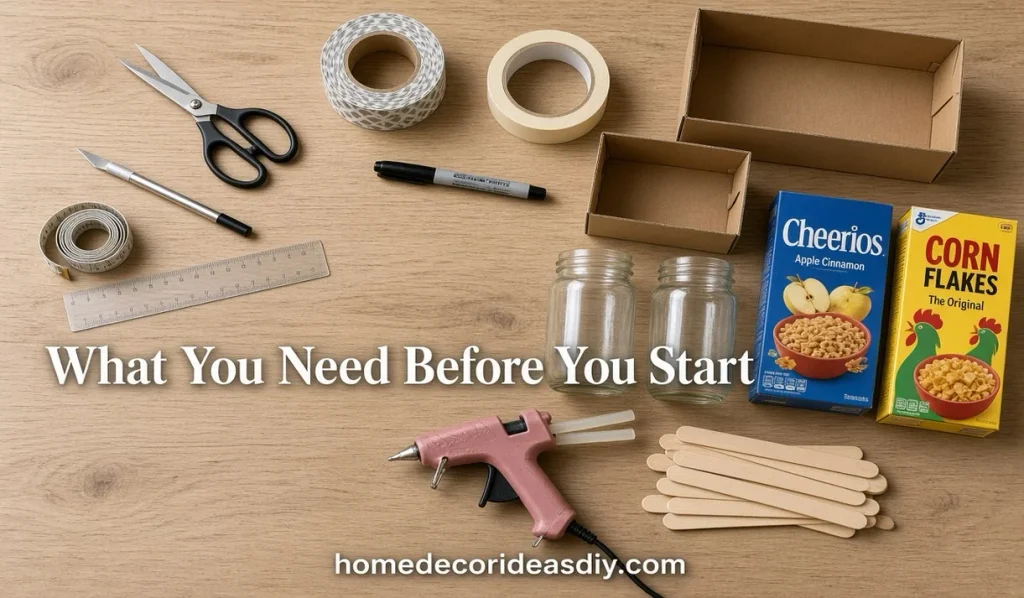
You don’t have to buy much. I keep all of this in one old box so it’s ready when I need it:
- Scissors and a craft knife
- A ruler and a tape measure
- Contact paper, masking tape and a marker
- A glue gun with a few glue sticks
- Empty shoeboxes, glass jars and cereal boxes you’ve saved up
The coat board at the end needs a few more things, and I listed those in that section.
Pro-Tip: Glue sticks are a type of hot-melt adhesive, and the glue coming out of the gun is hot enough to burn and blister your skin. I press pieces together with a popsicle stick now, after burning my thumb more times than I’d like to admit.
5 DIY Home Organization Ideas For Beginners
1. Shoebox Dividers For A Messy Drawer
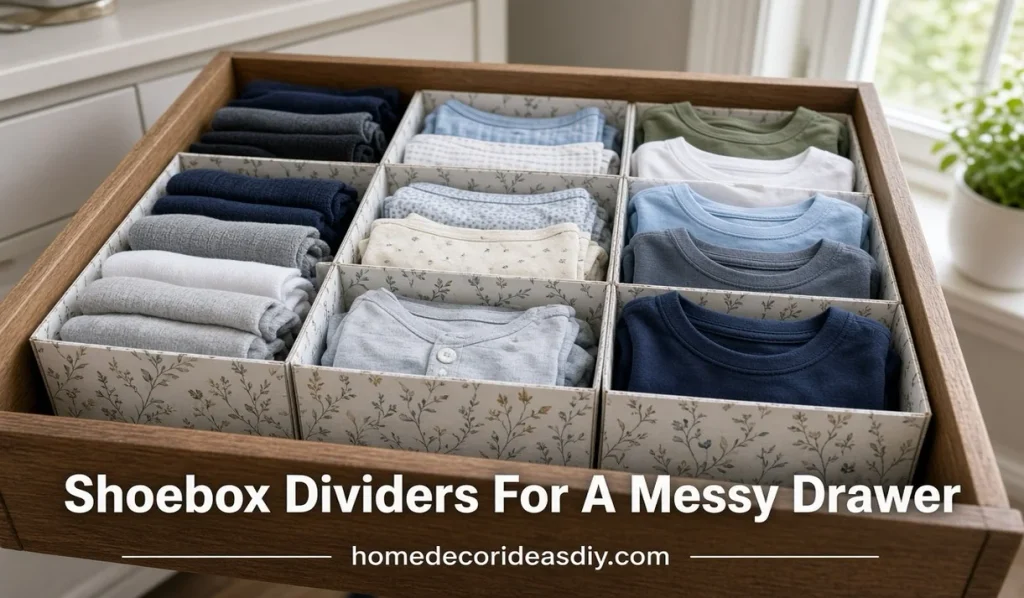
Measure the inside of your drawer from the bottom to the top edge. Then cut the shoebox and its lid so they sit about half an inch lower than that. That gap is the whole trick, because it’s what lets the drawer close.
Cover the pieces with contact paper and set them in. One box and its lid give you two sections, which is plenty for socks and underwear. I fold T-shirts into thirds and stand them on their side so I can see every shirt when I open the drawer instead of digging for the one I want.
Pro-Tip: Don’t peel all the backing off the contact paper at once. Peel a few inches, smooth it down with an old credit card, then keep going. You won’t get bubbles that way.
2. Glass Jars For Spices And Bathroom Bits
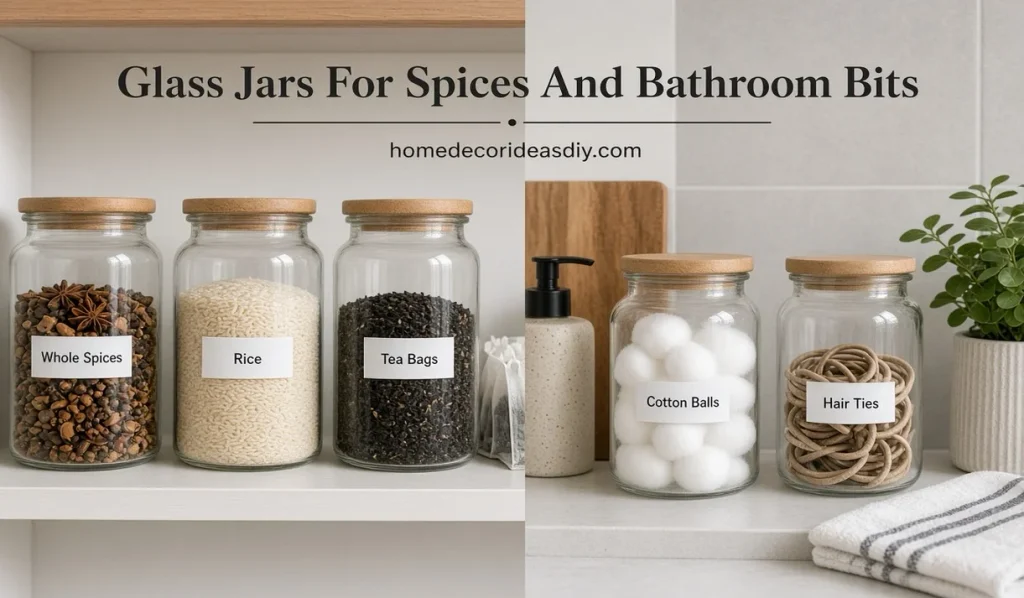
Save your jam, salsa and pasta sauce jars. Soak them in hot, soapy water, and the paper labels will mostly slide off. If the glass is still sticky after that, I rub it with baking soda mixed with a little cooking oil, and it wipes right off.
In my kitchen, they hold spices, rice and tea bags. In the bathroom, it’s cotton balls and hair ties. Put the label on the side of the jar, not on the lid. I learned that after washing a whole shelf of jars and putting every lid back on the wrong one.
3. A Tension Rod Under The Sink
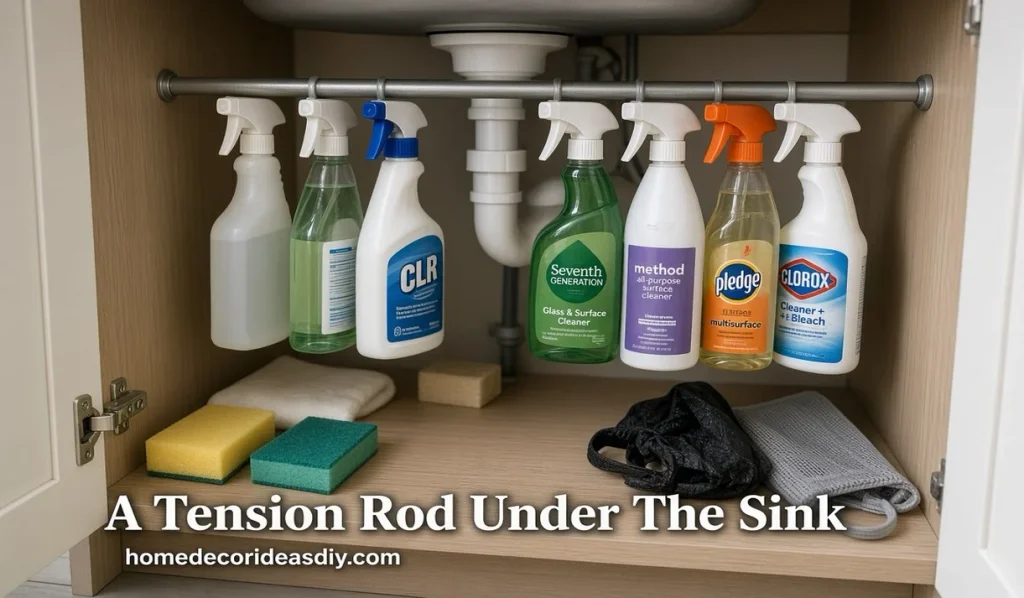
Of all the DIY home organization ideas for beginners on this list, this one’s my favourite, because it takes about five minutes. Measure the inside of the sink cabinet from side to side, then buy a tension rod that extends a little past that measurement. Twist it until it’s tight against both walls, up near the top, and hang your spray bottles from it by the trigger.
Now the cabinet floor is free for sponges and trash bags. Set the rod toward the front, close to the door. Almost every sink cabinet has a drain pipe running down the middle, and that’s where most people try to put the rod first.
4. A Cereal Box Holder For Mail
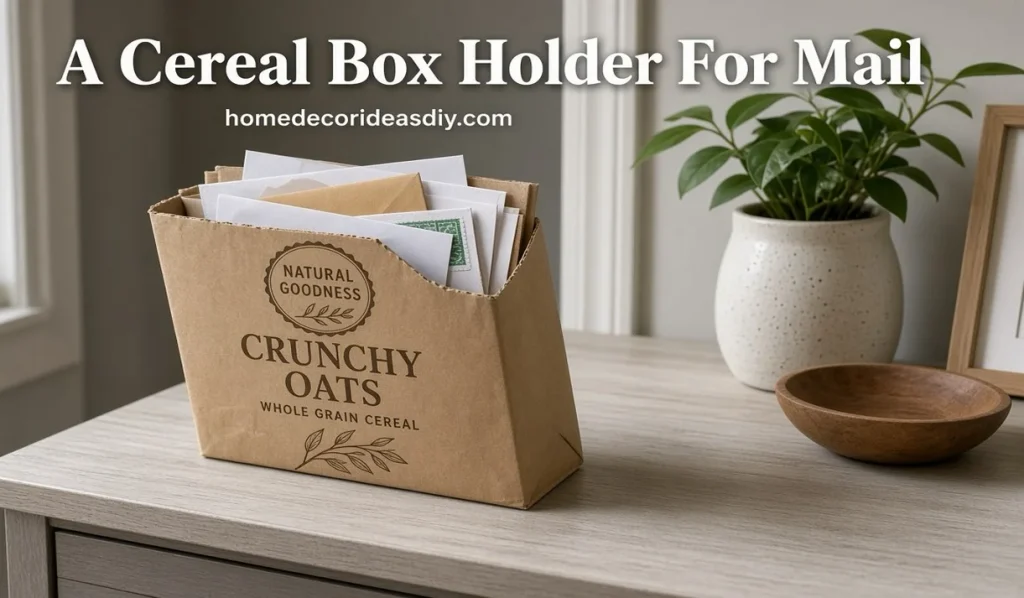
Draw a slanted line on the side of an empty cereal box, from the top corner down to about a third of the way up the other edge. Draw the same line on the other side, then cut along both lines and across the front. Cover it with brown paper or leftover wrapping paper so it doesn’t look like breakfast.
It holds mail and school papers fine. Heavy books will make it lean within a week, though. If you want it stronger, glue a piece of shipping-box cardboard to the back. That thicker cardboard tears less when you cut with the grain, which we covered in our post on DIY home decor with cardboard.
5. A Key And Coat Board For The Front Door
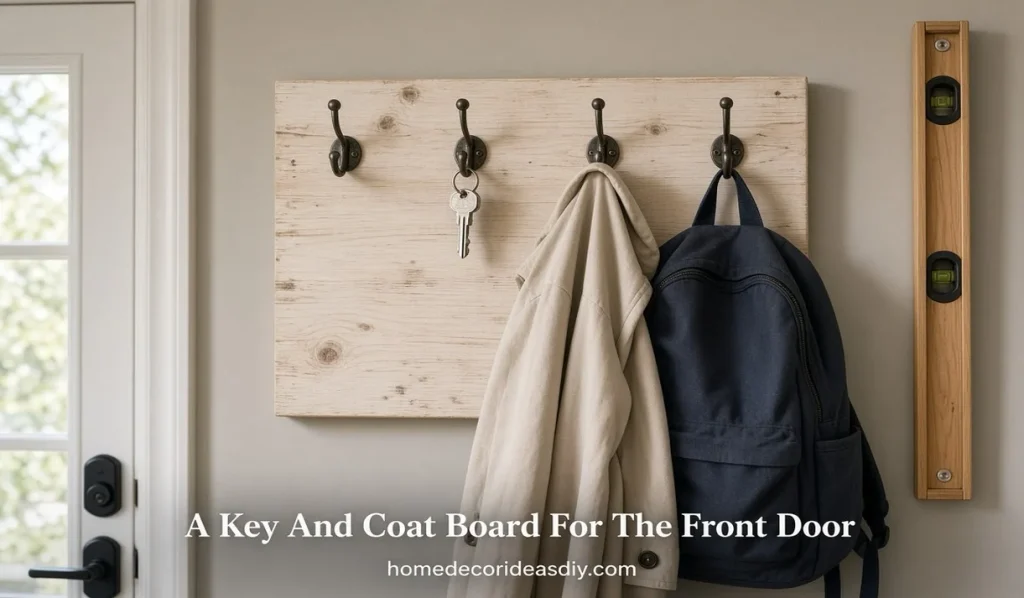
This is the only real build on the list. You’ll need a pine board about 2 to 3 feet long, sandpaper, paint or stain, three to five hooks with screws, a drill, a level and a stud finder.
Sand the edges, paint the board and let it dry overnight. Drill small pilot holes for the hooks to prevent the wood from splitting, then screw them in. Hold the board against the wall with the level sitting on top, mark it, and screw it into a stud. In most US homes, the studs are 16 inches apart, sometimes 24.
Pro-Tip: Don’t drill right above or below a light switch or outlet. Wires usually run straight up or down from them.
Common Mistakes Beginners Make
Most DIY home organization ideas for beginners go wrong for the same few reasons, and none of them are hard to fix:
- Building dividers before clearing out the drawer. You end up neatly organizing stuff you don’t even want. Empty the drawer first and toss what you don’t use. Our guide on organizing a small house covers the clearing-out part room by room.
- Screwing the coat board into plain drywall. It’ll hold keys, but a couple of winter coats and a backpack will pull the screws right out. Find a stud, or use wall anchors rated for the weight you’re hanging.
- Using hot glue on things that get hot. That glue softens when it warms up, so a glued box left in a hot car or attic can fall apart. White craft glue is a better pick for those.
- Skipping labels. You know what’s in the box because you made it. The rest of your family doesn’t, so things stop going back where they belong.
Start With The Drawer That Bugs You Most
You don’t need a perfect system to get going. Pick the one drawer that annoys you every morning, grab a shoebox and give it an hour. My first one came out crooked, and it still did the job. Once that drawer stays neat for a week, the rest of these DIY home organization ideas for beginners will feel a lot easier.