Almost every DIY coffee table makeover I’ve watched fall apart did so on the top, usually within the first month, because the top takes the hot mug, the feet on a Sunday night, and the juice cup somebody left there overnight. At the same time, the legs get kicked maybe twice a year. So I split the job in half now. The base can be as loud or as cheap as you want. The top gets the slow, careful treatment, and that careful part is what decides whether the table still looks good by Christmas.
It sounds obvious written down. I didn’t do it on my first one.
That was a $25 oak table from the Habitat ReStore, the orange-ish 1980s oak with the thick shiny finish, and I rolled two coats of chalk paint over the whole thing, waxed it, parked it in front of the sofa and felt very pleased with myself for about nine days. Then a hot mug went down with no coaster and left a cloudy white ring right where everyone puts their drink, and wax doesn’t really come back from that without redoing the whole patch lesson paid for.
Your coffee table top decides the plan, so check it first

Before you buy paint, flip the table over and look hard at the edge of the top, because solid wood, veneer, and laminate each need a different approach. The underside tells you a lot too, and sometimes there’s a maker’s stamp or a pencil scribble from whoever built it, which has no bearing on the job at all, but I always look.
- Solid wood. The grain on the edge matches the grain on top and wraps around the corner the way a plank would. You can sand this hard, refinish it in stain, sand it again if the stain goes blotchy. Best case.
- Veneer. A thin skin of real wood glued over particleboard or MDF, which is how furniture makers have been stretching good wood for a very long time (the wood veneer entry on Wikipedia traces it back to the ancient Egyptians, if you’re curious). Look for a hairline seam along the edge or a strip of edge banding. Hand-sand veneer, or keep a light touch with an orbital and 180 grit, because it goes through fast at the corners, and once the tan particleboard shows, you’re painting that top whether you planned to or not.
- Laminate. Plastic printed to look like wood, and the giveaway is grain that repeats a little too perfectly. Sandpaper barely scratches it. Scuff it anyway, then put down a bonding primer; otherwise the paint peels off in sheets the first time someone drags a laptop across it.
Old paint on a thrift store coffee table
If the base already has paint on it and the table looks older than 1978, test before you sand. That’s the year lead paint was banned for US homes, and the swab test kits at the hardware store are cheap and take a few minutes. Sanding lead paint into dust in your living room is the one mistake here you can’t fix with a second coat.
Clean off the old furniture polish before any sanding
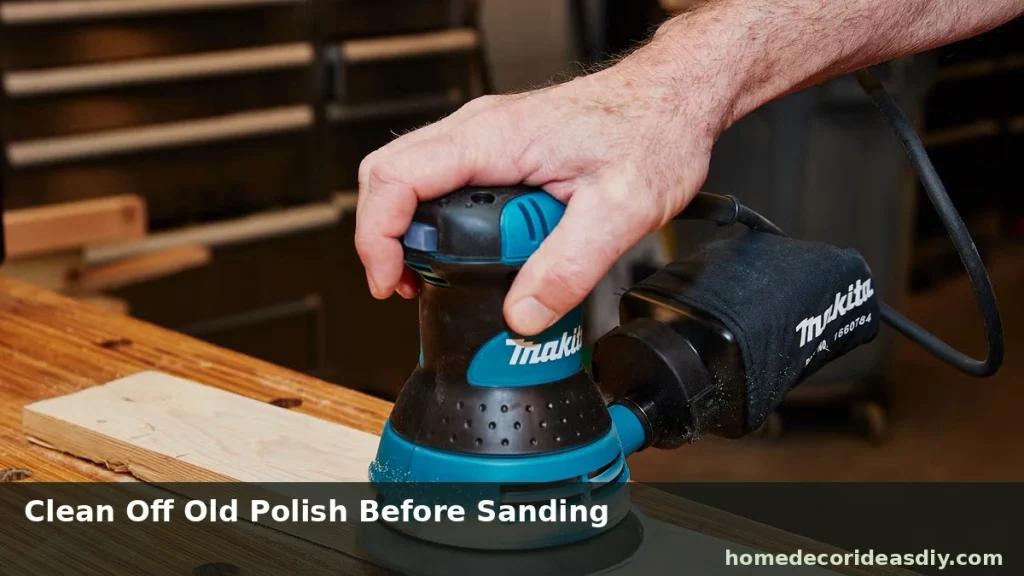
Old tables carry years of spray polish, and a lot of those polishes leave silicone and wax behind that you can’t see. Water-based finishes hate it. You brush on the poly, and it pulls away into little round craters; finishers call it fisheye, and once it starts, you can’t brush it out. So the order goes clean, then sand, never the other way round, because sanding first pushes the grease down into the scratches where the degreaser can’t reach it. I use Krud Kutter or a TSP substitute with a scrub pad, rinse with a damp rag, let it dry properly, and then sand. For the top, I start at 120 grit if I’m taking the old finish off or leveling rings, move to 180 or 220 before any stain, and use 320 between coats of poly for the light scuff that helps the next coat grab on. A barely damp microfiber cloth picks up the dust fine afterward; you don’t need tack cloths for water-based products, and some of them leave residue anyway.
Is chalk paint okay on a coffee table top?
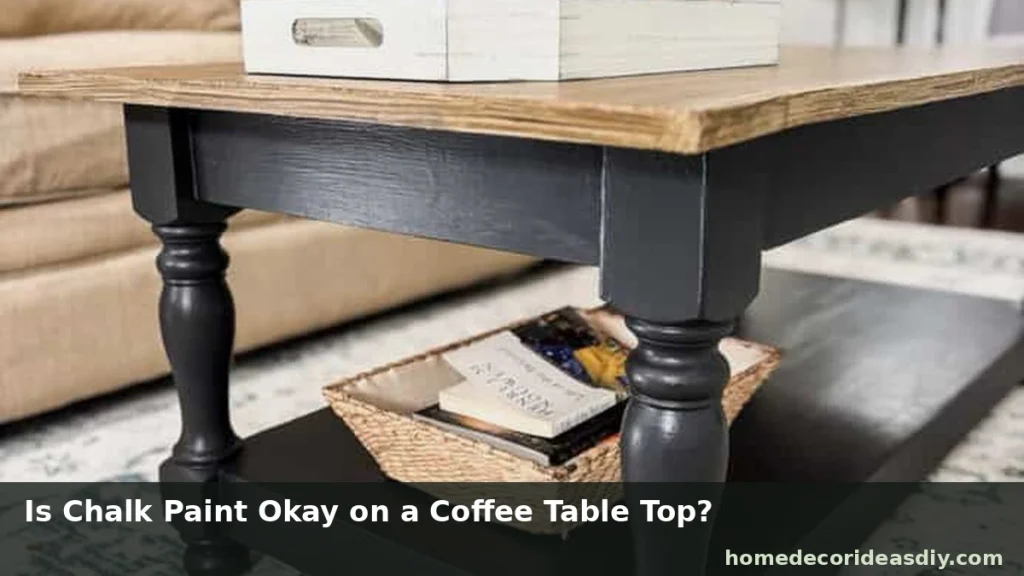
Chalk paint works on a coffee tabletop only if you seal it with water-based polyurethane instead of wax. Wax gives you that soft, hand-rubbed look everyone is after, and it stays soft, which is lovely on a dresser that mostly gets looked at and bad on a surface that gets mugs, plates, remotes and elbows every single day.
On the base, go ahead and wax. The chalky white farmhouse finish I kept coming back to in my budget farmhouse decor projects looks great on turned legs and an apron, and if it chips on the feet, a painted coffee table only looks more like the style was meant to be lived in.
One more catch with white or cream paint over oak or mahogany. Those woods push tannins up through light paint, so pink or yellow blotches come back on coat two or three, and more paint doesn’t cover it; it bleeds through that too. That ReStore table did exactly this to me before the mug ring ever happened. A coat of shellac-based primer (Zinsser BIN is the one most people grab) blocks the bleed-through, and it dries fast enough that you lose maybe an hour.
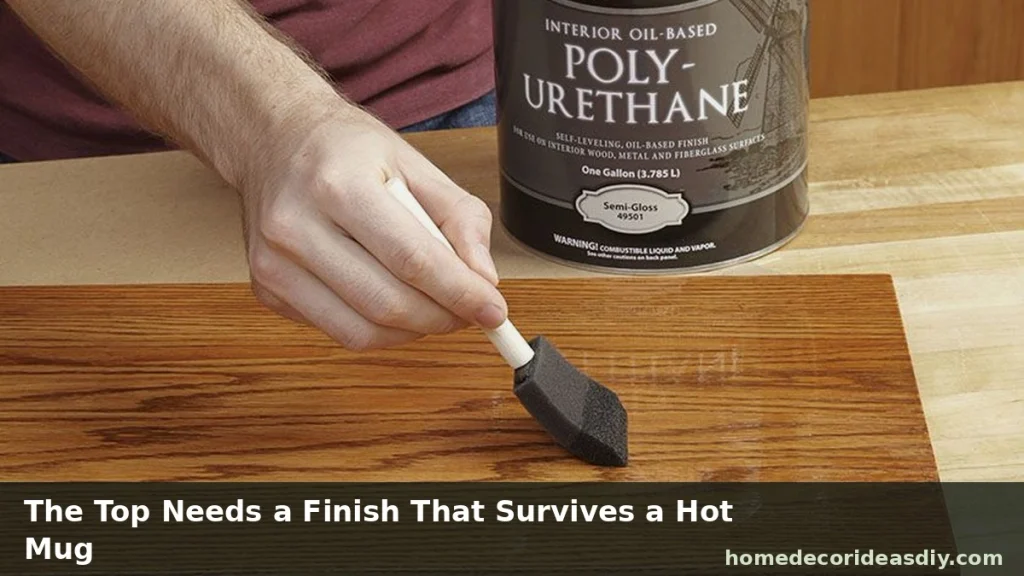
The top needs a finish that can survive a hot mug
This is the chart I wish somebody had taped to my garage wall. Times vary by brand, and the cans and the woodworking guides don’t always agree, so read these as ranges and check your label.
| Water-based polyurethane | Yes, stays clear | 2 to 4 hrs | about 24 hrs | 2 to 3 weeks |
| Oil-based polyurethane | Yes, toughest, but yellows | 6 to 24 hrs | 2 to 3 days | about 30 days |
| Furniture wax | No | n/a | n/a | never hardens like poly |
For a painted or light-colored top, use three thin coats of water-based poly. Save oil-based for dark-stained tops, where a bit of amber doesn’t matter. Oil-based over a white top slowly drifts toward the color of old piano keys, which some people like. I don’t.
A top finished five days ago looks done and feels hard, and that’s exactly when it gets ruined, because the film underneath is still soft and a hot plate or a stack of magazines left overnight leaves a ring or an imprint. Coasters for the first few weeks. Nothing heavy sitting on it overnight. And if the room is cold, under the mid-60s, expect all of it to drag on longer, which is why I don’t seal tops in the garage in November anymore.
People ask whether three coats are overkill, and on a side table maybe it is, but a coffee table gets used like a kitchen counter at knee height, so I’d rather sand back a thin extra coat than redo the whole top in spring.
The base of a DIY coffee table makeover can take the risky ideas.
The legs, apron and lower shelf barely get touched, which makes them the place for the coffee table makeover ideas you’re not sure about. If it looks wrong, you repaint one leg, not the whole top. A few that hold up fine down there:
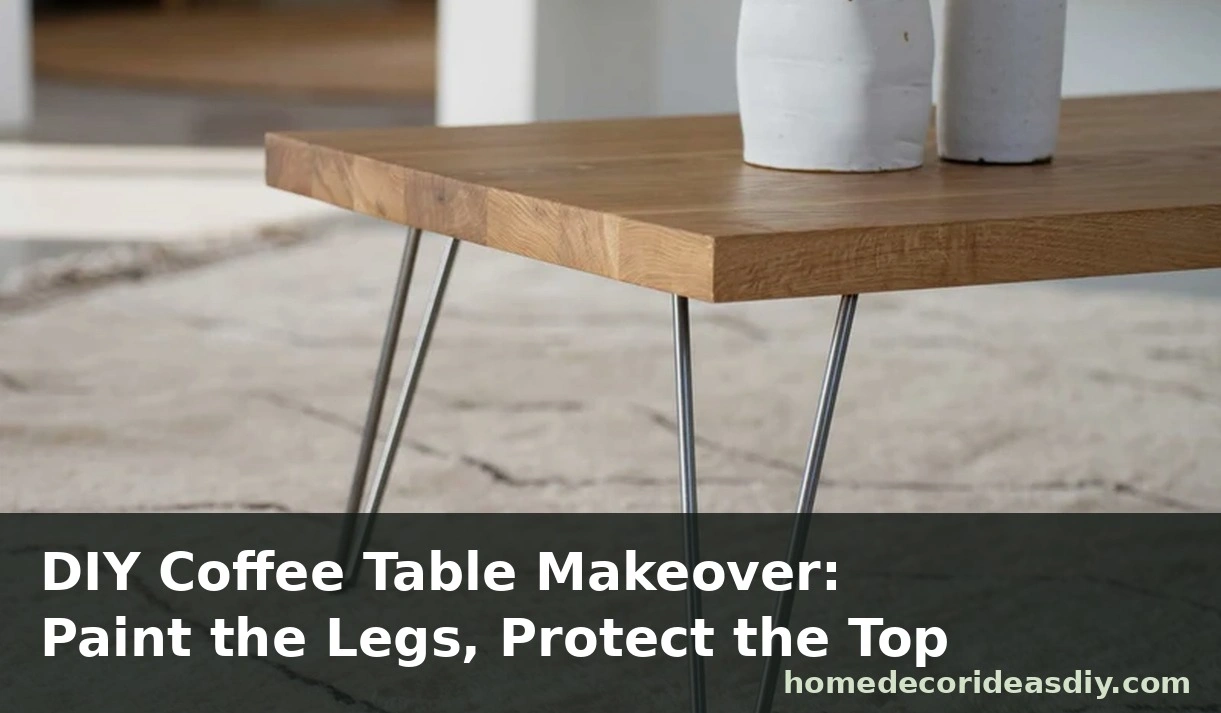
- Swap the legs for tapered mid-century ones or hairpin legs with screw-on top plates, but first check whether the old legs are bolted or glued into the apron; glued ones mean a saw and a lost weekend.
- Paint the base black or a deep green and leave the top natural wood, the easiest combination to get right and the one I keep pushing on friends.
- Rub ‘n Buff in gold on the feet or a strip of trim. A fingertip of it and a soft cloth goes a long way.
- Glue half-round dowels or flexible pole wrap along the apron for a fluted look, then paint it all one color so it reads as built-in.
- Add cane webbing to a lower shelf or drawer front.
- Stencils on the lower shelf, where the wear is low, and a wobbly line ends up hidden under baskets anyway.
When I finally redid the pale oak table from my modern living room, I went with that second option. Top stripped back and sealed in three coats of matte water-based poly, legs painted soft black, somewhere between thirty and fifty dollars in materials, and it has been through a year of feet and board games with one faint scratch I only notice because I know where it is.
Most coffee tables don’t need the full strip-and-stain redo you see in before-and-after reels anyway; they need a sealed top and a different base, and the full strip is honestly miserable on a Saturday with the windows open. Paint the legs however you like. Treat the top like it’s getting a hot mug on day ten, because it will.