I needed a coffee table, and I had forty dollars. That’s why I started messing around with pallets, and I never really went back. Since then, I’ve built a sofa, a bed frame, a potting bench and a few things that were bad enough that they ended up in the fire pit, which is part of it. So this is my running list of DIY pallet furniture ideas that survived actual use in my house, plus the mistakes I made along the way so you can skip them.
Rough timings before you clear your weekend: a coffee table is one afternoon, a bed frame is one long Saturday, and the sofa took me two weekends, and that’s assuming the boards are already pulled apart and sanded.
Read the stamp before that pallet goes in your car
Take HT pallets, nothing else. HT means heat-treated, so the wood sat in a kiln at a core temperature of 56°C for at least thirty minutes and no chemicals ever touched it. If the stamp says MB, walk away. That one was fumigated with methyl bromide, a pesticide that’s being phased out under the Montreal Protocol and is already banned for wood packaging across the EU. Not something you want three feet from your pillow.
KD (kiln dried) and DB (debarked) turn up on some stamps too and both are fine. The mark itself is a little wheat symbol inside a box with a country code beside it, and it’s burned or ink stamped into the stringer, never a peel-off sticker. That whole coding system comes from the IPPC’s ISPM 15 standard if you ever want to read what the letters legally mean.
Two more I pass on without even thinking about it now:
- Anything stained, oily, or smelling faintly of chemicals. You can’t sand a spill back out of the grain.
- Blue or red pallets. Those usually belong to a rental pool like CHEP or PECO, so that isn’t free wood; it’s somebody’s property.
If a pallet makes you hesitate, leave it. Pallet wood is free. Your lungs aren’t.
Where the free ones actually come from
Grocery and hardware store managers will often hand them over if you ask politely, because otherwise they’re paying to get rid of them. Small warehouses are better than big distribution centers, since the chains usually have return contracts and the small operators don’t. Construction sites are full of good boards, but ask somebody first. Facebook Marketplace and Craigslist also have people listing “free pallets” constantly; most of them want the driveway back.
Tools
Pry bar and rubber mallet, circular saw or jigsaw, orbital sander, drill and screws, wood glue, 80- and 220-grit sandpaper, and a stain or outdoor sealant depending on where the thing is going to live. That’s it, no workshop, and every project below was built with that list.
The orbital sander is the one I’d argue about if you tried to cut something. Sanding pallet wood by hand is miserable, and you’ll quit halfway.
12 DIY pallet furniture ideas that held up
1. Rolling coffee table
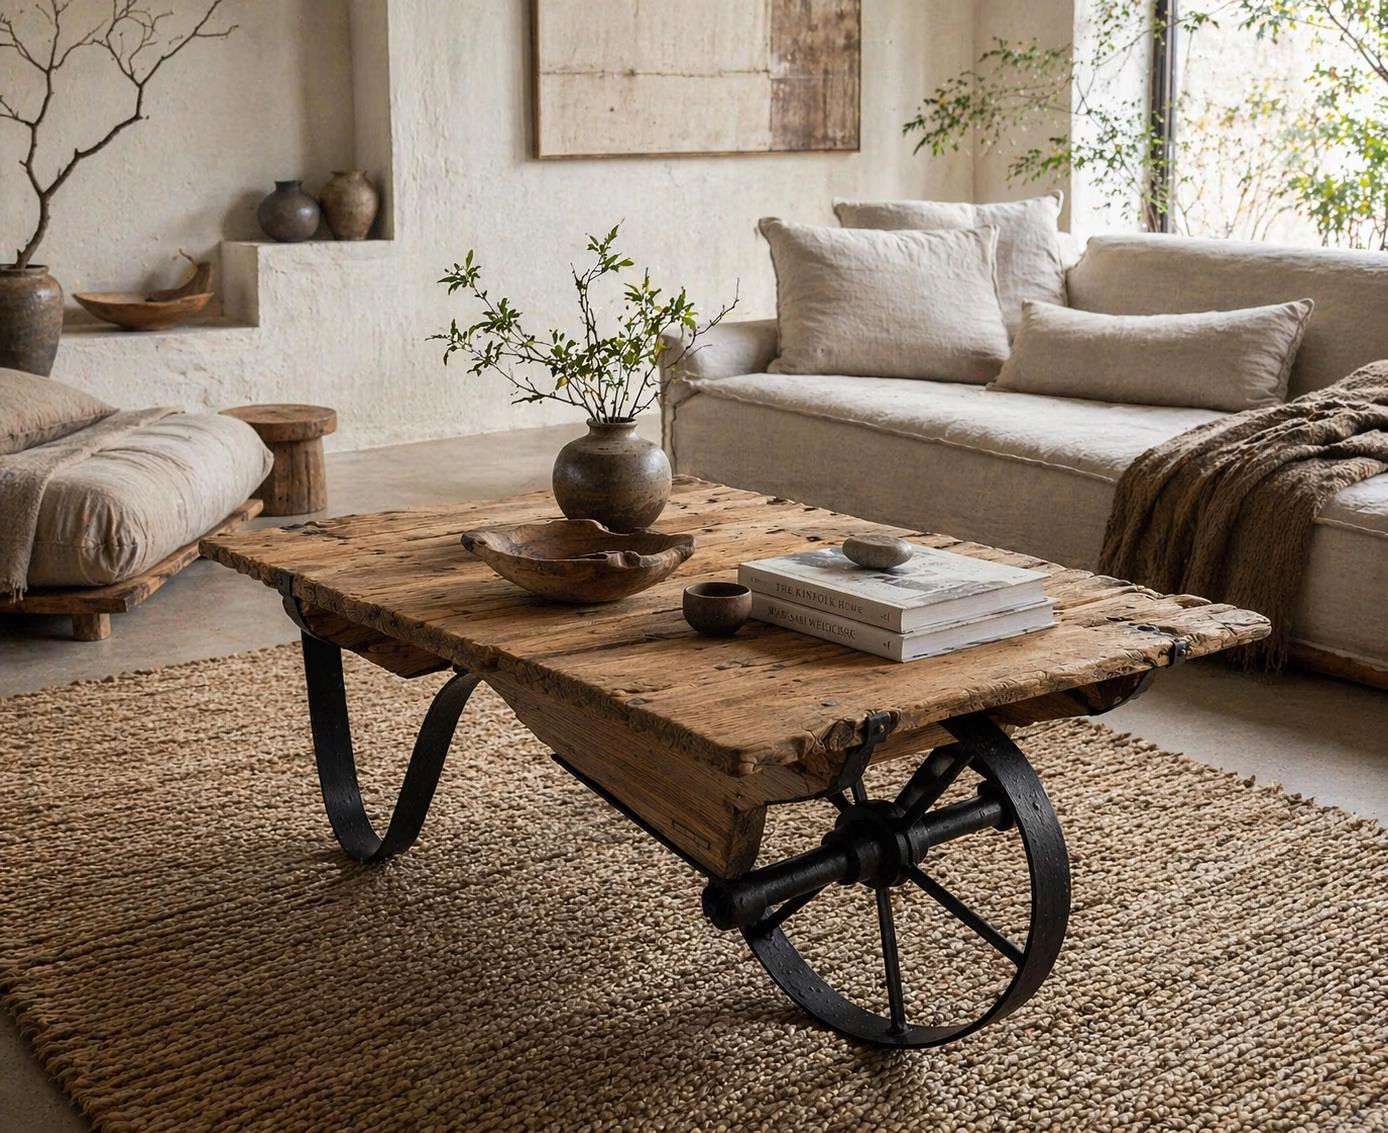
Start here. It was the first thing I made, and it’s still the piece people ask about. One intact pallet, sand it properly, stain it whatever color you want, then screw four caster wheels into the corners. That’s the whole build. The wheels are what stop it from looking like something you dragged out of an alley, and you can roll it aside when you need floor space.
2. Patio sofa
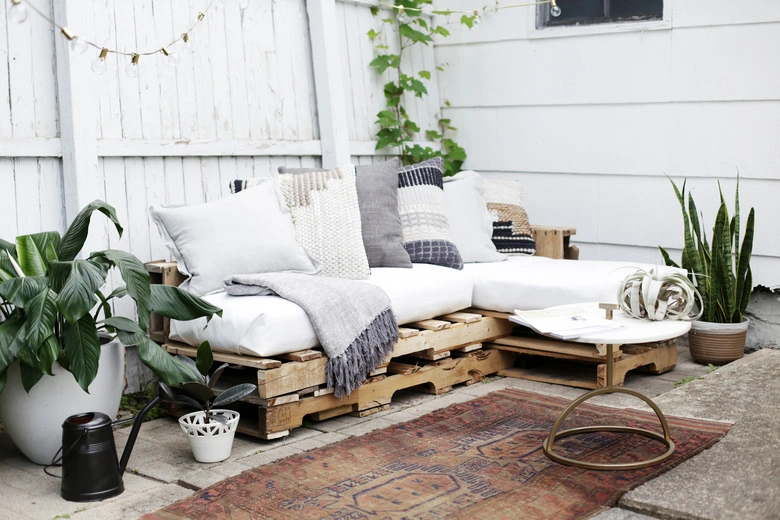
Stack two pallets for the seat, and stand a third one on end behind them as the backrest, with cushions on top. Mine came in under $100, and most of that was foam. If you’ve priced an outdoor sectional lately, you already know why that’s worth a weekend.
Use outdoor fabric for the covers. I didn’t the first time, and by August I was throwing mildewed cushions in the trash.
3. Bed frame with storage in the gaps
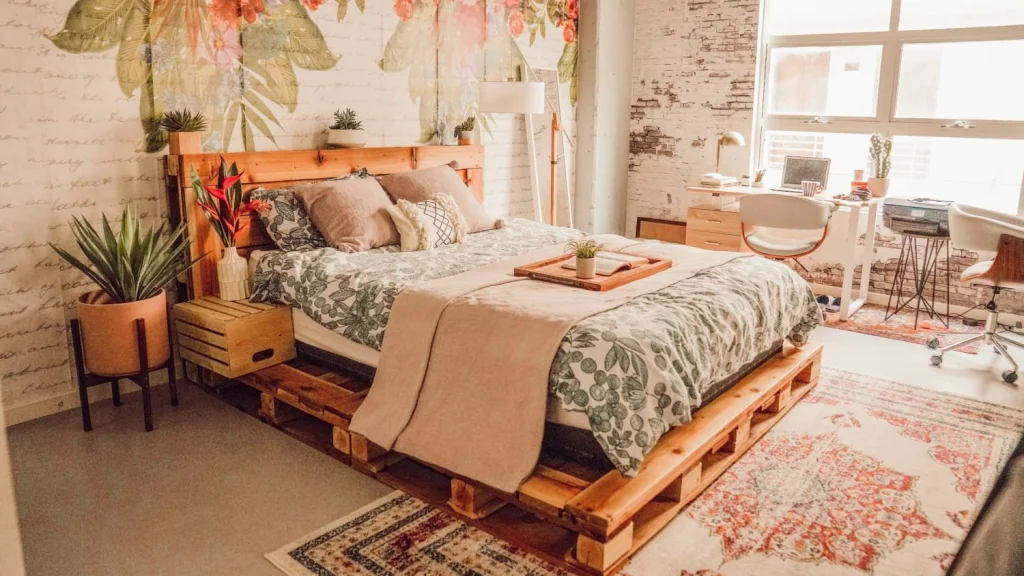
Lay the pallets flat, screw them together through the center braces, and the mattress goes straight on top. The gaps between the slats swallow books, folders, anything flat. Three years in and mine has never creaked once, which surprised me more than it probably should have. Want it higher off the floor? Add a second layer and paint the bottom row a different color so it reads as a plinth, not a stack.
4. Headboard
Sand the boards smooth, stain them a deep walnut, and hang them on the wall behind the bed. Take it all the way to the ceiling if you want the drama. People assume it cost hundreds. It cost an afternoon and a can of stain.
5. Porch swing
One pallet, rope, a branch that can take the load. Add a twin mattress, and it becomes the seat everybody argues over. Check the branch, though, because a pallet plus a mattress plus a person is heavier than it looks, and rope rating is not the place to guess.
6. Leaning shelf or plant stand
Stand the pallet on its side against the wall and screw it into the studs so it can’t tip. Now it’s a shelf. Mine is full of trailing pothos and looks like it came out of a boutique plant shop. If you’re picking pots for it, my guide to choosing decorative planters covers what actually sits stable on a narrow ledge, because half of them don’t.
7. Fold-down desk
Use pallet boards for the top, plywood backing, and a pair of piano hinges so it folds flat against the wall when you’re done for the day. My sister has one in a studio apartment where there is genuinely nowhere else to put a desk.
8. Corner banquette
Build a base and a backrest into the corner, add a cushion cut to fit, and a dead corner of the kitchen turns into the spot everyone eats breakfast. Best use of wasted square footage I’ve found.
9. Potting bench
Two pallets, a coat of paint, one afternoon, and repotting stops being something you do hunched over on the ground. Mine is soft green, though any color works. Shim it level, or it rocks every time you press down. I get most of my cheap pots and planters at flea markets, and I wrote up the best decor markets in the US if you want the list.
10. Adirondack chair
This is the ambitious one: angled cuts, an actual plan, real measuring. But the store version runs two to four hundred dollars, and this one costs about fifteen. Save it until you’ve finished two or three easy builds.
11. Vertical herb garden
Pallet on the fence, small pots wedged between the slats, herb names painted on. Under an hour, start to finish.
12. Kitchen island
Intact pallet base, locking casters, and a top made from pallet boards finished with several coats of food-safe sealant. It ended up being the most used surface in my kitchen. Add a towel bar on one side.
What I’d change if I started over
Sand more than feels necessary. Pallet splinters are genuinely nasty. I rushed the first table and spent day one picking them out of my palm.
Three coats of sealant outdoors, not one. This wood is thirsty. One coat will not survive a winter; I’ve tested that for you, and two is borderline.
Pry bar, never a hammer. Hammering cracks boards, and you lose half of what you pulled off. Go slow.
Run a magnet over every board before it touches the saw blade, even after you think you’ve pulled every nail, and learned that one expensively.
For indoor finishing, a clear coat isn’t strictly required, but I’d still do it. It seals in moisture, keeps the wood from shedding dust onto your floor, and makes the surface wipeable. Clean, dry, finish, then it comes inside.
The best projects here aren’t the impressive ones. They’re the coffee table and the potting bench, the two I use daily and stopped noticing years ago. Build the fancy Adirondack chair if you want, but the thing you’ll actually be glad you made is the boring one with wheels.