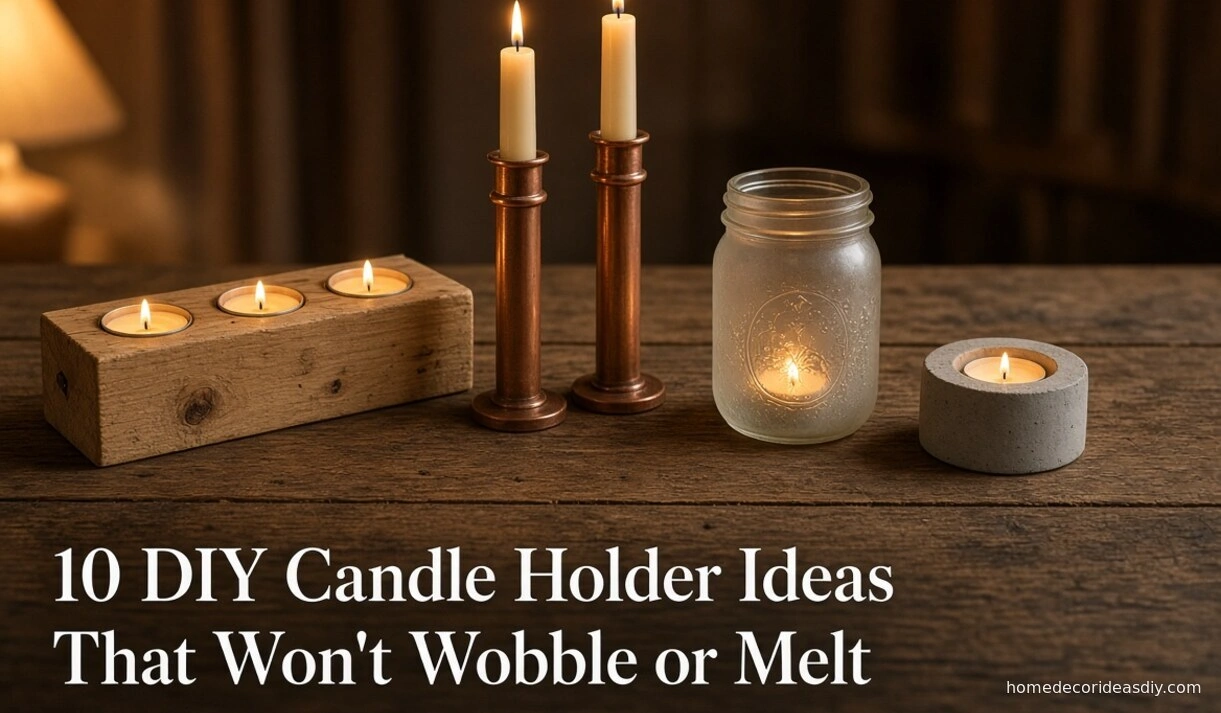
Most DIY candle holder ideas look finished in the photo because the photo was taken before anyone struck a match. Light it, give it two evenings, and you’ll find out which ones were built for Pinterest. The taper starts leaning. Twine near the rim turns a bit brown. Hot glue on a warm jar lets go of whatever it was holding.
Two things decide it: how snug the candle sits, and what sits close to the flame. Get those right, and a jar from the back of the cupboard outlasts a store bought holder with a nicer price tag. Every holder below includes the size you need. Most tutorials leave the measurement out. You only notice on night two.
A holder is a cup, a spike, or both. That is the job. The old names for those parts are on Wikipedia’s candlestick page.
| Standard taper | 7/8 in (22 mm) | A 7/8″ hole about 1″ deep, or a 3/4″ copper pipe cap |
| Tea light | About 1.5 in (38 mm) | A 1-1/2″ Forstner bit hole, metal cup left on |
| Votive | 1.5 to 2 in | A glass or metal cup slightly wider, because the whole candle turns to liquid |
| Pillar | Usually 2 to 4 in | A flat plate or tray with a lip at least 1/2″ wider than the candle |
Drilled wood DIY candle holder ideas come down to one drill bit
1. Scrap wood block tea light holder
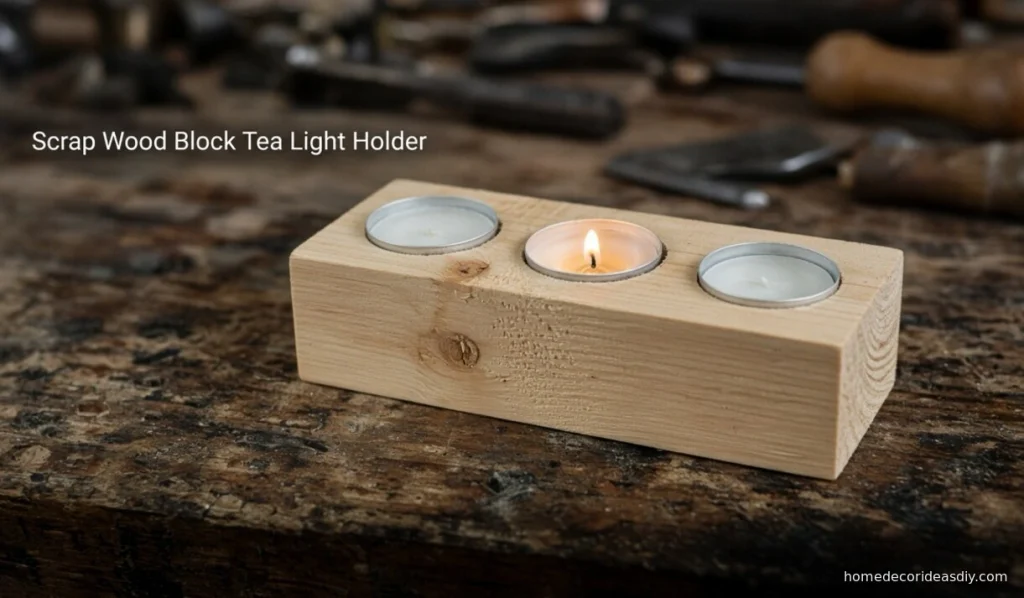
A leftover length of 2×4 or 4×4, three or five holes in a row, and that is the whole project. Use a 1-1/2″ Forster bit, not a spade bit, because spade bits tear the top edge and wander off your pencil mark. A standard tealight is about 38 mm across and only 16 mm tall, so drill a touch past 5/8″ deep, and it sits flush with the wood.
The first block I made, I grabbed the 1-3/4″ bit because it was the one already sitting in the drawer, and the tea lights slid around like loose change in a car cup holder. Unlit, it looked fine. Lit, the flames sat off center, and one side of each hole started going dark by the end of the week.
Leave the aluminum cup on the tea light every time. That little cup is the only thing between melted wax and bare pine. If you have never held a drill before, start with this one. Same reason it sits near the top of any list of easy DIY home decor projects.
2. Birch log with the bark left on
Classic rustic candle holder. Looks right on a mantel in December. One thing about birch bark: campers peel it off trees to get a fire going, even when it is damp. Drill the tea light holes in the cut face, and keep each one at least an inch from the bark edge. Sand the top flat too, or the log rocks every time someone puts a mug down next to it.
3. Taper holder from unfinished table legs
Pick up three or four short pine legs from the hardware store’s furniture aisle, cut them to different heights, and drill a 7/8″ hole about 1″ deep into the top of each. Brad point bits give a cleaner hole than spade bits here. Glue the legs to a small board or leave them loose as a cluster, paint them all one matte color, and you have a taper candle holder that looks like it came from a much nicer shop.
If a hole comes out a hair loose, do not redrill. A pinch of candle adhesive putty at the base fixes it in about five seconds.
A 3/4-inch copper pipe cap fits a taper candle exactly.
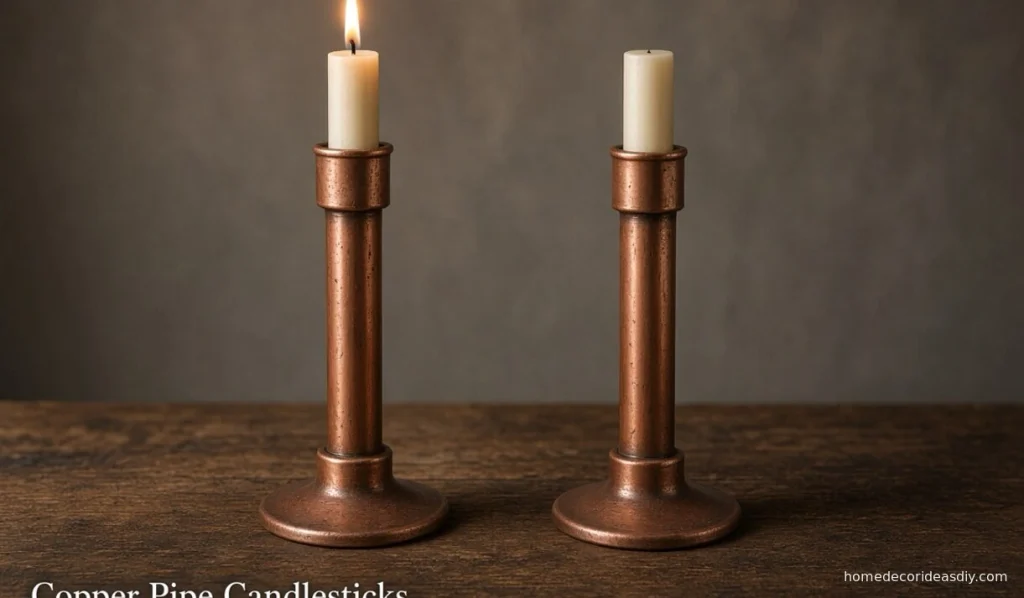
4. Copper pipe candlesticks
Three-quarter-inch copper pipe measures 7/8″ across the outside, so any cap or coupling made to slip over it has a 7/8″ opening the same size as the base of a standard taper. That is why so many copper candlesticks you see online stand dead straight.
Keep every piece in the same 3/4″ size so everything slides together. A tube cutter gives cleaner ends than a hacksaw. Dry-fit the whole thing first, then add epoxy once you like the shape. A cap on top holds the candle. A flange or a wider fitting at the bottom keeps it from tipping. Copper darkens over a few weeks. Some people spray it with clear lacquer to stop that. I kind of like the brown it goes.
A pair of brass candlesticks from a thrift store often costs about the same as a handful of copper fittings, and they already stand straight. If you want taper candle holders more than you want a project, check the thrift shelves first and fix any loose fit with a little Stick-Um candle putty. I would do that before I cut a single pipe.
Glass holders mostly start with a jar you already own.
Glass will not catch, which is why jars show up in every roundup. The twine and twigs people glue onto them will.
5. Frosted mason jar
Apply two light coats of Rust-Oleum Frosted Glass spray to a clean jar, then drop in a tea light or votive. The frosting softens the glow in a way plain glass does not. Tie the twine around the neck rather than gluing it right at the rim. The top of the jar is where the heat collects.
6. Painted wine bottle taper
Paint the bottle matte black or chalky white and push a taper into the neck. Or try to. Most of the time it will not go in.
Why won’t a taper fit in a wine bottle?
Many wine bottles have an opening about 3/4″ across. A standard taper is 7/8″. Either shave the base down with a paring knife, turning the candle as you go, or buy the slimmer 3/4″ tapers some brands sell. Shaving works. It is messy. You will be picking wax off the counter after.
7. Rope-wrapped hurricane vase
Hot-glue jute rope around the lower two-thirds of a tall glass vase, then set a pillar candle inside. The flame sits deep in the glass and well below the rope, so this one holds up when so many wrapped jars do not. The same trick does most of the work in these budget farmhouse decor projects rope, glass, and not much else.
8. Twig votive holder
Glue thin twigs around a plain glass votive cup and trim them level with the rim or lower. If you love the look of twigs poking up above the top, use an LED votive. A real flame is not worth it there.
Can you burn a real candle in a concrete or clay holder?
Yes, for concrete. Yes for polymer clay only if there is a metal cup inside.
9. Concrete tea light holder
Mix a small batch of quick-setting concrete in a plastic cup, press a tea light (still in its cup) into the top to shape the recess, and pull it out once the mix has firmed up. Tap the plastic cup on the counter a few times right after pouring. Skip that, and you get little air holes all over the sides, which some people like and I don’t. Let it cure fully before you light anything, and stick felt pads underneath. Raw concrete will scratch a wood table the first time someone slides it.
10. Polymer clay taper holder
Roll and shape the clay however you want, then press a 3/4″ copper cap into the top before baking so the taper sits in metal and not in clay. Polymer clay is a plastic, so blow the taper out with an inch or two left rather than letting the flame burn down anywhere near it.
Keep rope, twigs and bark a foot away from the flame.
A leaning taper drips onto whatever is next to it and tips the flame toward the curtains. An oversized tea light hole lets the flame drift toward the edge of the wood. The U.S. Fire Administration reports around 20 home candle fires every day. It advises keeping candles at least 12 inches from anything that can burn and using holders sturdy enough that they won’t get knocked over. Twigs, rope, dried flowers and birch bark are all on that list, even when they are sitting there looking like decoration.
The copper pipe set is what I show people when they come over. The chunky 2×4 block with three tea lights is what gets lit on a Tuesday. I cannot knock it over. I still have not painted it.