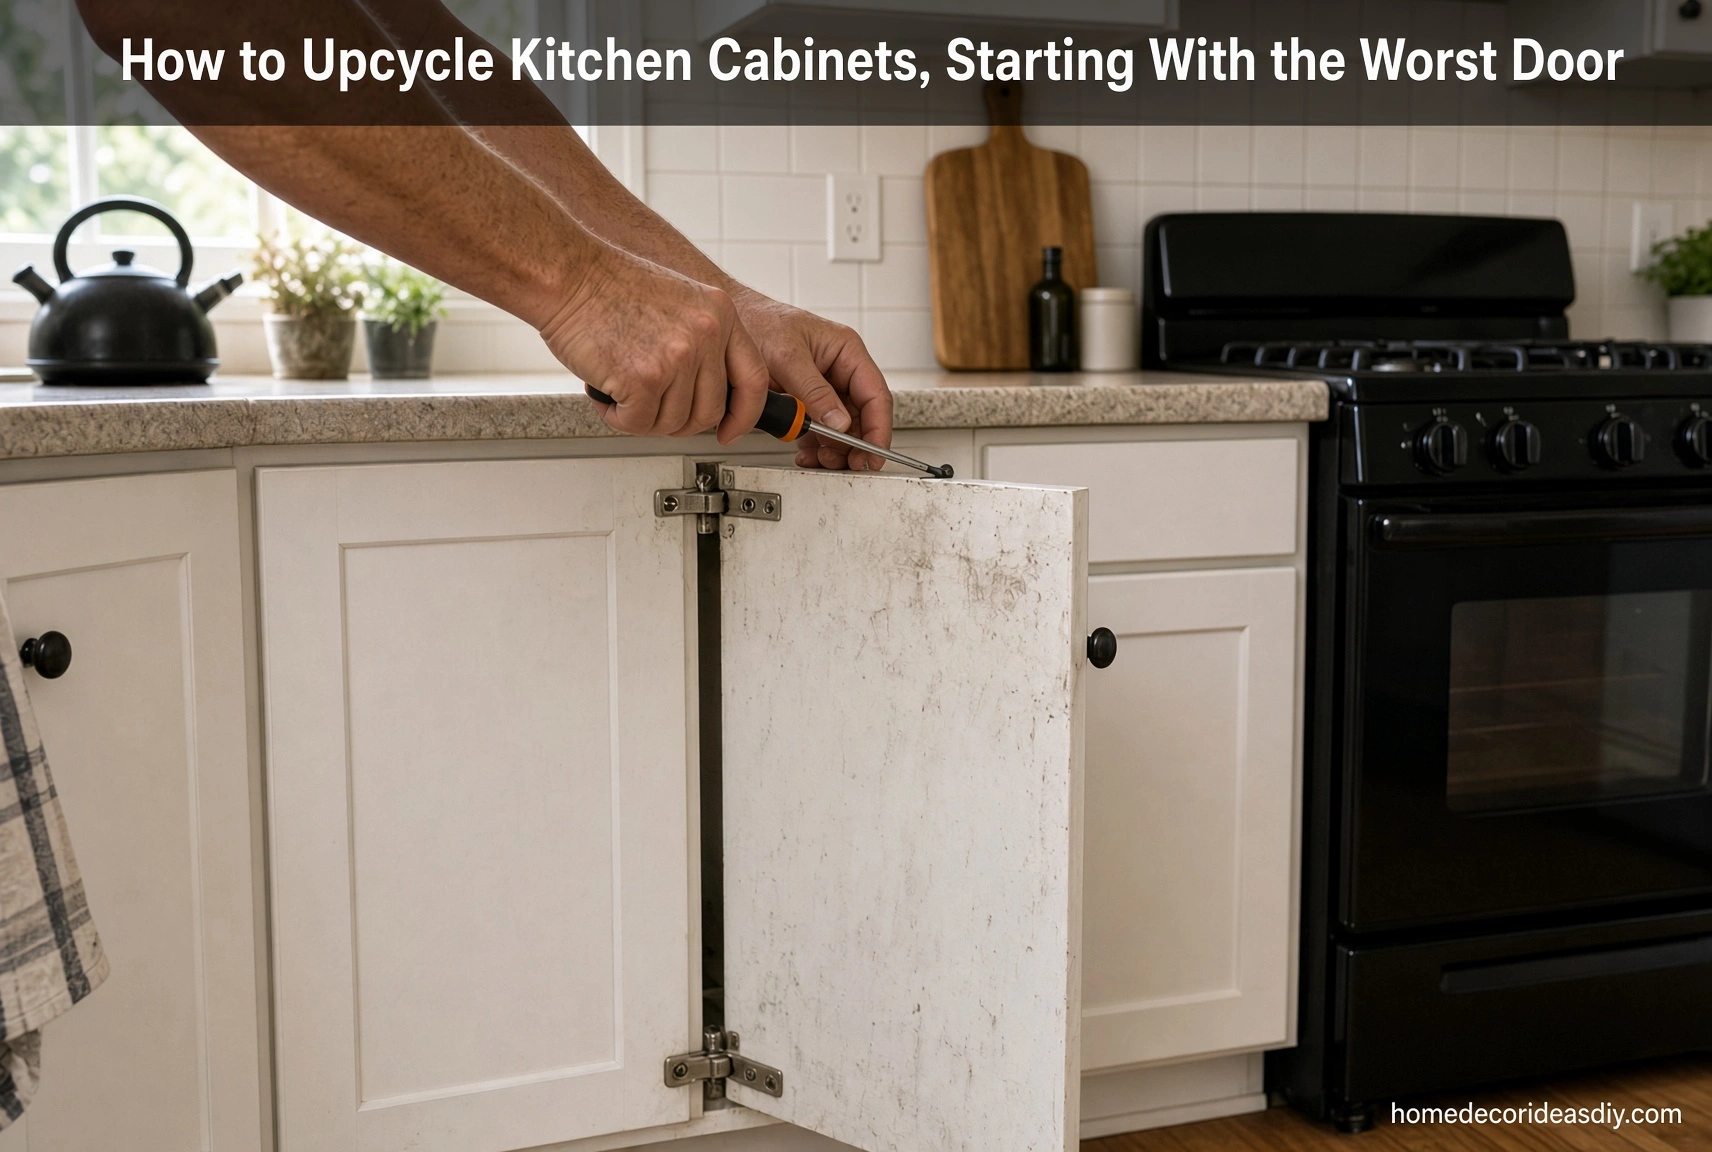
Every kitchen has one door that’s worse than the rest, usually hanging right next to the oven or under the sink, where it gets wiped with a wet cloth three times a day. If you want to upcycle kitchen cabinets and not be redoing them by next spring, that’s the door you take off first. Not the tidy upper one by the window. The ugly one.
I push this hard because the door that takes the heat and the steam and the greasy thumbprints is going to show you whether your prep and your primer were right, and it’ll show you in about a week instead of eight months, and by then you’ve only spent one door’s worth of paint and patience finding out.
Pull the worst door off and look at its edge.
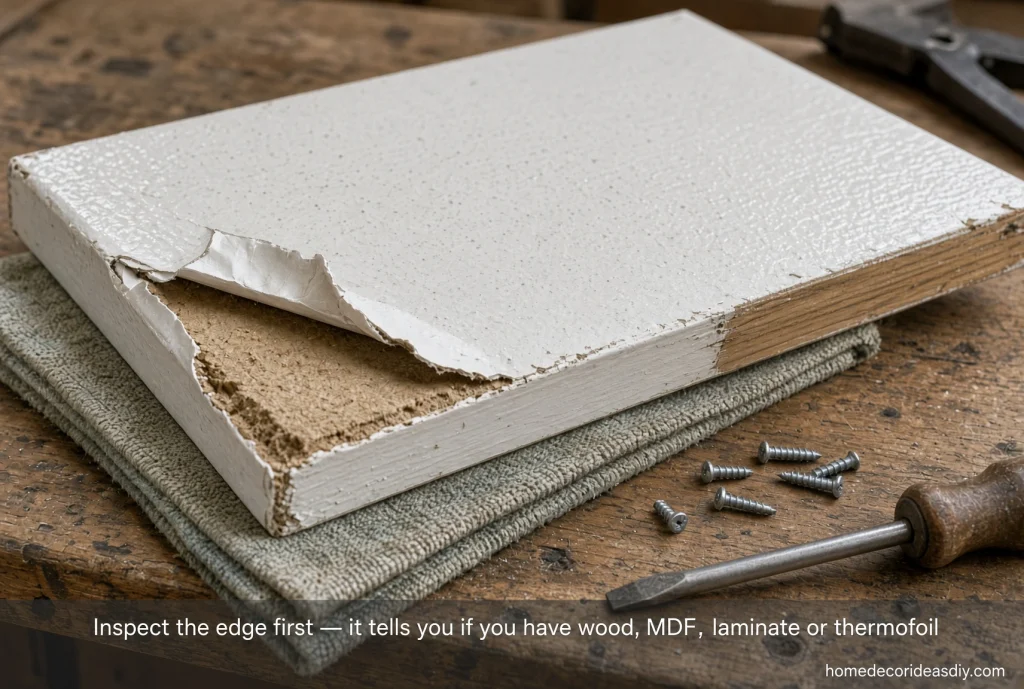
Get a screwdriver on the hinges, lay the door face down on an old towel, and look at the edge before anything else. The edge tells you what you’re painting.
- Solid wood or plywood shows grain running along the edge, sometimes under a factory lacquer that feels a bit slick.
- Painted MDF, which has a smooth, dense edge with no grain and weighs more than you’d expect for its size
- Laminate is a thin hard plastic layer, often with a separate edge strip glued on
- Thermofoil is a vinyl skin wrapped over the front and edges of MDF in one piece, and on your worst door you might already see it bubbling or lifting at a corner.
While it’s off, check the back and the hinge cups for a maker’s stamp. A couple writing on The Layover Life only found out their kitchen was IKEA once the doors were already apart, and they said knowing sooner would have let them order handles with the same measurements and skip a whole round of filling old holes, sanding, and drilling new ones. Matching the old hole spacing is the cheapest time-saver in this whole project. Worth two minutes of squinting at a hinge.
One more thing before it goes anywhere. Put every hinge and screw from that door in a zip bag, write the door’s number on the bag, and write it in pencil somewhere hidden on the door. Rehome suggests numbering every door this way, and it sounds fussy until you’re holding twelve hinges that look identical and aren’t.
Can you upcycle kitchen cabinets that are laminate or thermofoil?
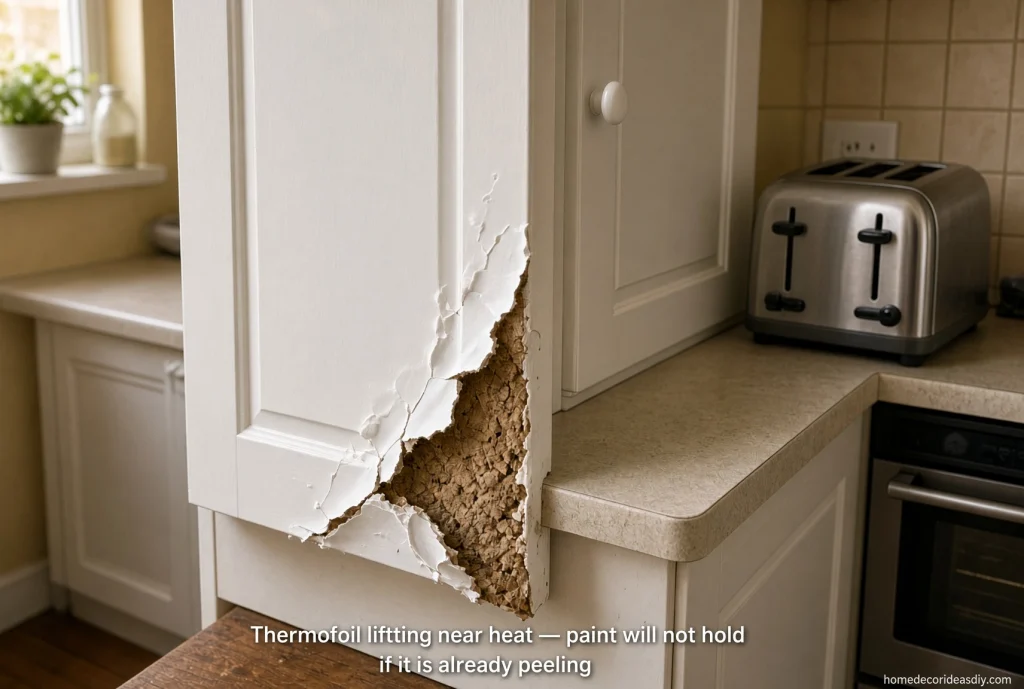
Yes, as long as the laminate or vinyl is still flat and stuck down. If it’s already lifting at the corners, paint over it won’t hold. Project Paint puts it pretty bluntly: once thermofoil starts separating, the failure underneath keeps moving, and your nice new paint moves with it.
There’s an old Houzz thread I keep going back to, from someone in a seventeen-year-old house whose thermofoil doors had started melting beside the oven and over the toaster. Their handyman told them the vinyl peels off easily, and the MDF underneath can be painted, so they tried it on a single door first, stripped the foil, put on two coats of primer with a sealant and two coats of paint, and posted a photo saying they were happy with it and would do the rest. That thread is from 2014, and I’d love to know how the door by the toaster looks now, but it never got an update.
Stripping the foil and painting the bare board is closer to the proper sense of upcycling, where the thing comes out better than it went in, than rolling paint over a wrap that’s already giving up on you.
Primer is the part you can’t go cheap on
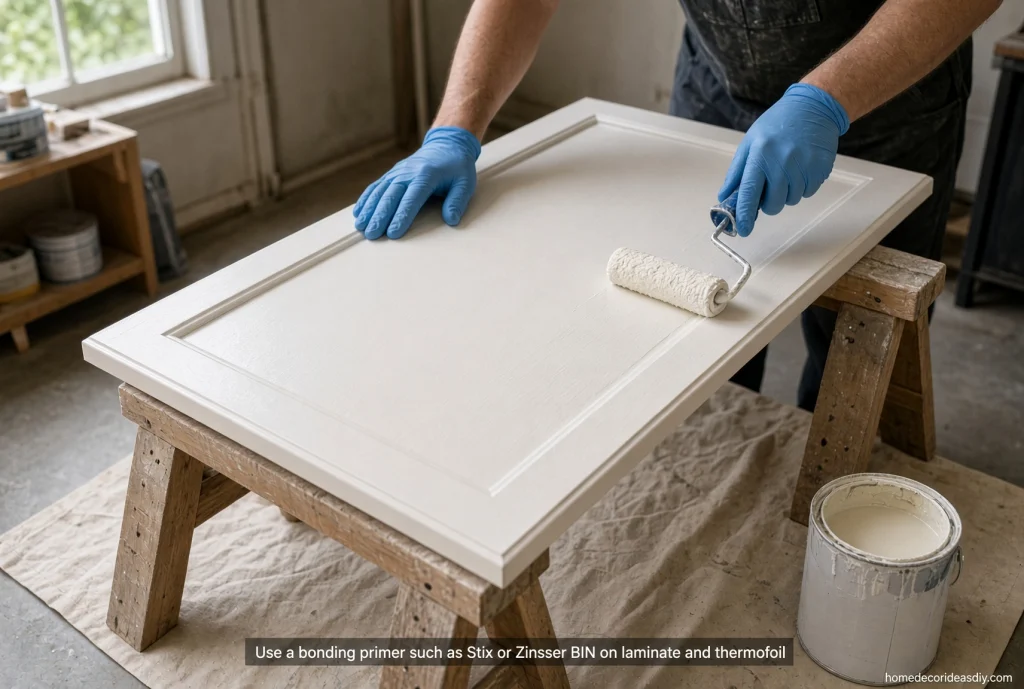
Ordinary latex primer is the mistake here. Cesar’s Painting wrote about laminate and thermofoil back in June and said standard interior latex primer will fail on those surfaces, maybe not straight away, but it will. For kitchens, they’d use INSL-X Stix or shellac-based Zinsser BIN over Bulls Eye 1-2-3, which people in finishing trade forums have seen let go near dishwashers and ranges.
| Intact thermofoil or laminate | Stix or Zinsser BIN, thin coats | BIN feels dry in 45 minutes but wants 24 hours before topcoat |
| Thermofoil stripped back to MDF | Oil-based or shellac primer to seal the board | Leftover glue, sand it off before priming |
| Wood with a factory lacquer | Light scuff sand, then prime | Skipping the sanding because it “looks fine” |
If only a small edge is lifting, the same Cesar’s piece says to glue it back down with contact cement and let that fully cure before any paint goes near it.
Clean the grease off first, then scuff
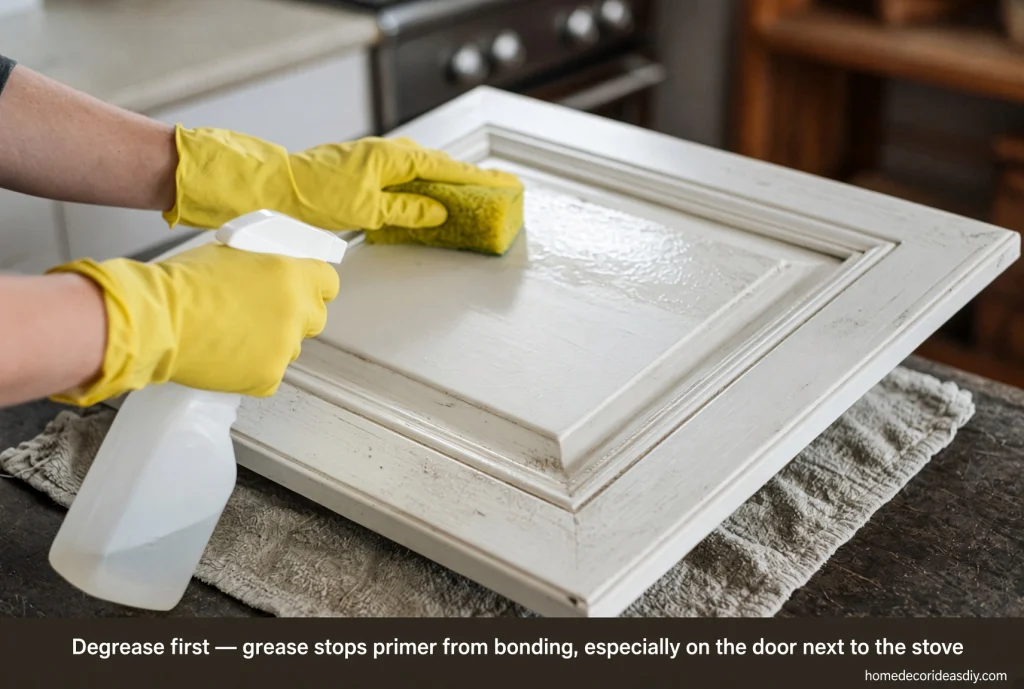
Grease is what quietly ruins cabinet paint. Rehome flags it too; grease and residue stop primer bonding, and on a door beside the stove there’s a lot more of it than you’d think, the sort you can’t see until you drag a finger across the top rail. Degrease the whole door, rinse it, let it dry, and then scuff sand. If you sand a greasy door first, you’re mostly pressing the grime into the scratches you just made.
Most painted cabinets fail in the waiting, not the painting.
Benjamin Moore Advance is the cabinet paint half the painters online seem to reach for, and the can says sixteen hours before a second coat. Z&Z Painting, who work in Chicago-area homes, wrote in April that you should plan closer to twenty to twenty-four hours in spring and summer, and that a thick first coat can need more than thirty because the bottom of the film is still wet after the top has skinned over.
Flipping the door is its own wait. Stacey Van Gundy has used Advance for about ten years and lets doors sit forty-eight hours before turning them face down, because dry enough to recoat and dry enough to lie on its face aren’t the same thing, and the door’s weight will leave a mark.
Cure time is where I can’t give you a single number; the sources don’t agree:
- Stacey Van Gundy says Advance takes a good 60 days to harden fully.
- Klappenberger & Son, a painting contractor, gives 14 to 28 days.
- Paintsgeek’s guide says at least 7 days before heavy use or cleaning.
Humidity explains a lot of that spread, and your kitchen isn’t their kitchen anyway. What I’d do is hang the worst door back up after a few days, treat it gently, no scrubbing, and let it live through a week of the oven and the kettle and somebody’s hands before judging it.
If it still looks and feels the same after that week, you’ve found your recipe. Same cleaner, same primer, same wait times, rolled out across the rest of the doors and the face frames.
The other twenty-odd doors go faster, mostly.
They do go faster, though it’s still a lot of doors and a lot of standing. If a cabinet door is the biggest thing you’ve painted so far, it’s worth warming up on a couple of smaller, easy DIY home decor projects first, since the brush habits and patience carry straight over to a kitchen.
On handles, go back to that maker’s stamp. New handles that fit the old holes mean no filler, no sanding patches, no second primer round on the spots where the old ones sat.
On color, I’m biased, and I’d pick whatever keeps the room looking like people cook in it, which is more or less the whole argument behind our modern kitchen ideas that still feel lived in. A perfectly painted kitchen you’re scared to wipe isn’t much of an upgrade.
I’d honestly rather see a kitchen with most of its doors done well and two ugly ones left alone for another year than every door painted in one rushed weekend and chipping by Christmas. The worst door tells you which of those you’re heading toward. Most people skip asking it.